How to Change Margin on Google Docs

Basically, there are 2 ways to adjust the margins in Google Docs — via the Page setup and via the ruler on top and on the left of the document.
Watch the video from https://thegoodocs.com/ and see how to adjust the margins in Google Docs: Learn How to Change Margin on Google Docs - Tutorial YouTube
How to Change the Margins via Page Setup?
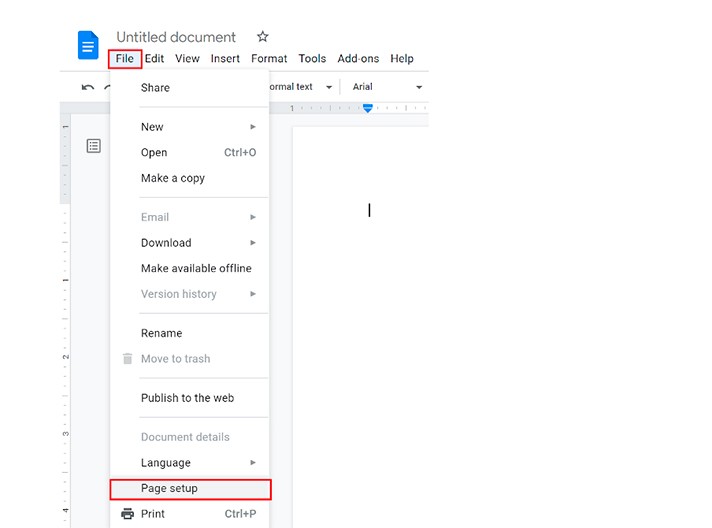
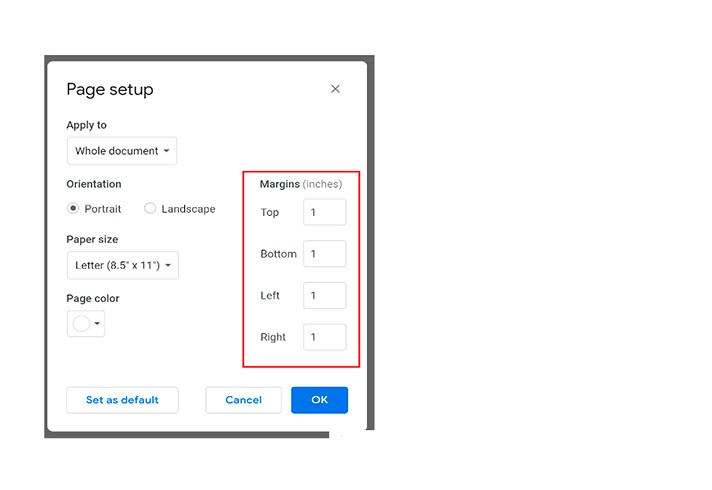
Go to File and click Page setup
This column on the right is exactly what you need, allowing you to adjust the margins of all sides of the page. As you can see, by default, all the margins are set to 1-inch size, but you can modify these values the way you like
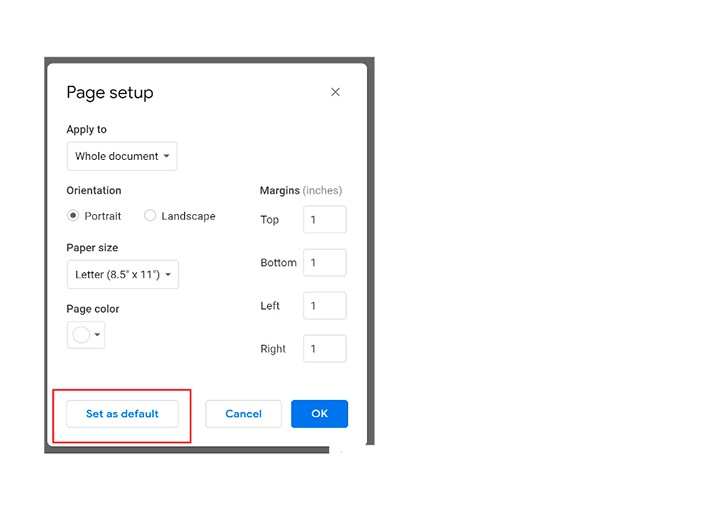
And then, you can even set them as default settings for all your further documents, which is nice. If you don`t need this, just skip this step
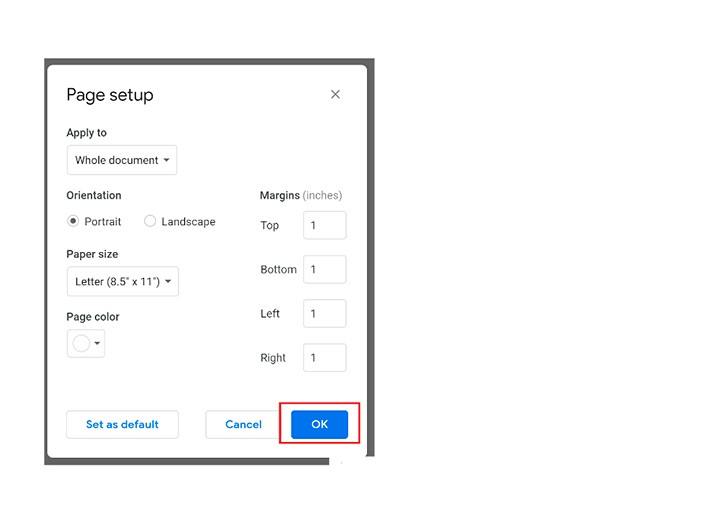
When the margin adjustment is ready, click OK
How to Customize the Margins via the Ruler?
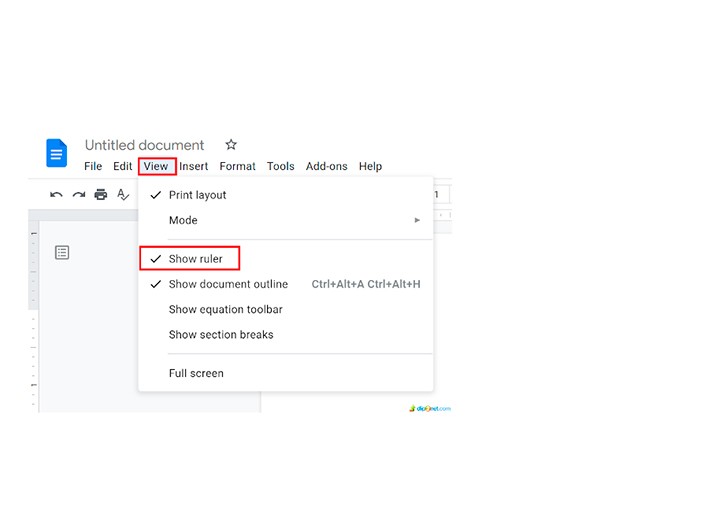
If you don`t have a ruler to the left of the document or on top of the document, click View - Show ruler
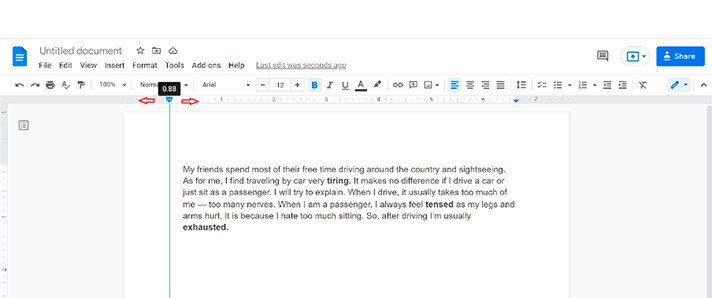
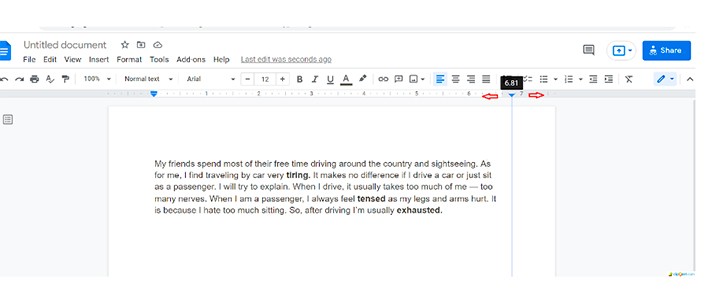
To customize left and right margins, drag your mouse to the gray area on the ruler from either left or right side until you see that a cursor turns into a double-sided arrow. When it does, press-hold and move it left or right till you find a suitable position.
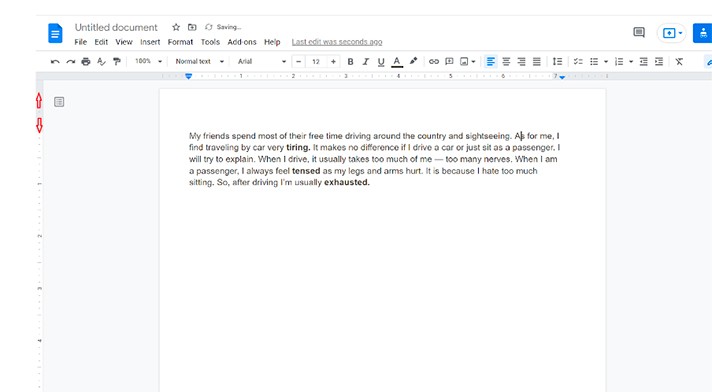
To change top and bottom page margins, we use the ruler on the left edge of the document.
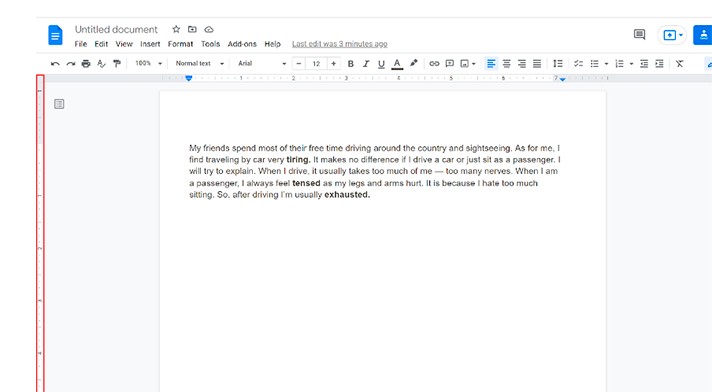
Move your mouse to the gray area on the ruler from either top or bottom side till you see that a pointer turns into an arrow. When it did, press-hold and move it up or down to find a suitable position.
We hope that this tutorial will help you learn how to change the margin on Google Docs easily and fast. Study more Google Docs features and start practicing. Good luck!

We are a team of creative people who dream of sharing knowledge and making your work and study easier. Our team of professional designers prepares unique free templates. We create handy template descriptions for you to help you choose the most suitable one. On our blog, you'll find step-by-step tutorials on how to use Google Products. And our YouTube channel will show you all the ins and outs of Google products with examples.


