How to Flip and Rotate the Text in Google Docs?

There are many ways to make your document look aesthetically better, including rotating the text, placing it along the document margins left or right, and other methods. In Google Docs, there is no direct way to rotate the text straight away, so this is done via the drawing mode. Let`s go!
Watch the video from https://thegoodocs.com/ and find out how to flip and rotate the text in Google Docs:
Rotating & Flipping the Text
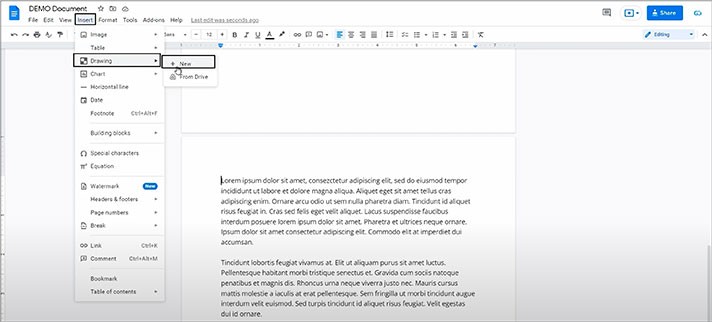
- So, we enter the drawing mode by clicking on the “Insert” item on the toolbar at the top of the page; then we select the third item — “Drawing” and then “+ New” on the right
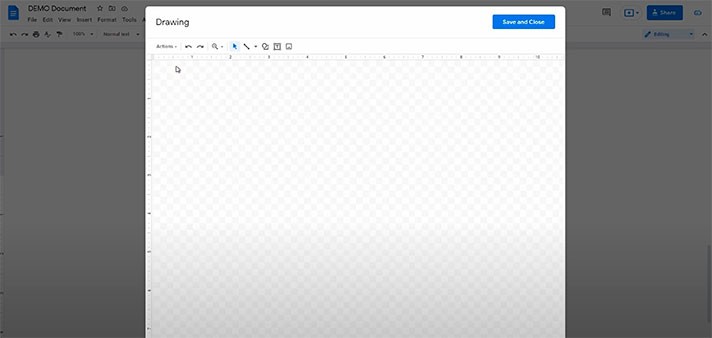
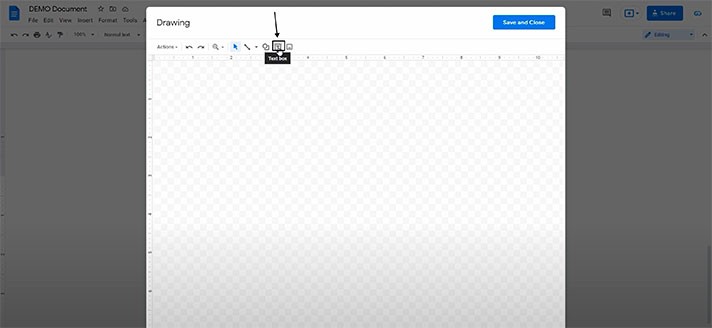
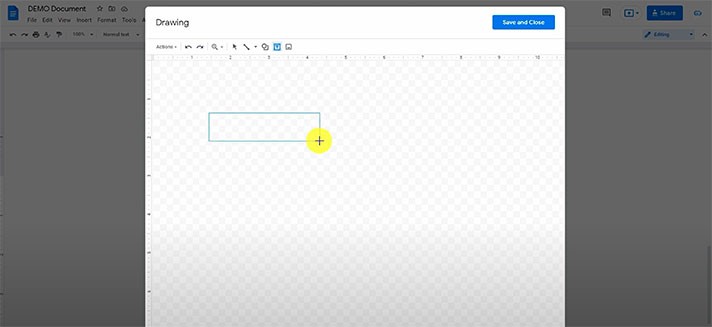
- That opens a drawing canvas, and here we create a text box. For that, click on the last but one icon on the toolbar (“Text box”), then press-hold and draw a frame of any size, and release. Now here, type in the text just like you usually do in the document. We will type the text just to show the sample
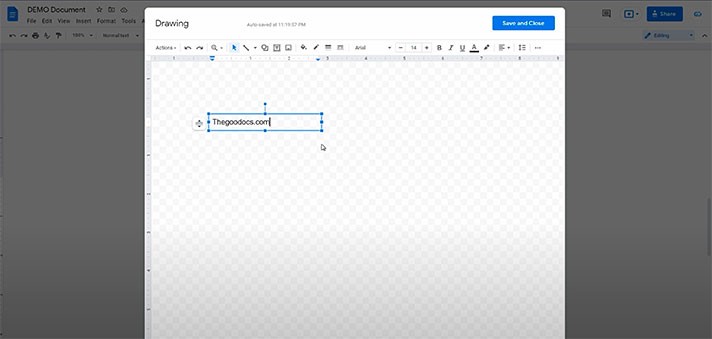
And now we rotate it.
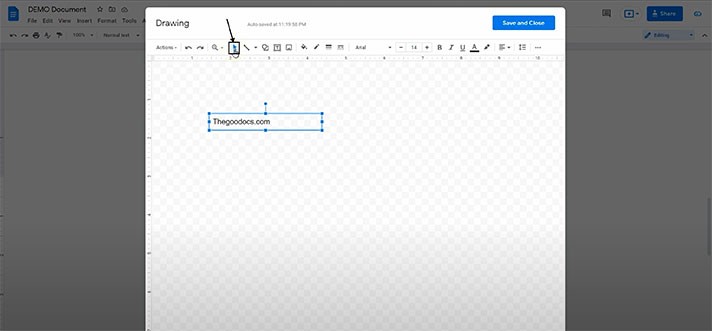
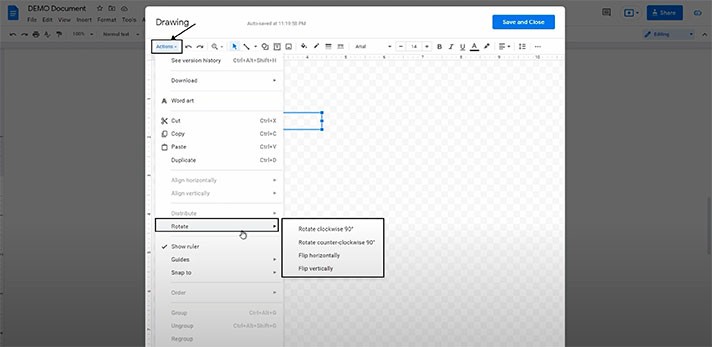
- And then we go to the leftmost item on the toolbar — “Actions”, where we drag the pointer down to the “Rotate” item. And here are your options: “Rotate clockwise 90°”, “Rotate counter-clockwise 90°”, “Flip horizontally”, “Flip vertically”
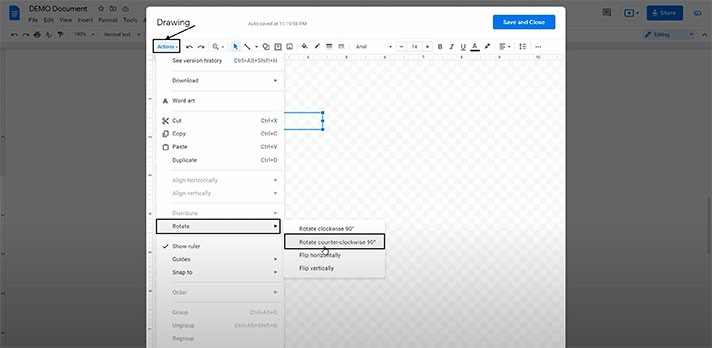
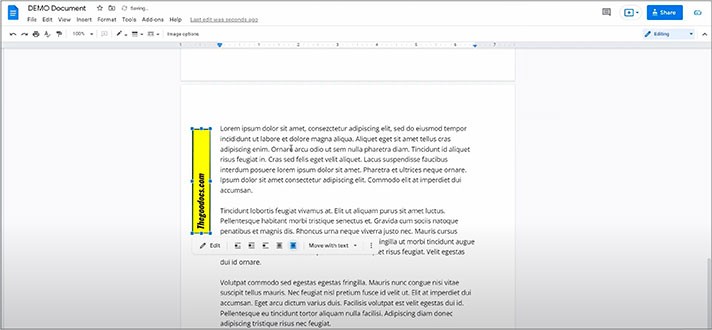
- For example, we’ll select “Rotate counter-clockwise 90°”. And here it is
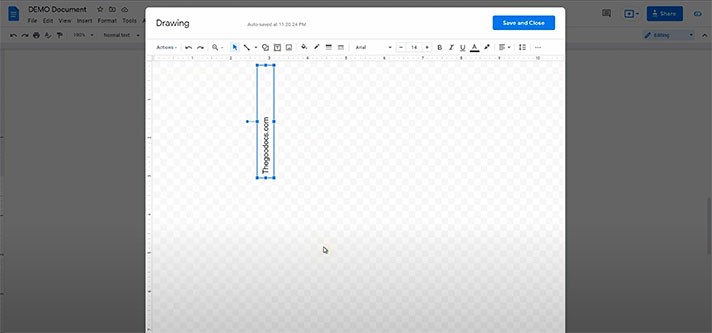
- And there is one more way to find the context menu to rotate and flip the text here. You can do a right mouse click on the text box margin, and here in the context menu, you go to “Rotate”. Here it is
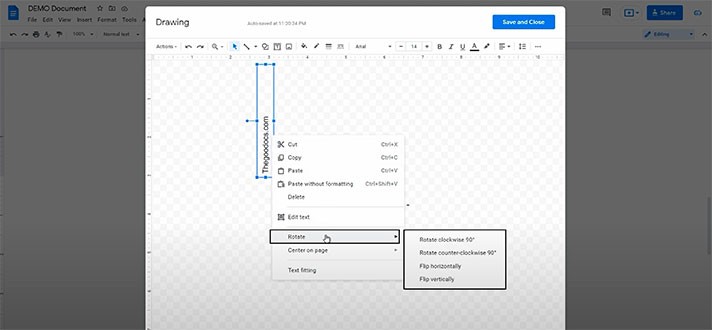
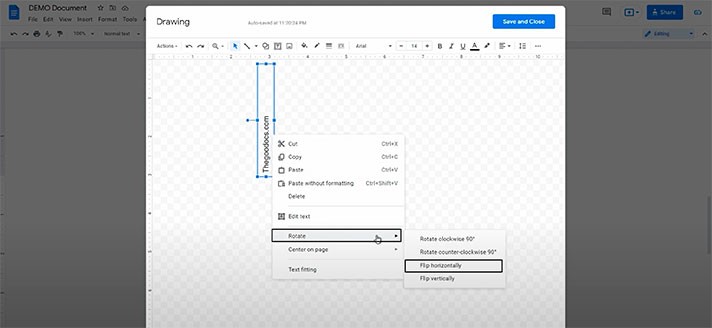
- Just to show the sample, this time let’s choose “Flip horizontally”, for instance. And you can choose the options you need
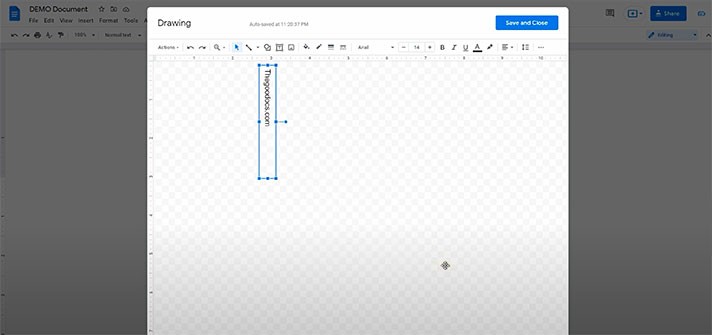
- If you need a different angle and not just 90° all the time, you have an option to rotate the text box by pulling and dragging this circle on top of the box. And then release it when you find the right angle. For example, we’ll choose the random angle just to show you how it works. There you go
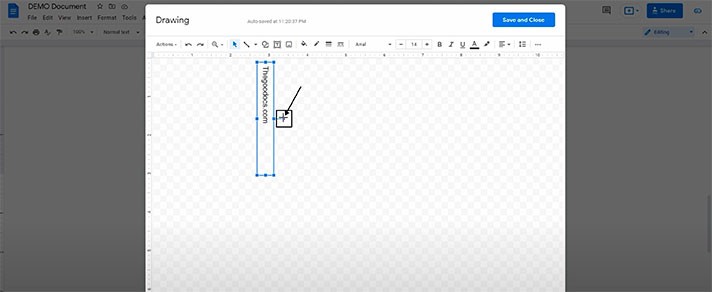
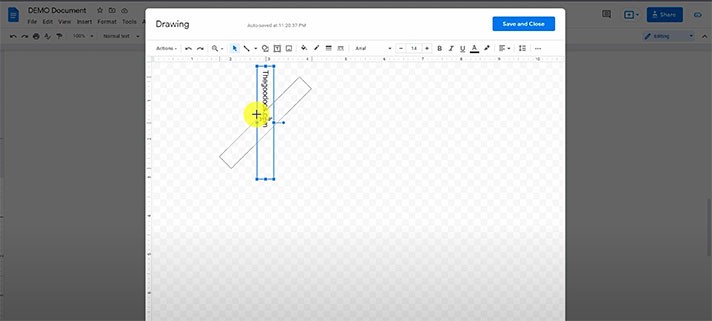
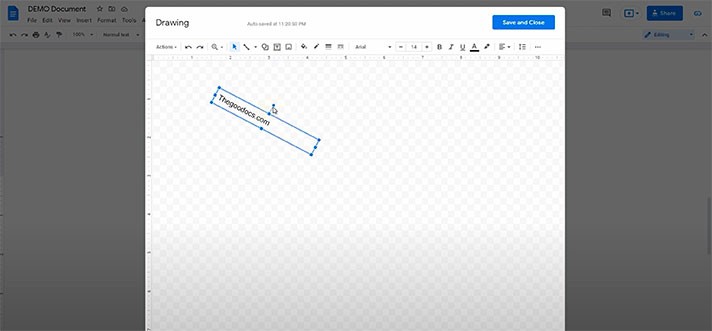
- Then press “Save and Close” at the top right corner. And you have it in your document
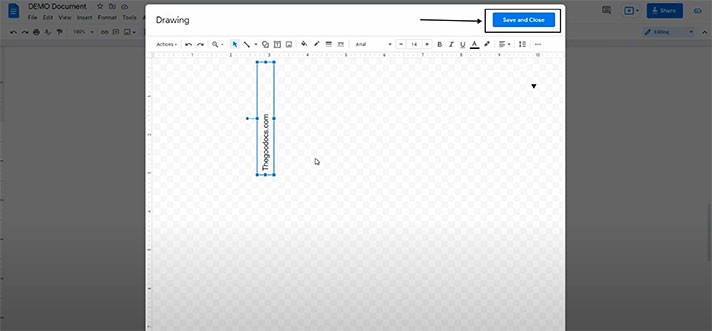
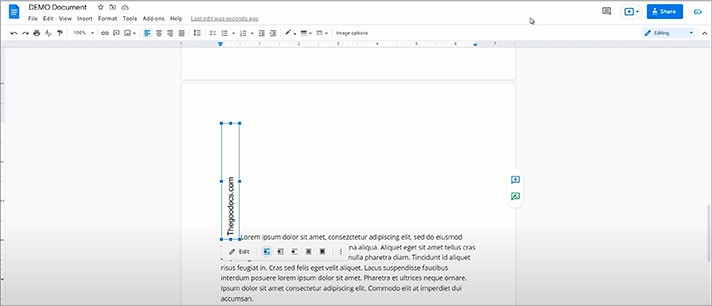
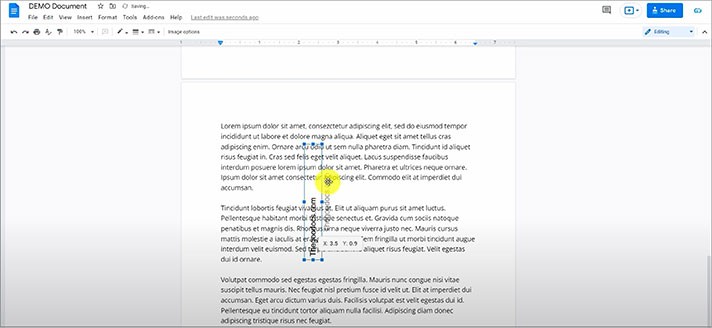
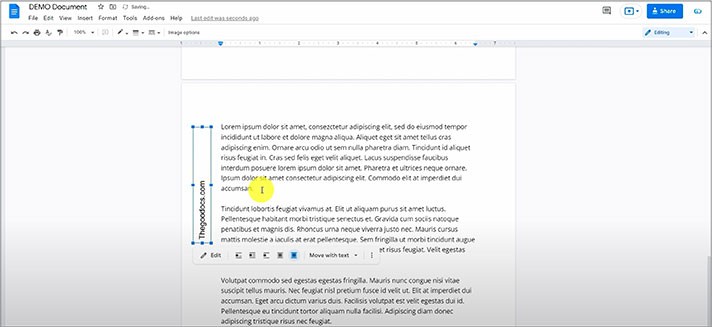
- Now at this point, for example, we can look at more placement options for the image. Make sure the image is selected. You’ll see the bar below the image and you can choose the options you need
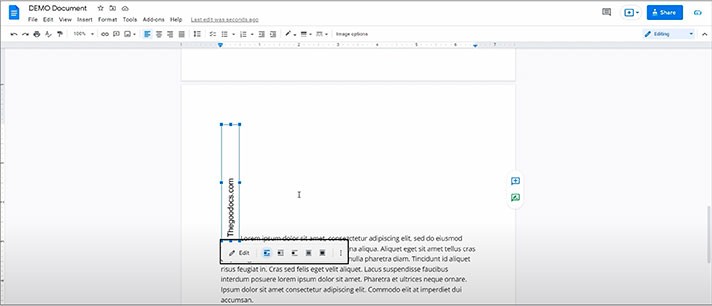
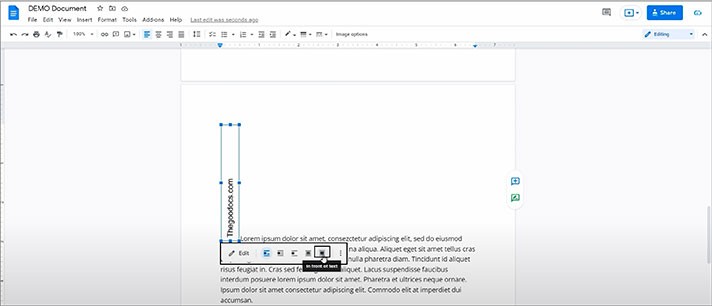
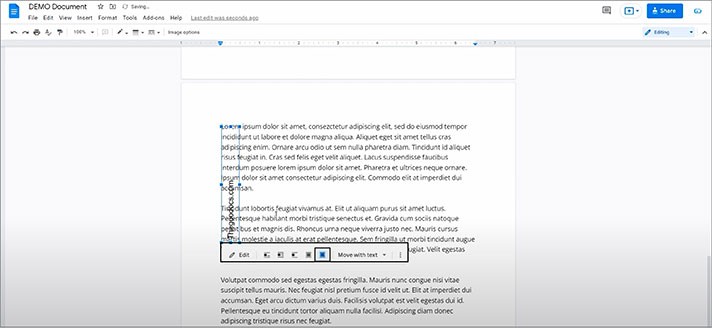
- For instance, we will press the last but one icon on the bar below the image — “In front of text”. Now the image is free and we can place it anywhere over the text, on the page margins, etc. — just much more flexibility. We’ll provide you with the random sample just to show you how it works
Customization
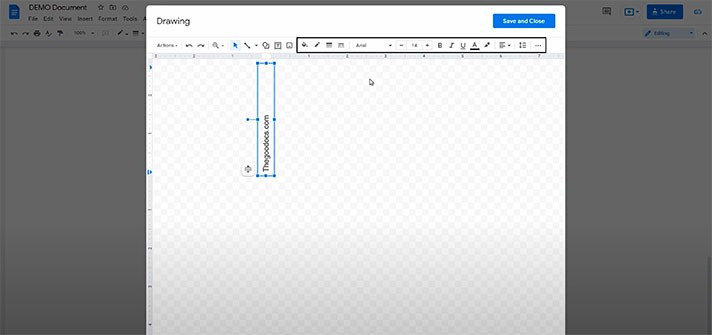
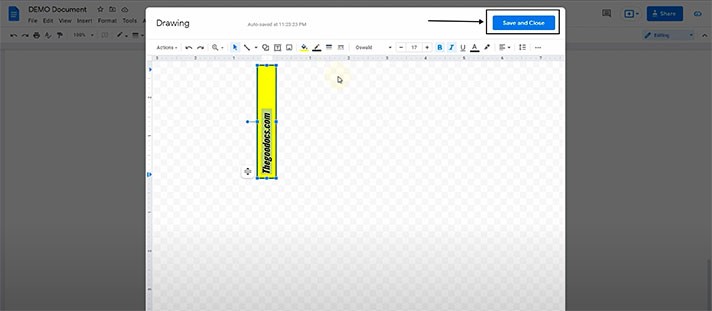
- And for the customization, you can return to editing by double-clicking on the image. So, you need to select the text box. And here, in the drawing canvas, you can format it just like the regular text in the document, changing the font, size, and many other formatting options, such as filling the text box with some color, creating the border, changing its width and its color, etc. And we provide you with our sample with some random customization. We press “Save and Close”. And here it is in the document
We hope this tutorial will help you learn how to flip and rotate the text in Google Docs. Good luck!

We are a team of creative people who dream of sharing knowledge and making your work and study easier. Our team of professional designers prepares unique free templates. We create handy template descriptions for you to help you choose the most suitable one. On our blog, you'll find step-by-step tutorials on how to use Google Products. And our YouTube channel will show you all the ins and outs of Google products with examples.


