How to Work with Images in Google Docs?

In this tutorial, we talk about various tools we use to work with images in Google Docs.There are many tools to work with images in Google Docs, and despite the great number, they are designed for easy and fast use. For example, starting from the basic resizing and moving the image over the document, there are also different text wrapping options, cropping, link insertion, placing the image behind or over the text, making the image as a background for the page, drawing and writing on the image, creating a border and aligning it, recoloring, and a lot of other visual adjustments. So, let's start working with the images in Google Docs!Watch the video from https://thegoodocs.com/ and find out how to work with images in Google Docs:
Inserting the Image
To start, we insert an image into the document. And there are a few ways to do that.
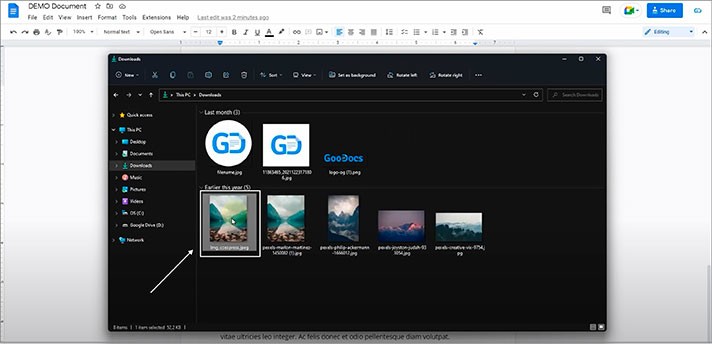
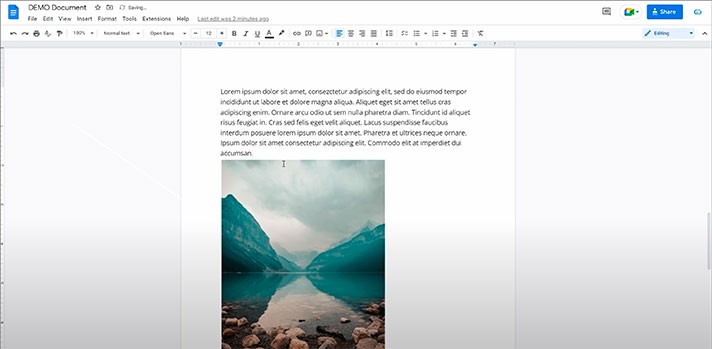
Now a bit more options.
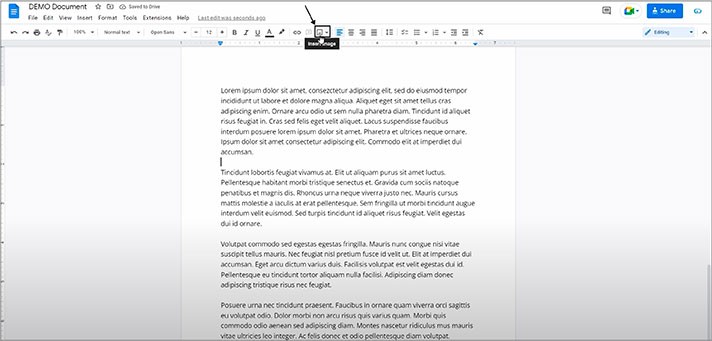
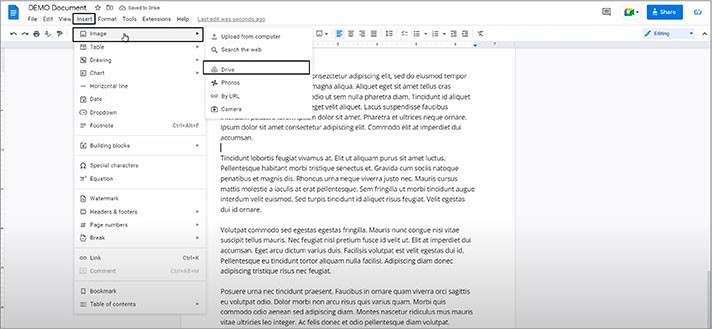
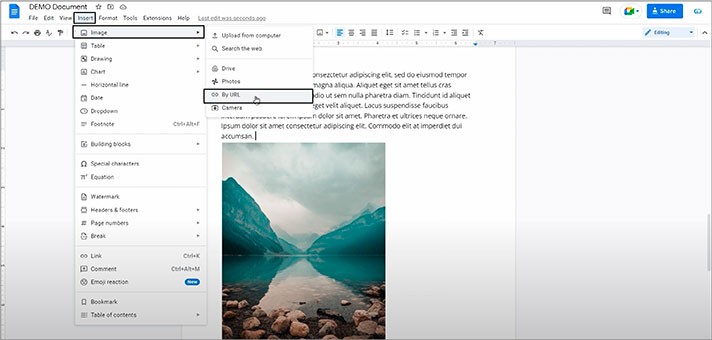
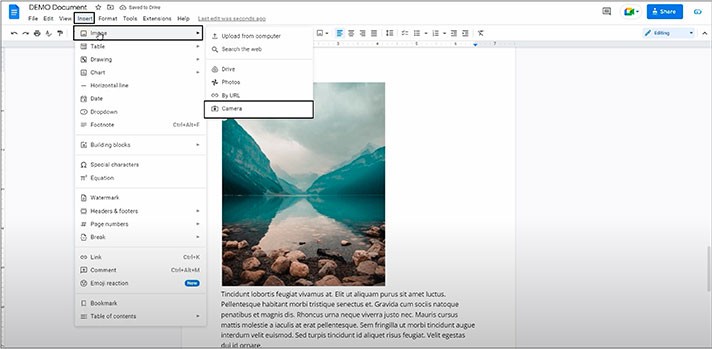
- Or, for example, you can go to the “Insert” item on the toolbar at the top of the page and click on it. Then drag the pointer to “Image”, and here are your options
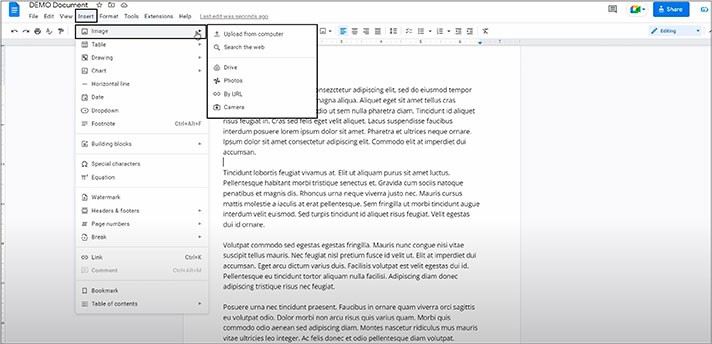
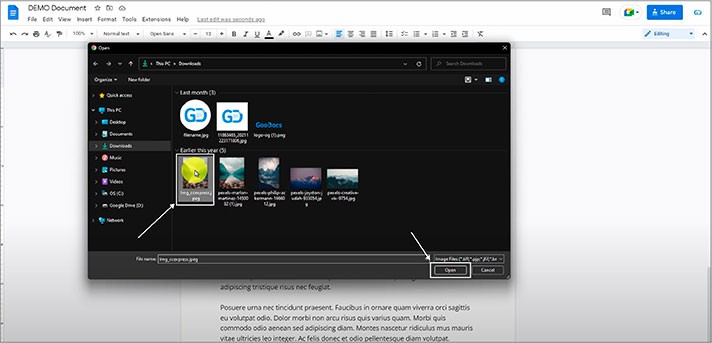
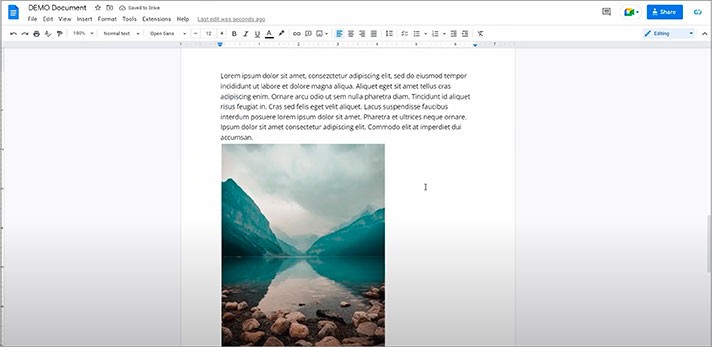
- You can choose here, for example, “Upload from computer”. Just locate the image you need in your File Explorer and press “Open”
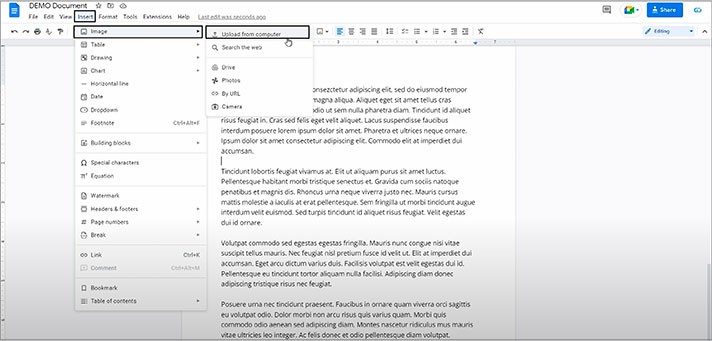
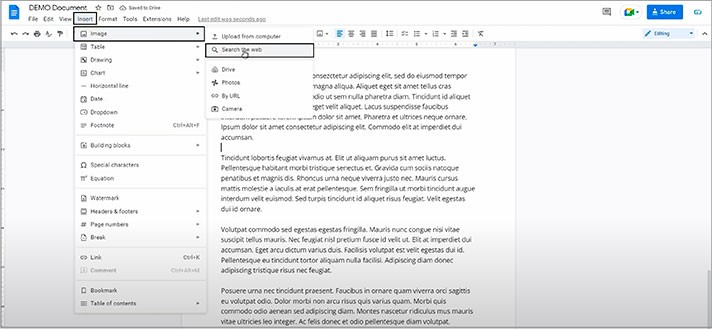
- Then we have here the “Search the web” option that opens a sidebar for looking for the images
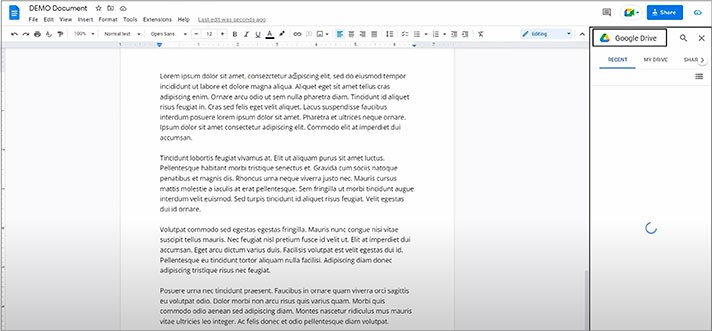
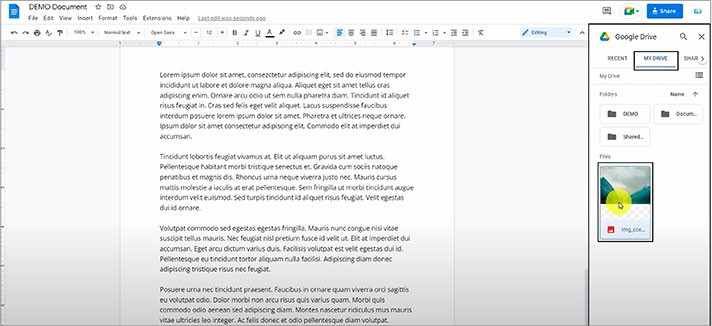
- Then on the menu, we have “Drive”, which brings the mini version of the Drive on the right, where you click on “MY DRIVE”, locating and double-clicking the necessary image to upload
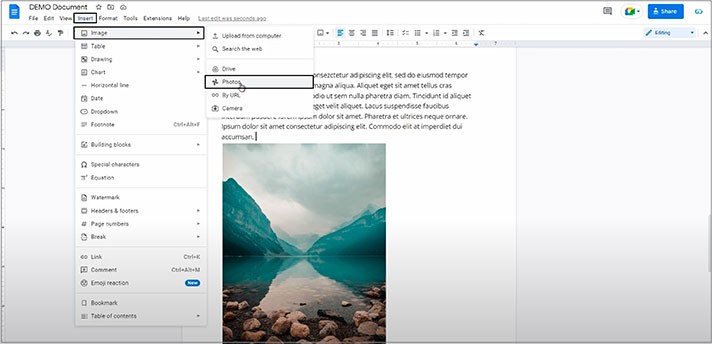
- After that, on the menu, you can insert an image from your “Photos”
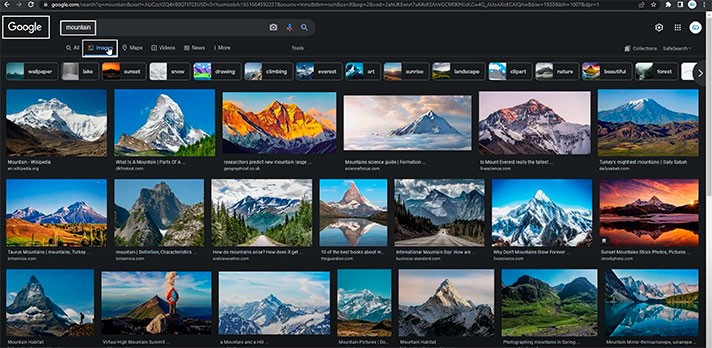
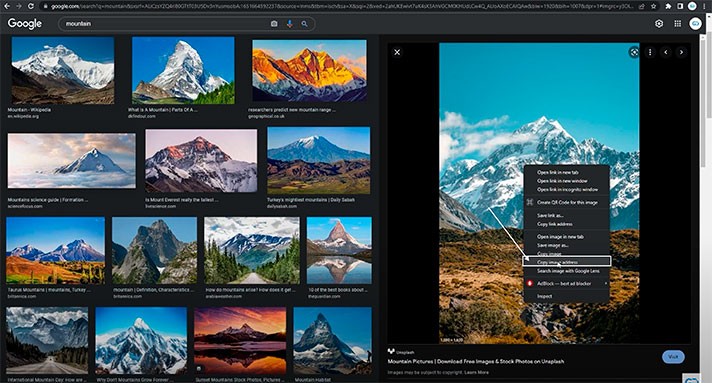
- And then comes the upload “By URL”, where you insert a direct link to the image. For example, we can look for some images in Google on the “Images” tab (for instance, we are looking for the image of mountains). We are opening a random image, right mouse click on it, and press on “Copy image address”
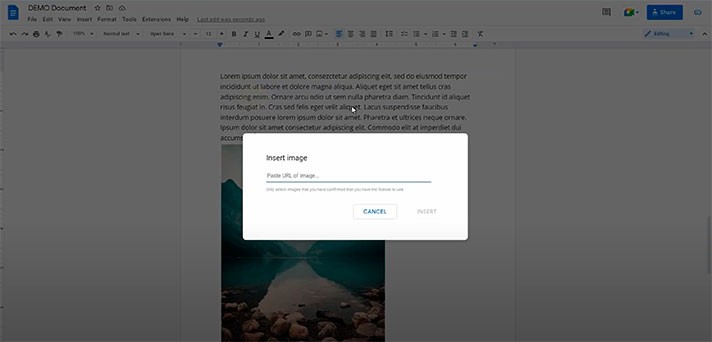
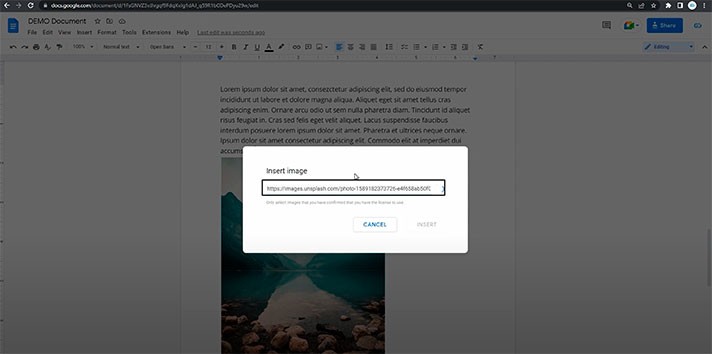
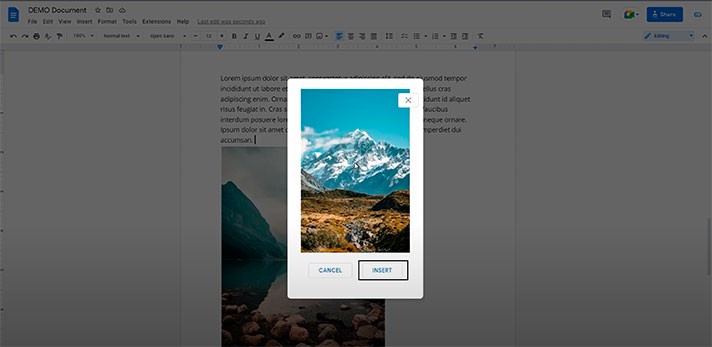
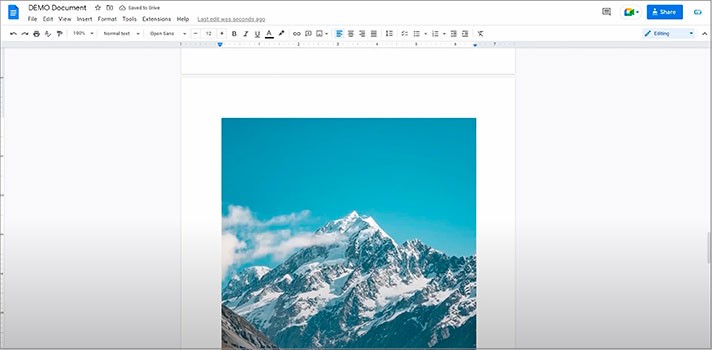
- We go back to the document, paste the link, look at the preview, and click on “INSERT”. And as the last option on the menu, we have “Camera”, where you take a photo on the spot from a computer or a phone and upload it right here
Move, Size, and Wrap the Image
Now are the things you can do with the images inside the document.
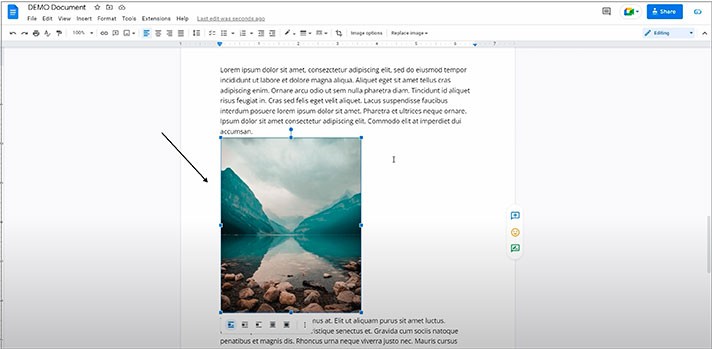
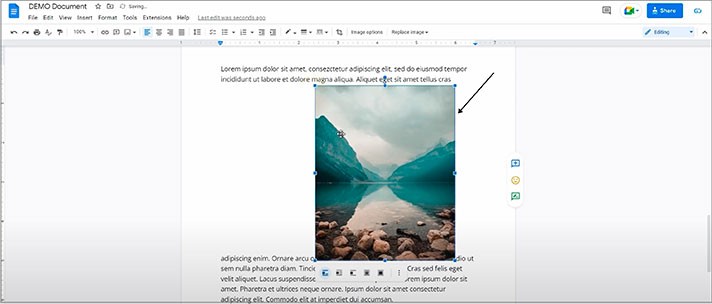
- You can easily change the size of the image, too. For that, select the image, and now pull from any side of the image to make it smaller or increase it, widen it, and so on
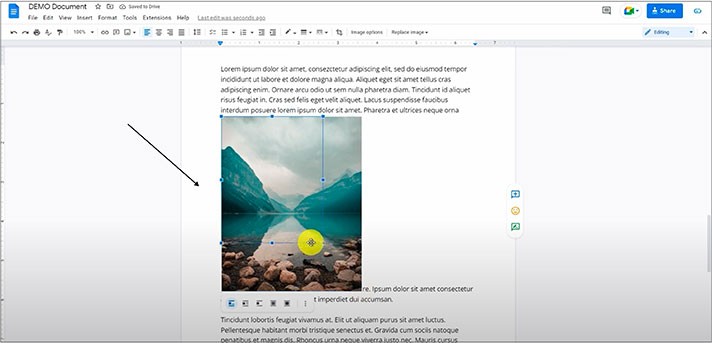
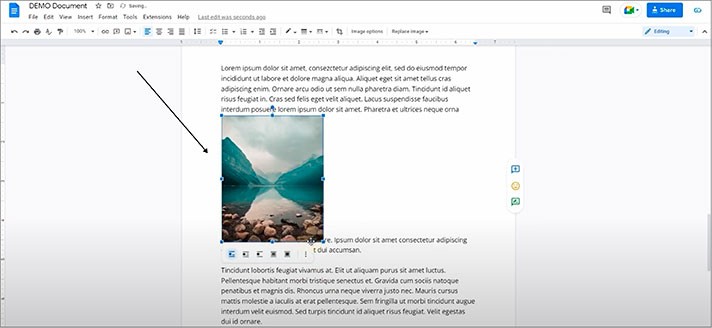
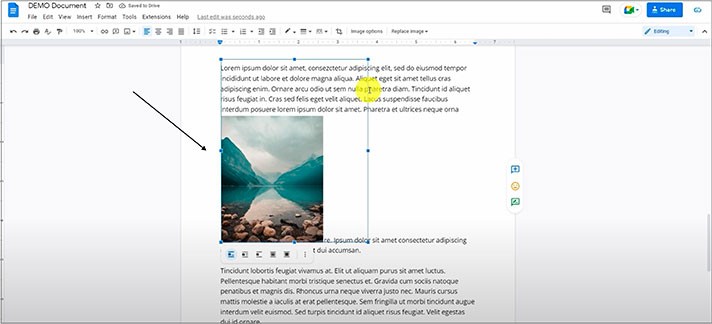
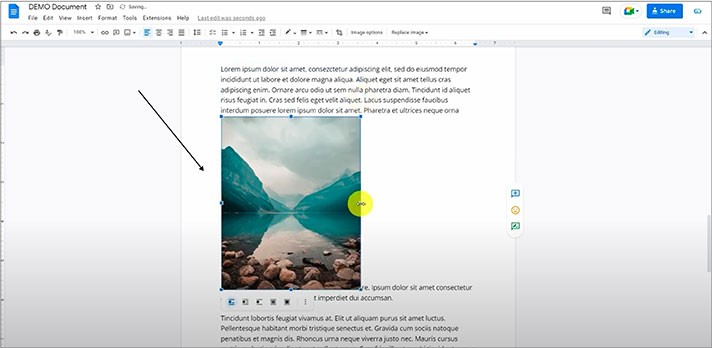
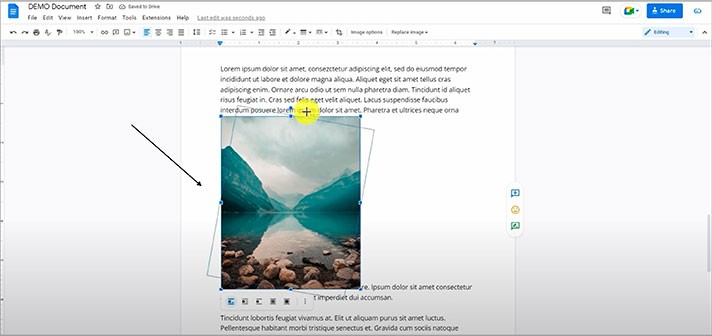
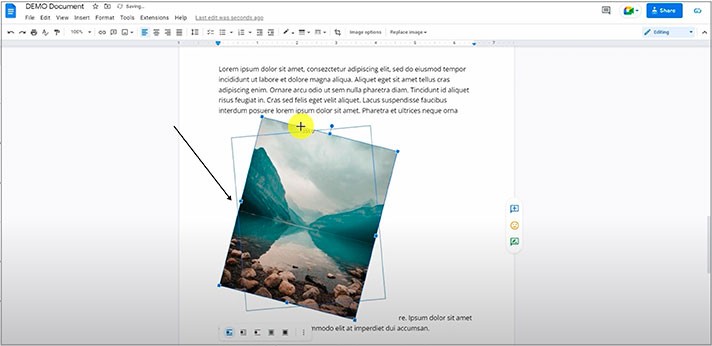
- And by pulling the circle on top, you can rotate the image. Just move the mouse clockwise or counterclockwise and find the best position for the image
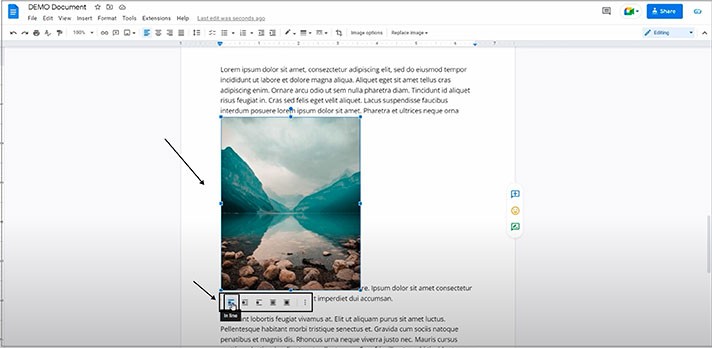
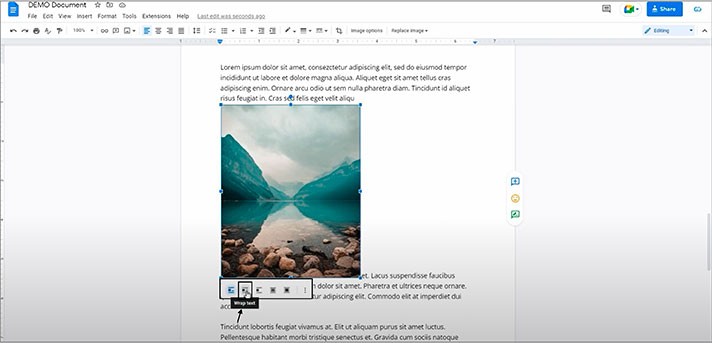
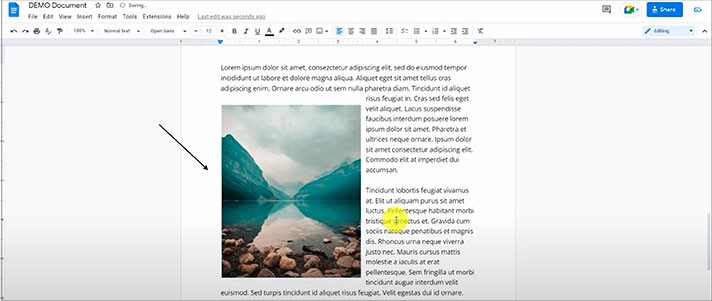
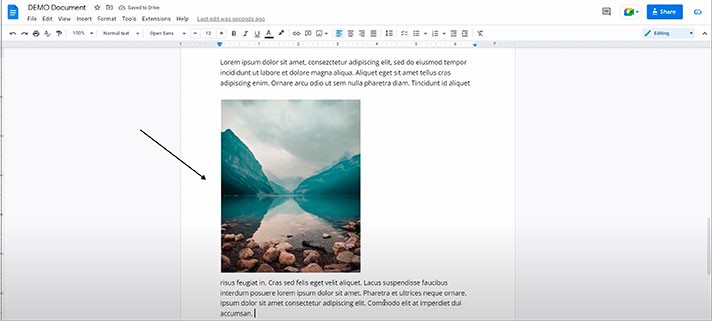
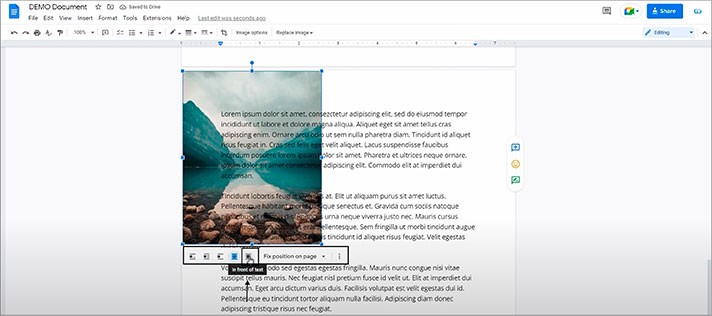
- The next thing is the little bar below the selected image that defines how the image is wrapped by the text on the page. You can see that, by default, the image is inserted in line with the text, like it’s a part of it. It breaks sentences and paragraphs, and usually, we need to change that. So, on the bar below the image, we press on the second item (“Wrap text”), and now, the text is naturally wrapped around the image
The Background Image and Other Options
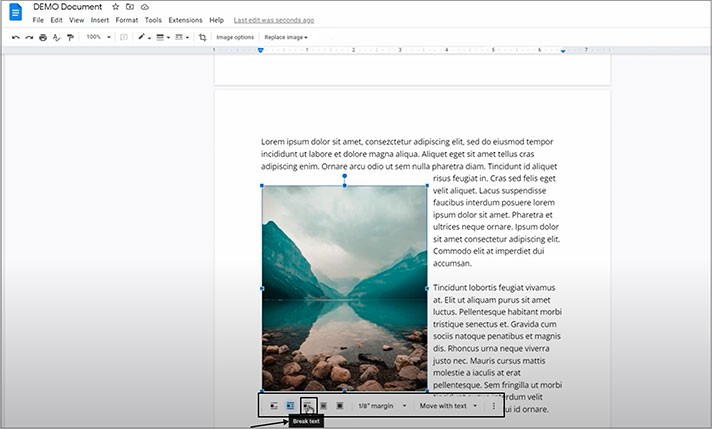
- The next item on the control bar is “Break text”. Press it, and that makes the image take the entire line of its size on the page, not letting any text get left or right to it, breaking the text on the page with itself
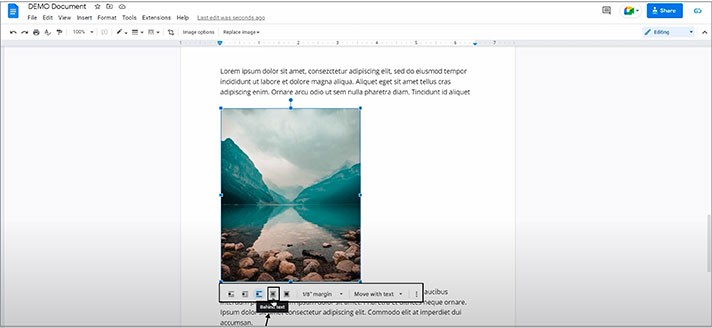
- Then there’s “Behind text”, which we frequently use to set an image as a background for the page or to highlight a certain part of the text. To set an image as a background, click on the “Behind text” item on this bar
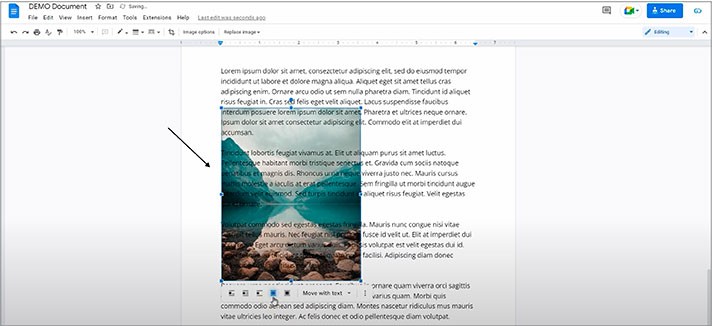
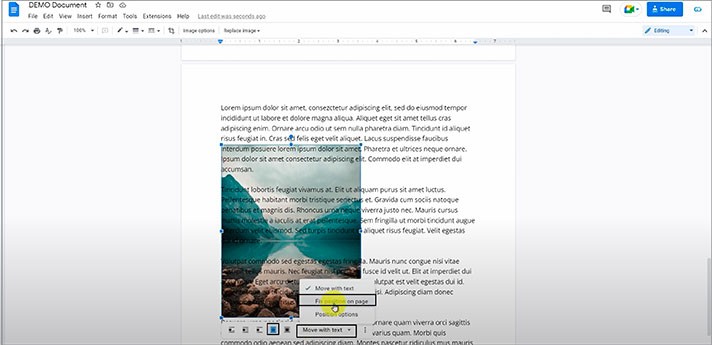
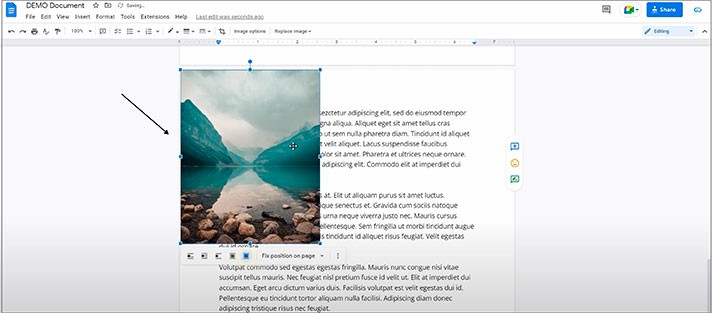
- And then, on the drop-down for other image placing options, we select “Fix position on page”, which, basically, frees the image and makes it independent from the text on the page since normally it’s connected to it and moves with it. Now we can press-hold and move the image to, let’s say, the top left corner of the page (or to any other places on the page as you need; in this case, the top left corner of the page is very convenient for us)
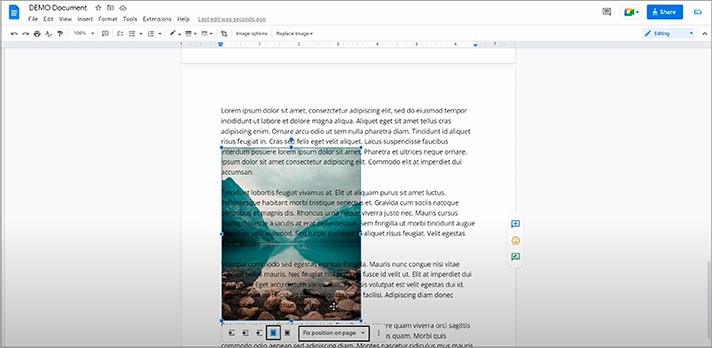
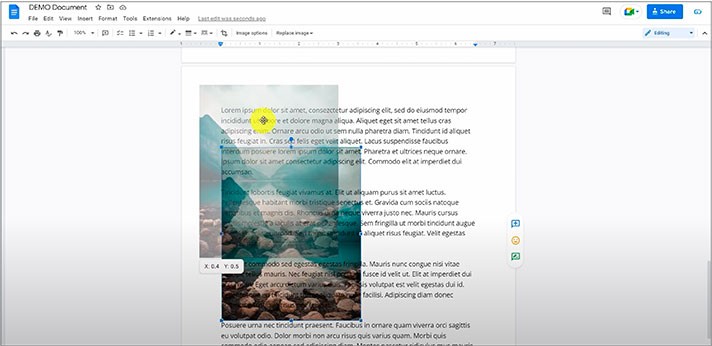
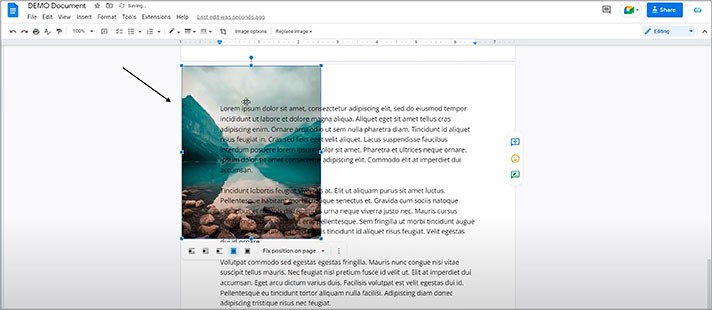
- We can pull the square on the frame of the image and stretch it to make it cover the whole page. And there we go. For example, you can keep working with the text, you can move the image, delete it, change its size, etc.
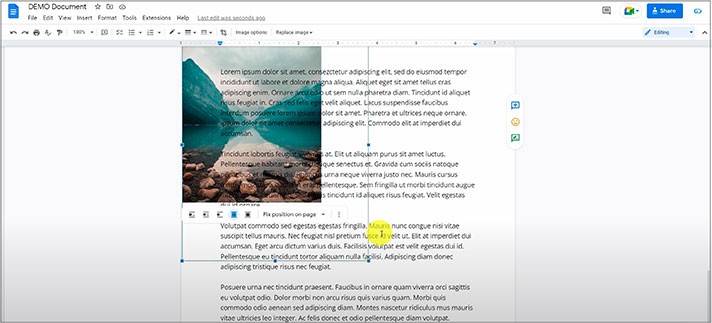
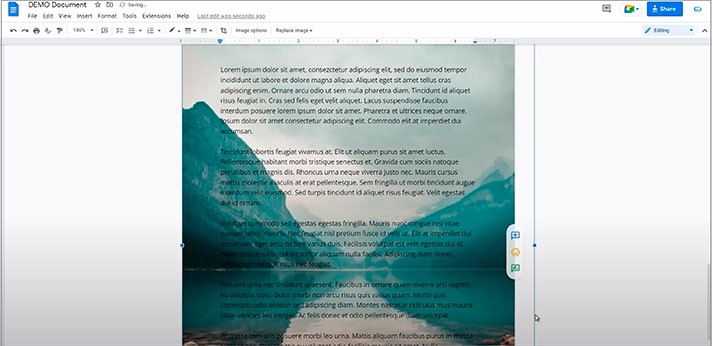
- And the last image placing option here is “In front of text”, which is just the opposite, and will cover the text with itself
Formatting the Image
Now we go to the image formatting with the help of the tools on the toolbar.
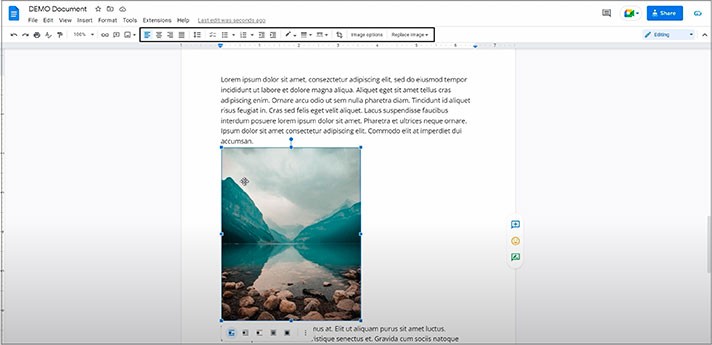
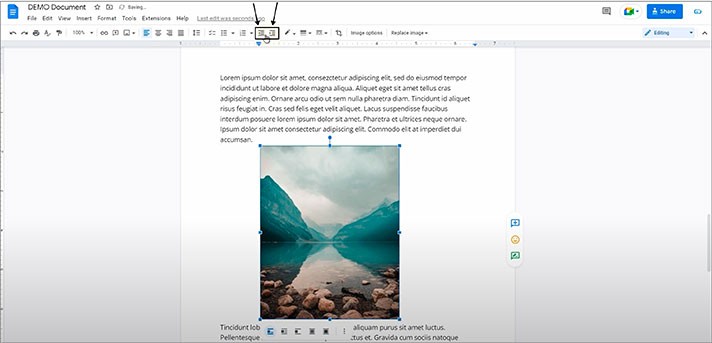
- Using the same commands for the text, for example, you can align the image to the center (“Center align (Ctrl + Shift + E)”), to the right margin (“Right align (Ctrl + Shift + R)”), etc.
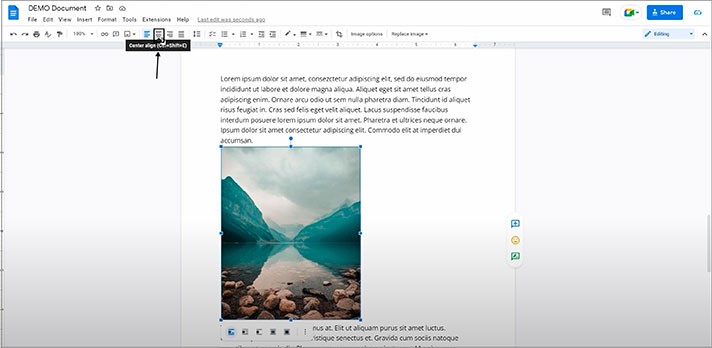
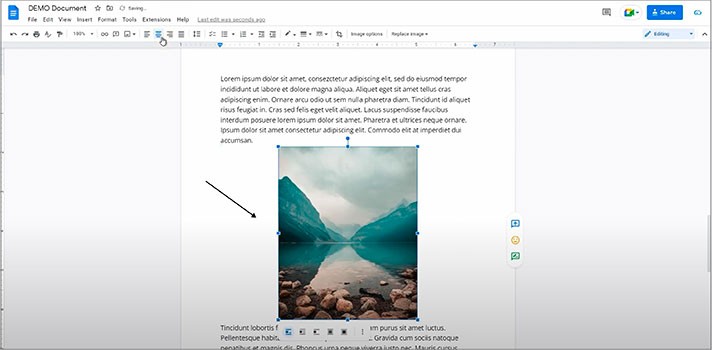
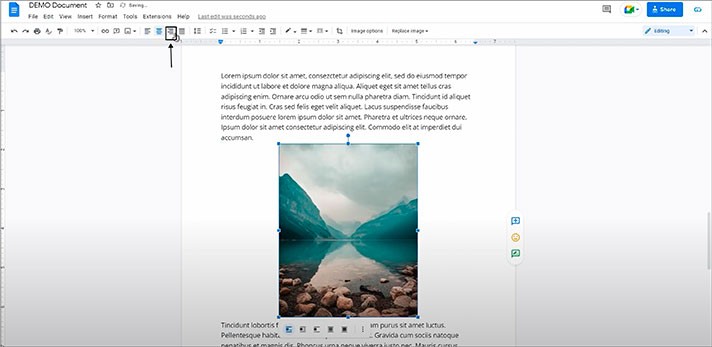
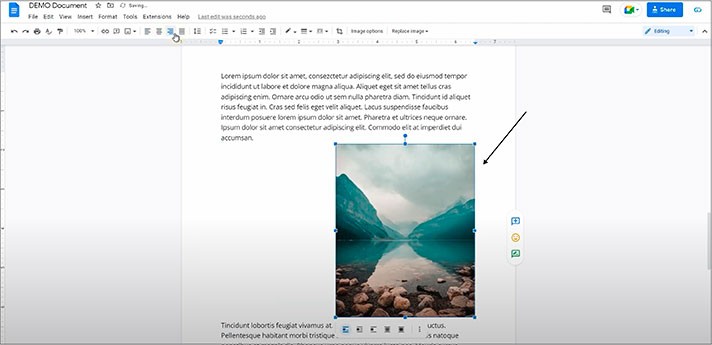
- You can change its indent (“Decrease indent (Ctrl + [)” and “Increase indent (Ctrl + ]”), for instance
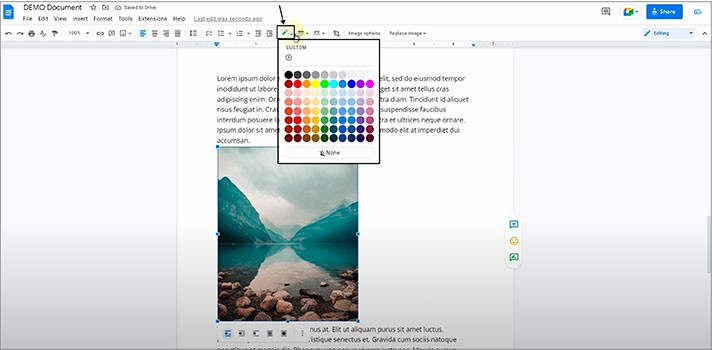
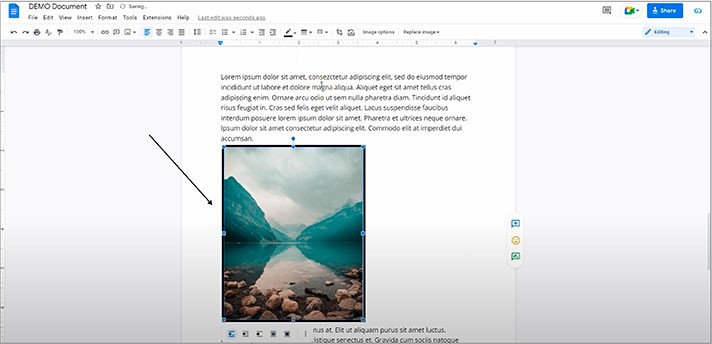
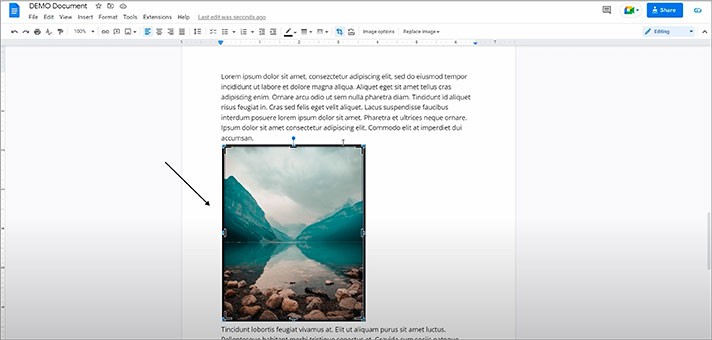
- You can choose the color for the border of the image (“Border color”), too. For instance, we’ll do it in the black color
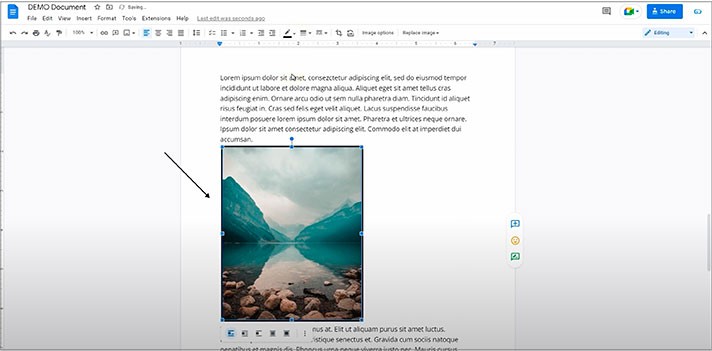
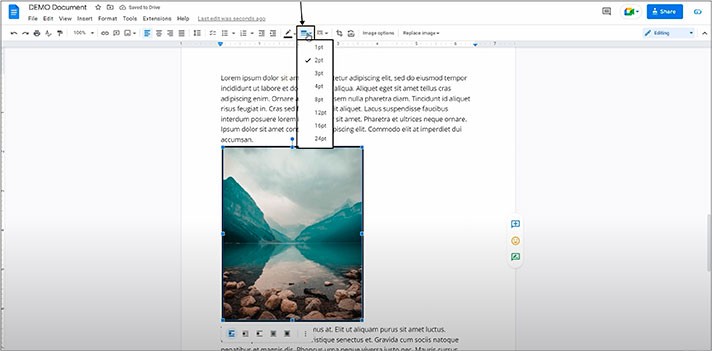
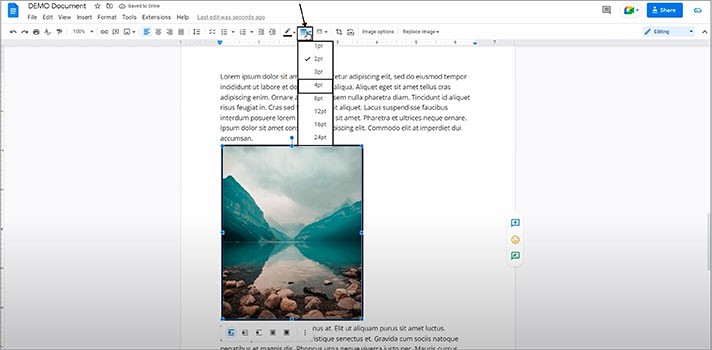
- Here (“Border weight”), you can make the border of the image thicker; for us, it will be 4pt, for example
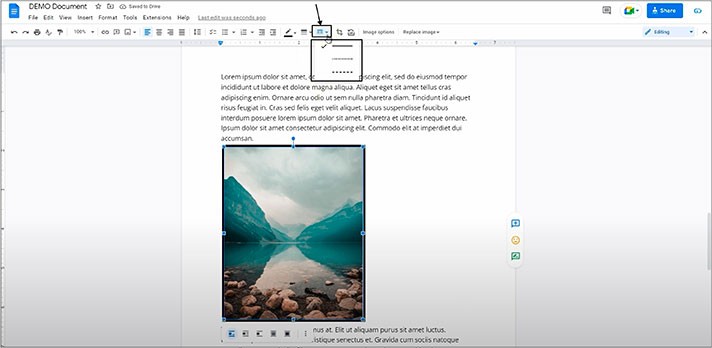
- And do a line dash (use “Border dash”) if you need
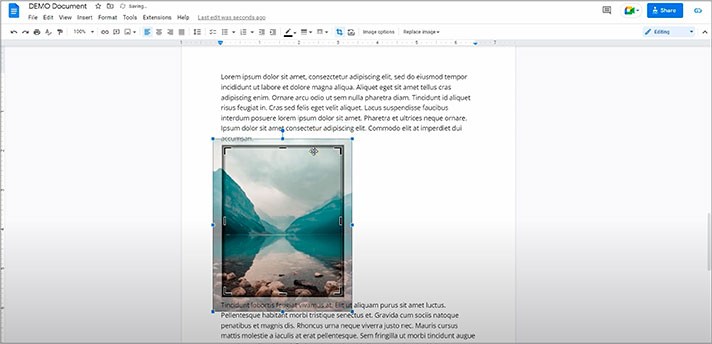
- You can crop the image right here inside the document with the “Crop image” button
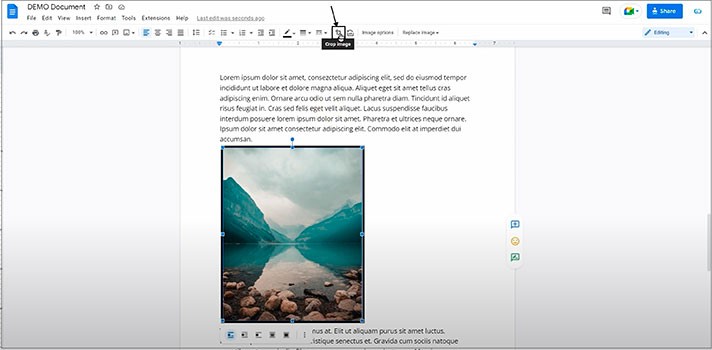
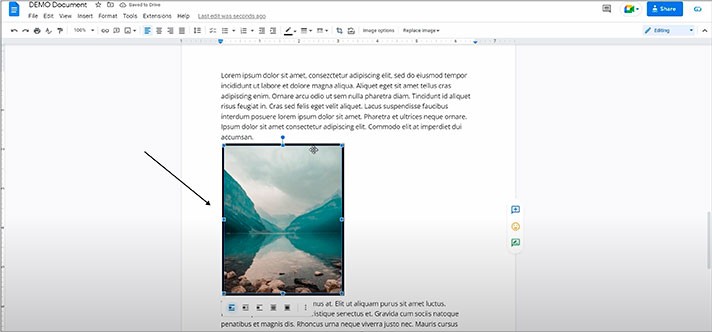
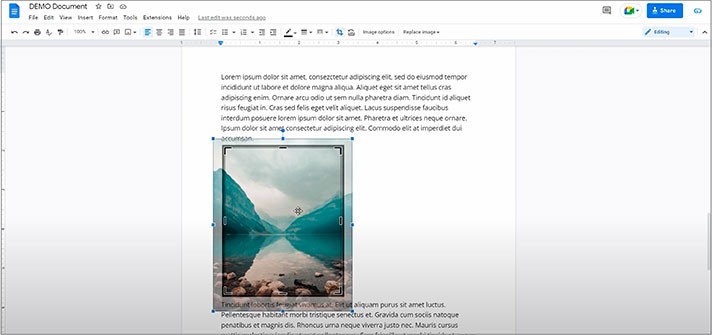
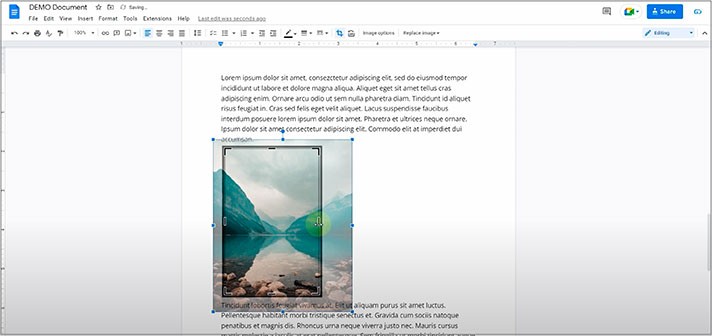
- And now, around the image, you have some kind of frame with black marks that you can pull to the center and wherever you want it to be, as it moves freely here
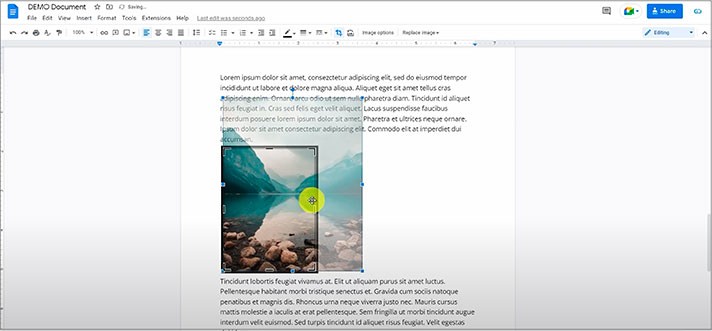
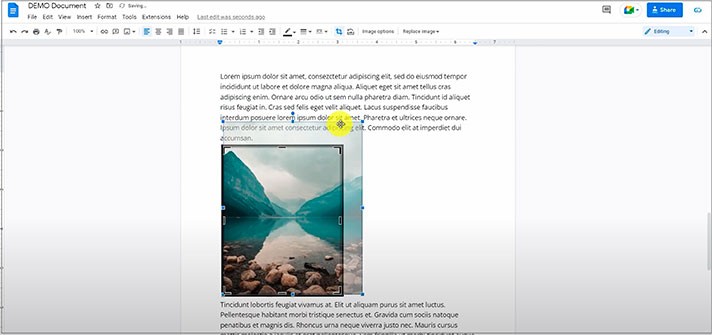
- You can move the image behind the cropping area to adjust it more and then press “Enter” to finish cropping it. You can double-click on the image and once again change the size of the cropping
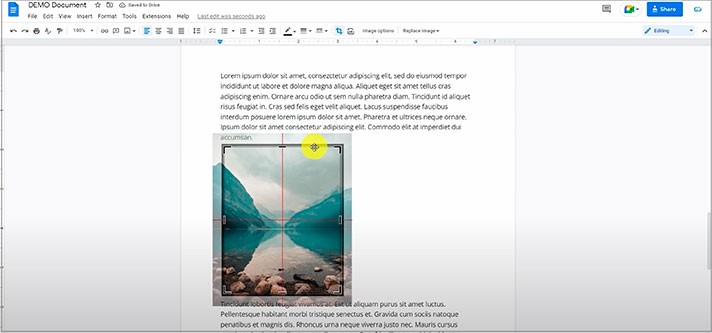
These are just some basic and quick tools inside Google Docs, so you don’t have to go to any other image editor for applying these customizations, which is really nice.
Sidebar Adjusting
What’s awesome is that you can access all the mentioned image settings and even more from one place.
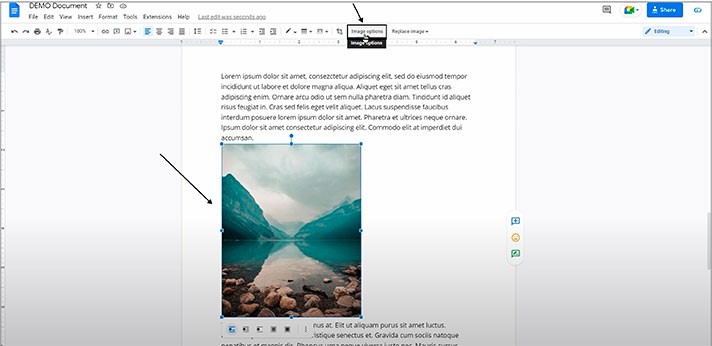
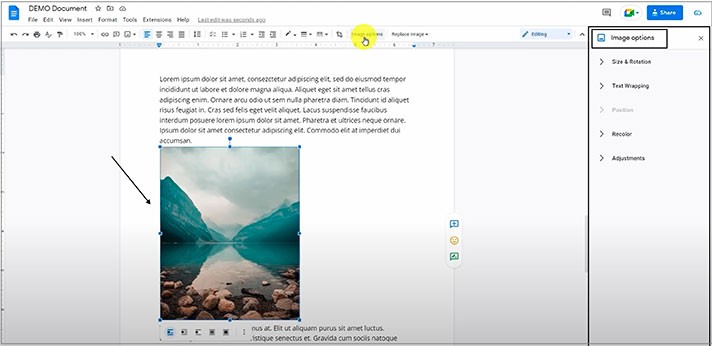
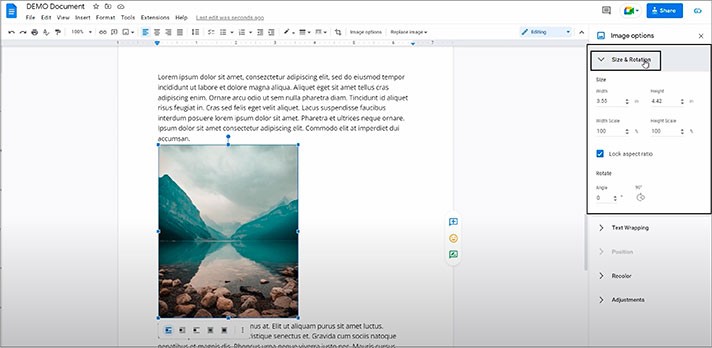
- “Size & Rotation”, where you can change the size of the image, but with more accurate controls in inches, and the rotation option, where you can change the angle one by one, manually type in the number or, for example, rotate the image with the button
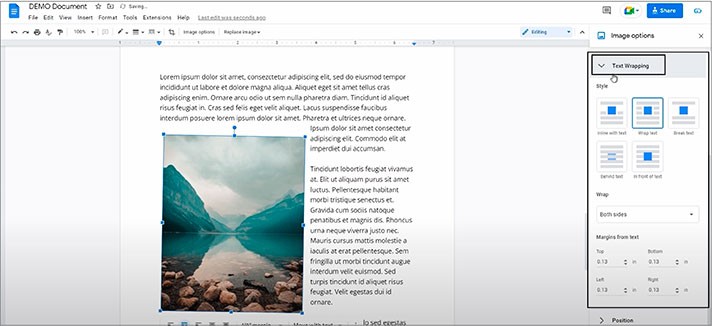
- The next item on the menu is “Text Wrapping”, which we overviewed earlier with the help of the bar below the image, and this is just a bigger version with the buttons for more accurate controls
- The same concerns positioning options (“Position”) in regard to the text on the page if you have any type of wrapping turned on for the image (there appear more options when we choose here “Fix position on page”)
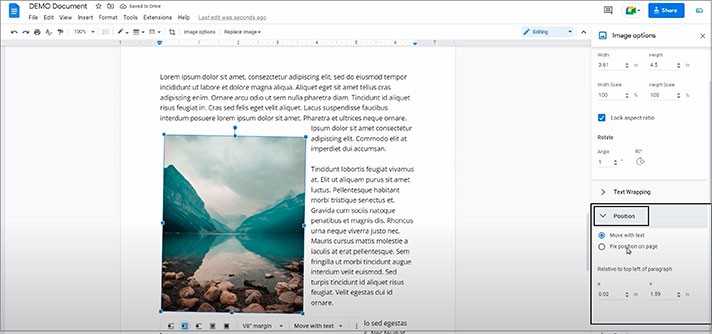
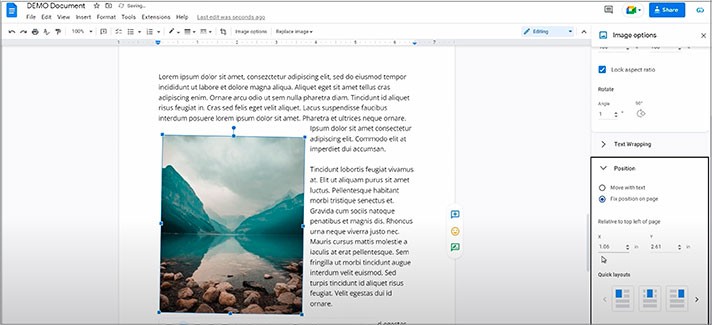
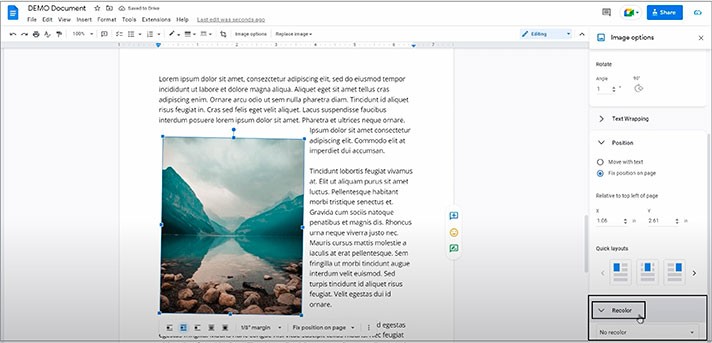
- Then, we have a more recent “Recolor” feature, where you have some basic image recolor filters. You can see for yourself which one(s) you like more (if you need)
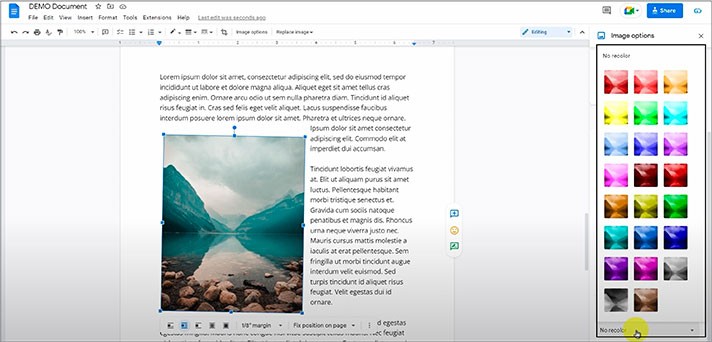
- And the last item on the menu here (“Adjustments”) is a few basic image adjustments sliders, starting from “Transparency” settings, then comes the “Brightness” option and “Contrast”. And “Reset” if you don’t like the customizations made
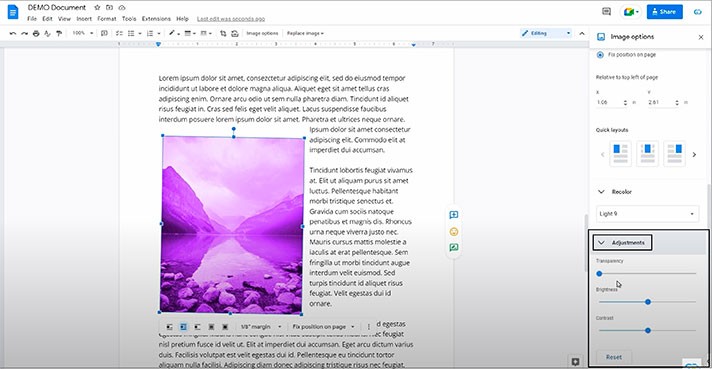
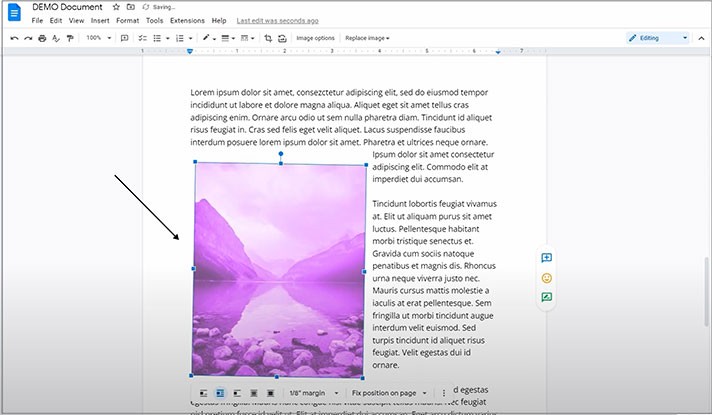
- Here is how our random image customization looks like
Inserting a Link
One more nice thing you can do to an image in Google Docs is to insert a link in it, just like you do with the text. But unlike with the text, with the image, you can see the link only when you click on it.
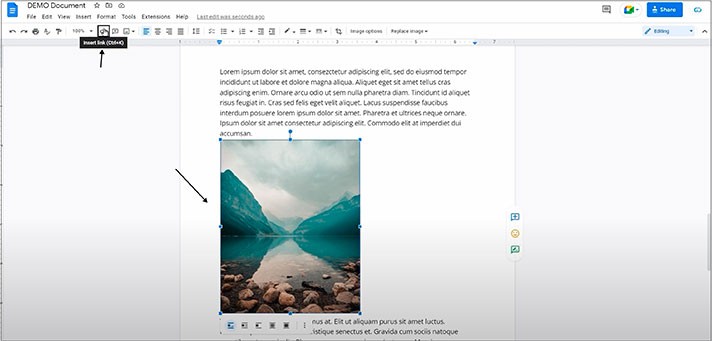
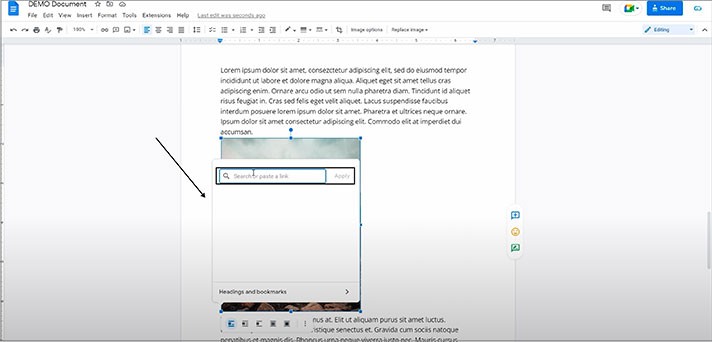
- Then paste a link into the special field and press “Apply”. This is it
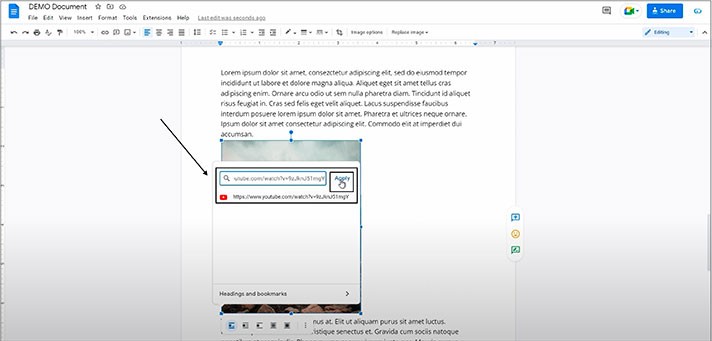
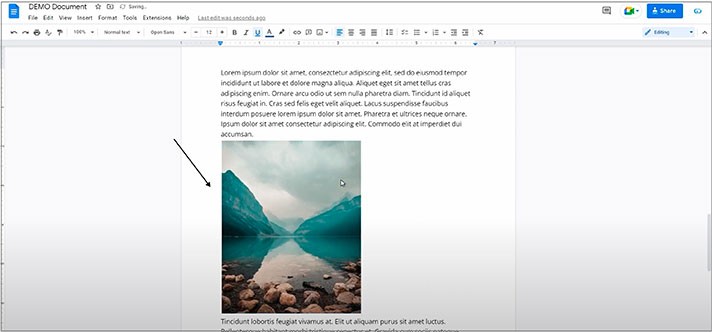
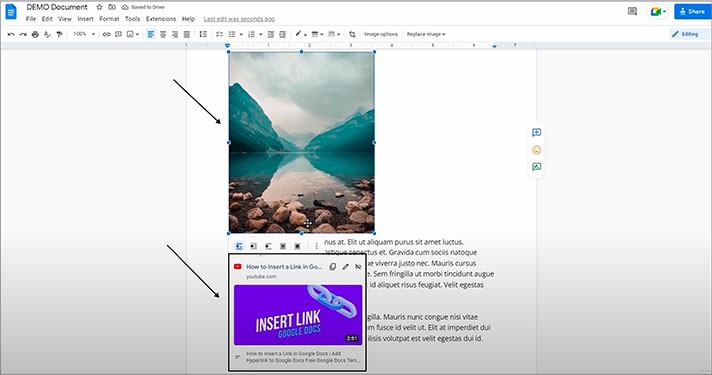
- Now when you click on an image, it will bring the bar with the link below the image settings. Also, it might show a little preview of the content of the link if the source allows it to do so. For instance, if you paste a link to a YouTube video and press on it afterwards, it may show a little preview of the video with some images from it. Or it can be a preview of a website or your profile on some social network, yet it doesn’t work for everything
Writing on the Image
Another important and major feature is using the image in the drawing mode in the document.
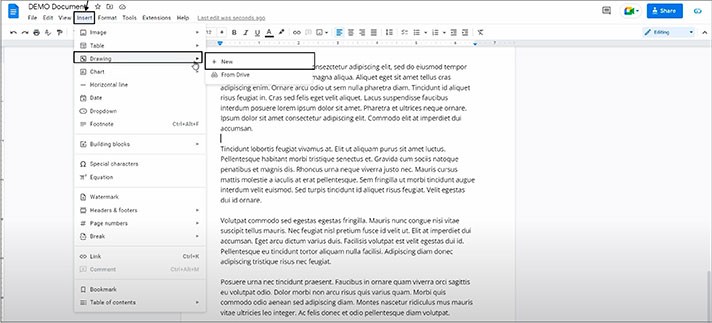
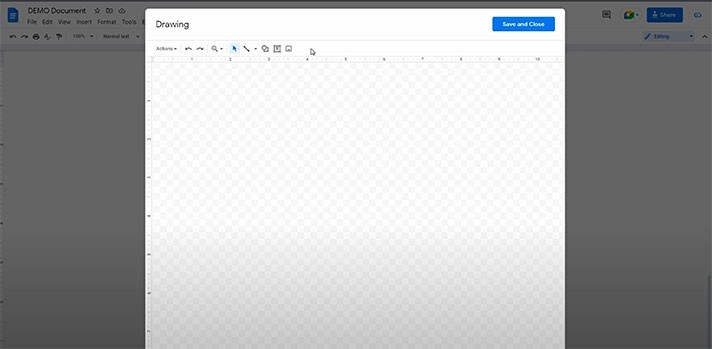
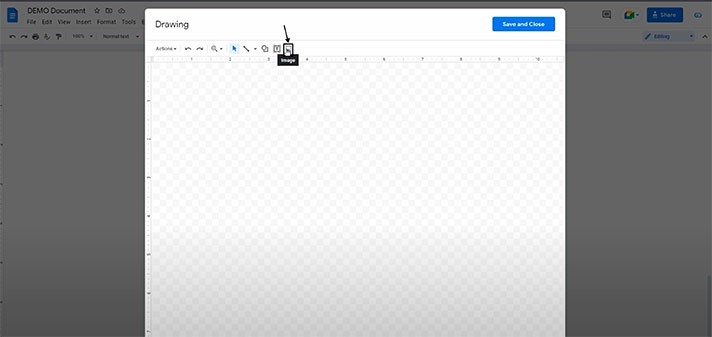
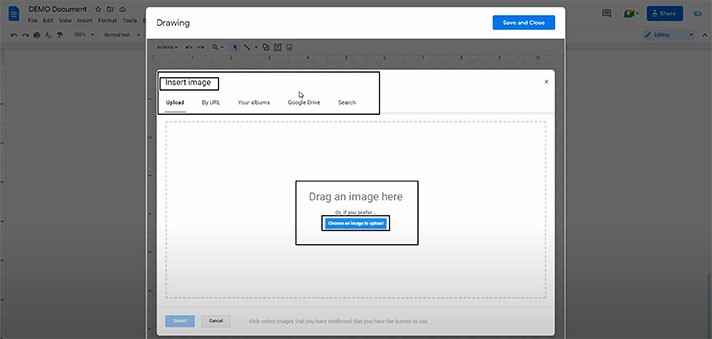
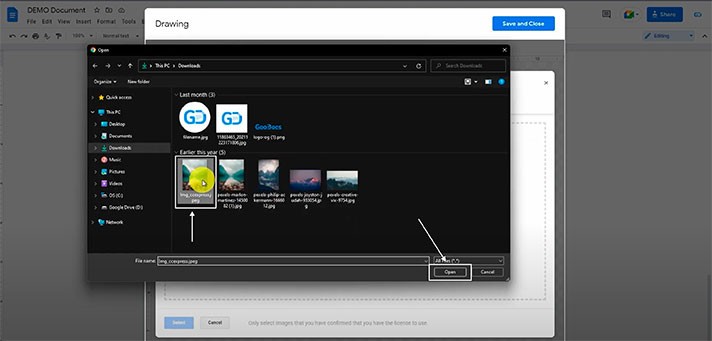
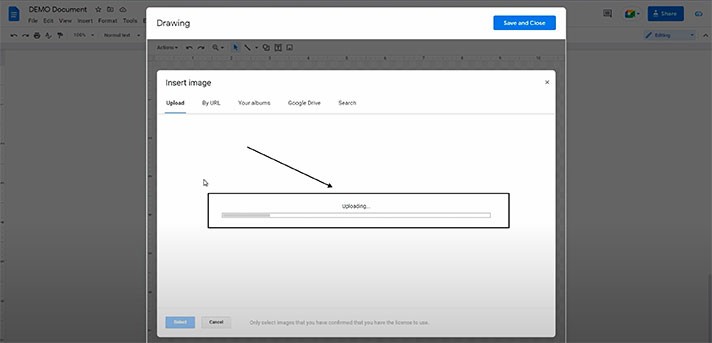
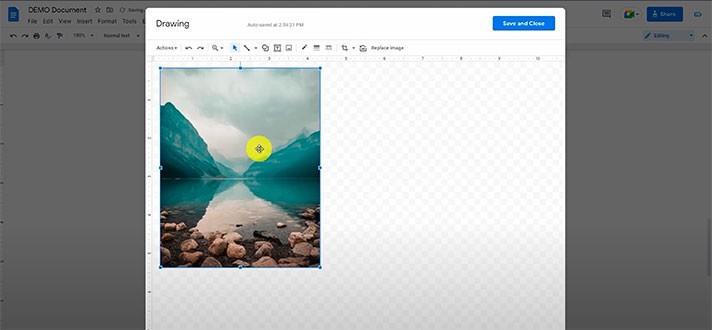
- First, we insert the images with the “Image” item on the toolbar; then, we press “Choose an image to upload” and select the necessary image to upload. Now when the image is here, you can, of course, move it over the canvas, resize it just like you do this in the document, rotate it, crop it, etc.
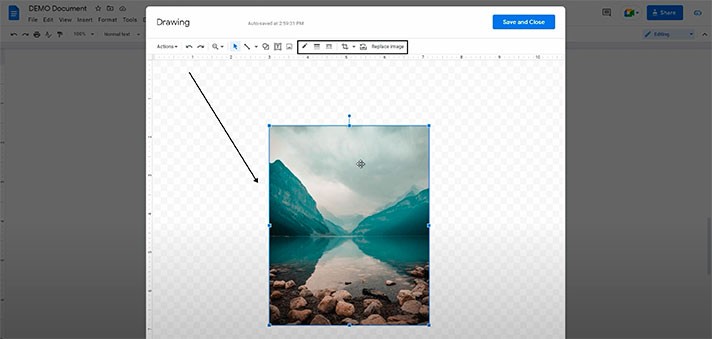
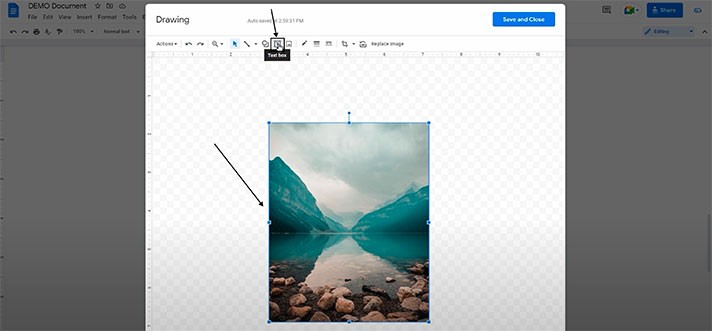
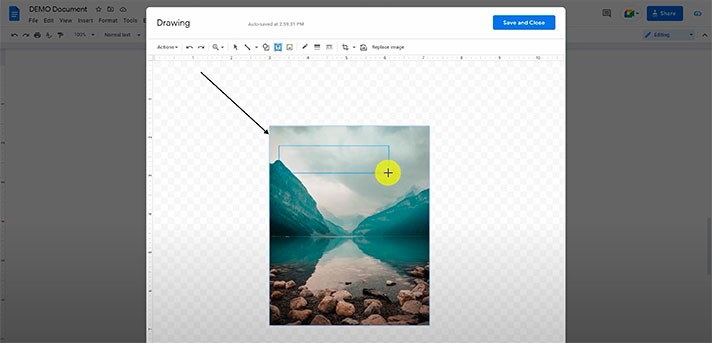
- And there's a very significant feature, allowing you to draw and write on the image. To write on the image, select the item standing for the text box (“Text box”) on the toolbar and then click and hold to draw the text box. And here you have it. Now type something in it, and here, you have the text on the image, which can be anything you need
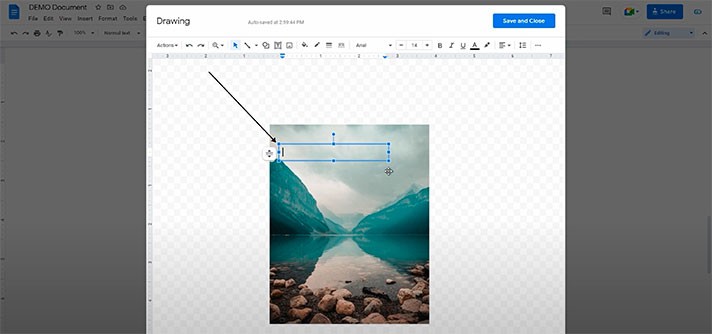
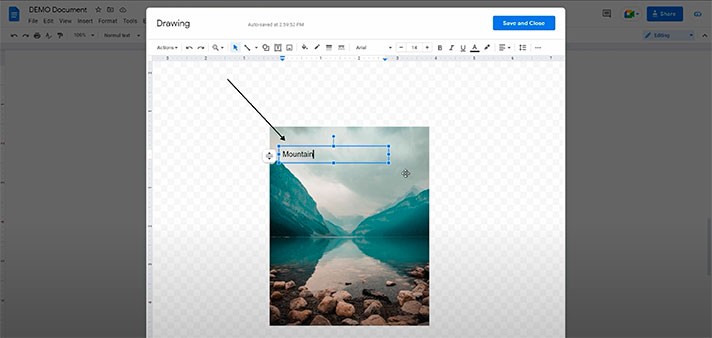
- And then, of course, you can change the formatting of the text the way you need with all the basic tools from the document, starting from the font, size of the text, and many other formattings
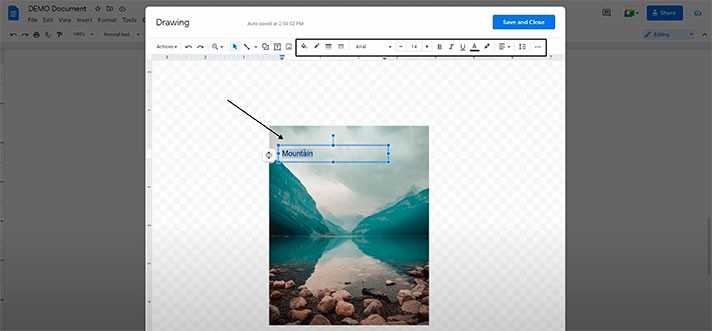
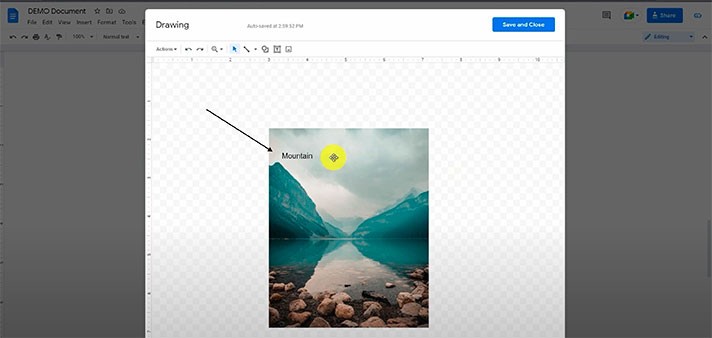
- And here is our random customization for this image
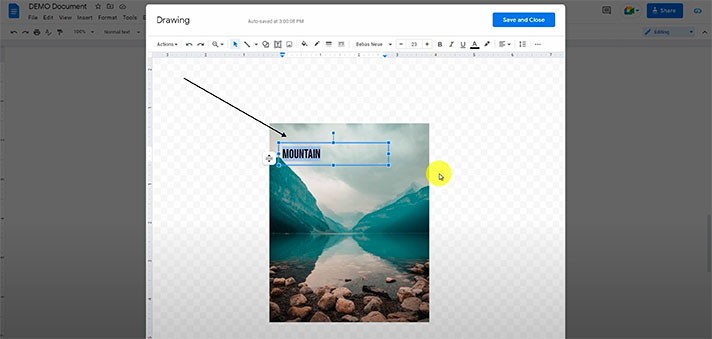
Drawing on the Image
If you press-hold on the frame of the text box, you can move it over the canvas and the image. And you can draw on the image, starting from drawing lines, for example.
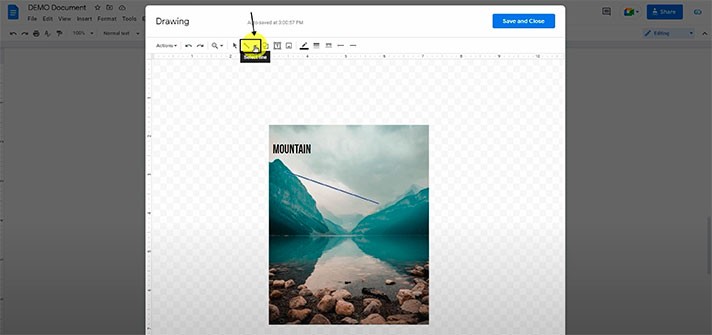
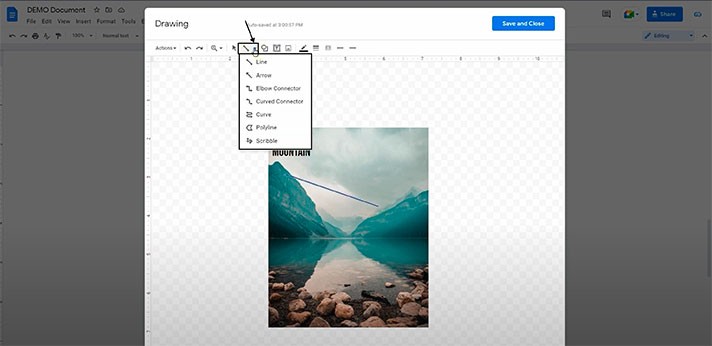
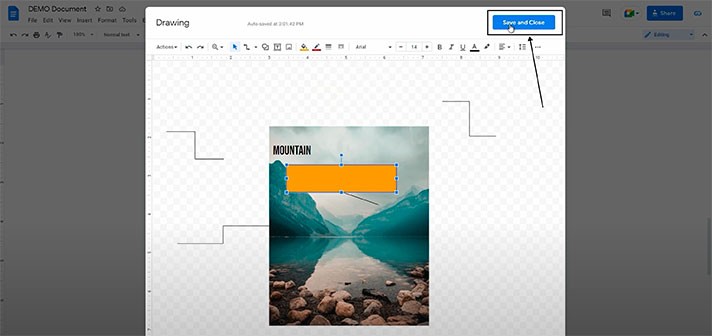
- And you can draw different shapes over the image with the “Shape” button. Select the type, select the shape, and draw by press-holding and choosing the size of the shape chosen. Here you have the shape; you can move it, resize it, change its fill color, put it over the image how you need it, etc.
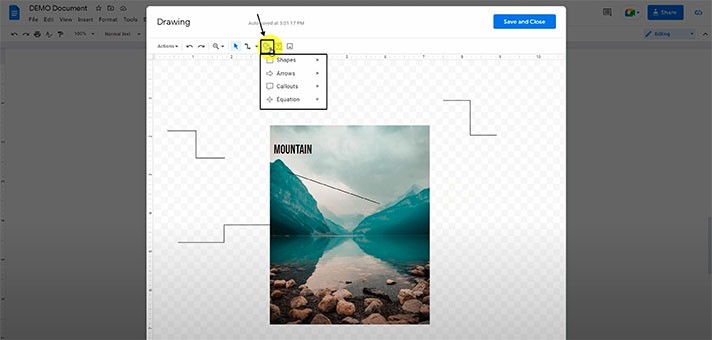
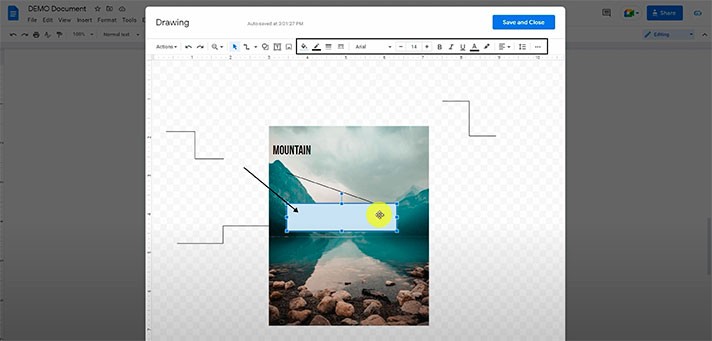
- Experiment with the shapes, text, and lines to draw what you like, and then press “Save and Close” in the top right corner to finish the drawing
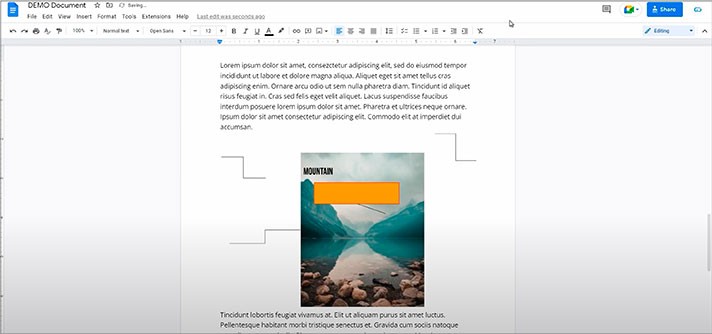
- And here it is in the document. This is how the image looks like with our random customization
We hope this tutorial will help you learn how to work with images in Google Docs. Good luck!


