How to Undo and Redo in Google Docs?

Now you will see how to use the “Undo” and “Redo” commands in Google Docs.
Basically, using the “Redo” and “Undo” commands in Google Docs is no different from how you do this in all other software on Windows OS and Mac OS. The principle is simple.
Sometimes, you may need to restore changes made in the document, for example, when you have deleted something by accident. And on the other hand, there's a redo function in case you want to recover what you’ve canceled with the undo action.Watch the video from https://thegoodocs.com/ and find out how to undo and redo in Google Docs:
The “Undo” Command in Google Docs
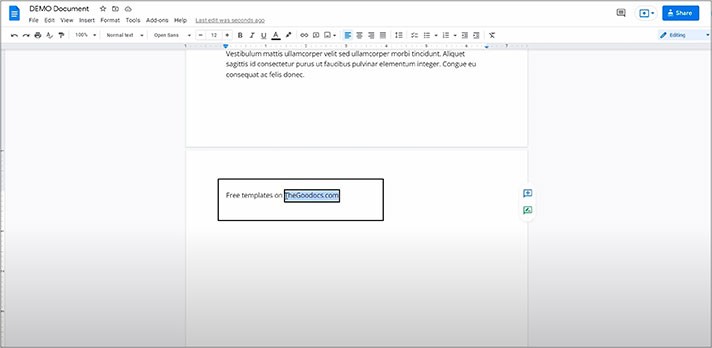
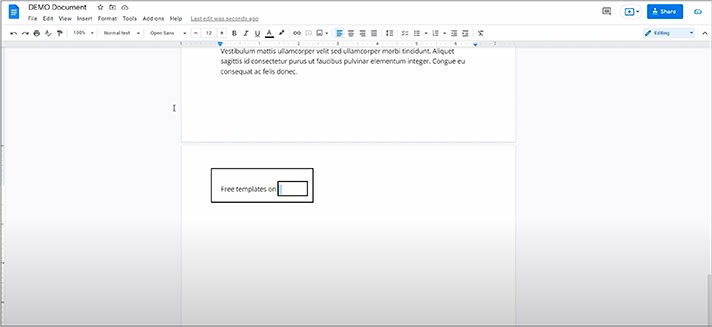
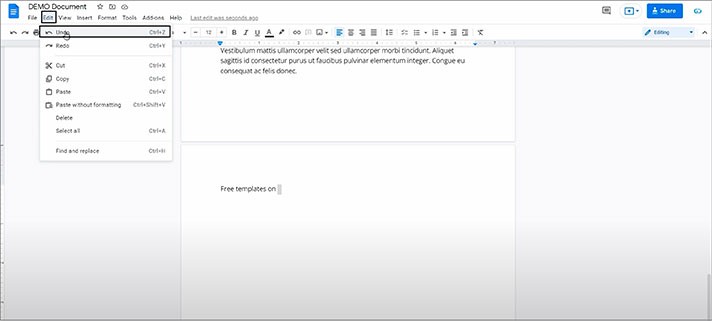
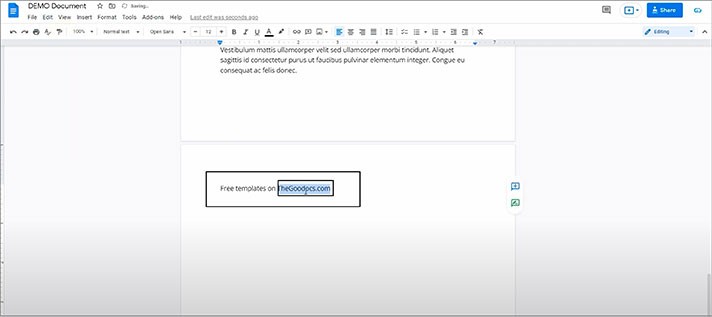
- In this example, we are entering some text and then we are selecting a part of it. And let’s say that we accidentally delete it. It’s gone now. And since we’ve deleted it by accident, we want to bring it back. To do that, we go to “Edit” on the toolbar at the top of the page and click on “Undo” on the first line. And the deleted text is back
The “Redo” Command in Google Docs
Now let’s talk about the “Redo” command.
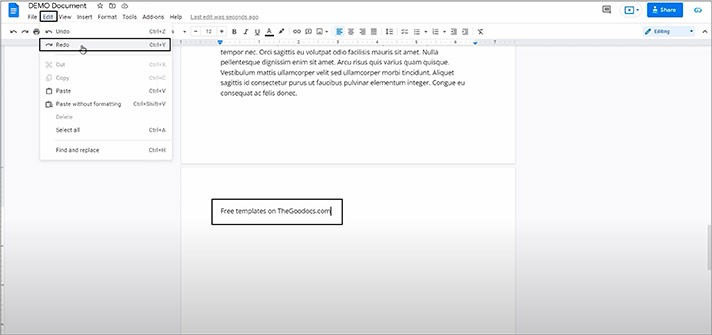
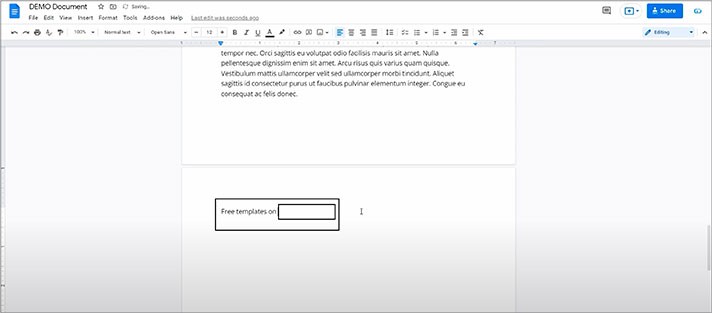
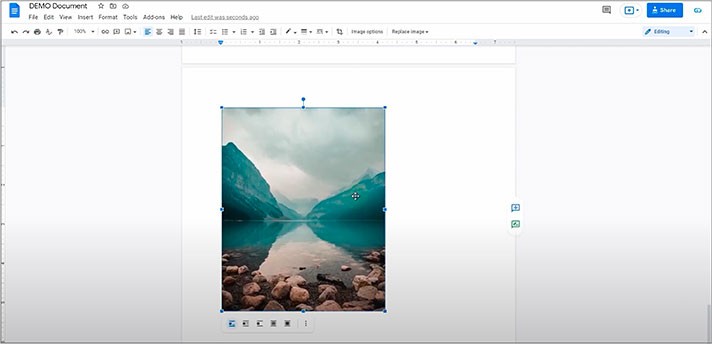
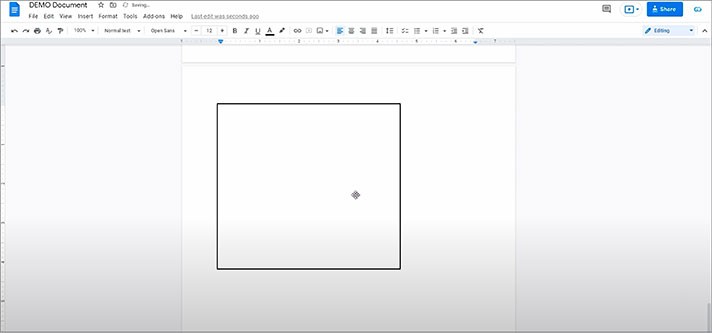
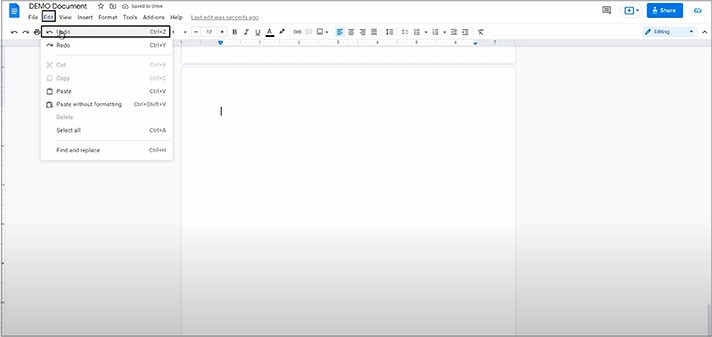
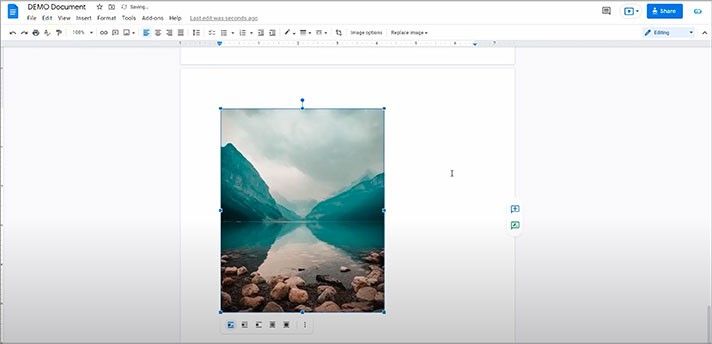
- For example, it works with images. And here we have one image. We select it and then delete it. Now we go to “Edit” at the top of the page, then we press “Undo”. And the image is back
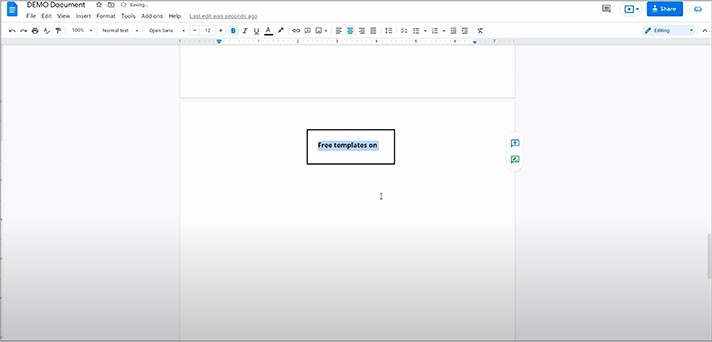
- Besides, this works even with text formatting, for instance. Let us select some text. Now we’ll make it bold and then center it on the page
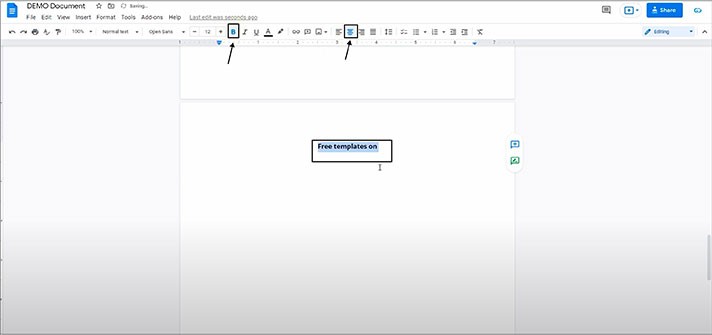
- Now pressing Ctrl + Z or Cmd + Z once returns the original left alignment and pressing Ctrl + Z or Cmd + Z for the second time removes applied bold formatting
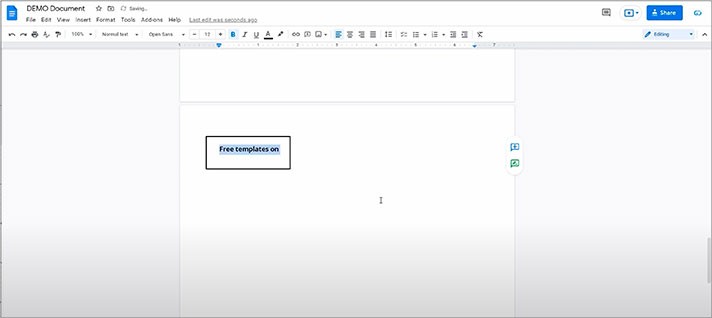
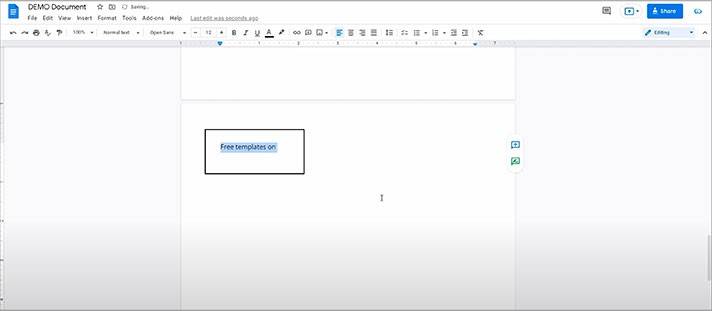
- Or, for instance, let’s cancel the bold formatting removal with the redo function. To use it, we can press Ctrl + Y on the keyboard, and the bold formatting is back. That’s how you do this
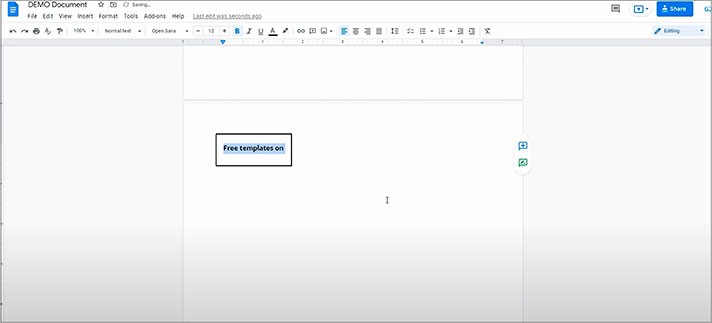
We hope this tutorial will help you learn how to undo and redo in Google Docs. Good luck!

We are a team of creative people who dream of sharing knowledge and making your work and study easier. Our team of professional designers prepares unique free templates. We create handy template descriptions for you to help you choose the most suitable one. On our blog, you'll find step-by-step tutorials on how to use Google Products. And our YouTube channel will show you all the ins and outs of Google products with examples.


