How to Move Images in Google Docs?

Moving images in Google Docs is your common drag and drop. And we’d say this tutorial is more about other things that you need to know about inserting and moving images in Google Docs. We`re going to quickly drop the image from the computer into the document. And when it’s here, we can decide how we want to place the image on the Google Doc.
Watch the video from https://thegoodocs.com/ and find out how to move images in Google Docs:
Inserting and Moving the Image
First of all, exactly moving the image in the Google Doc is performed simply.
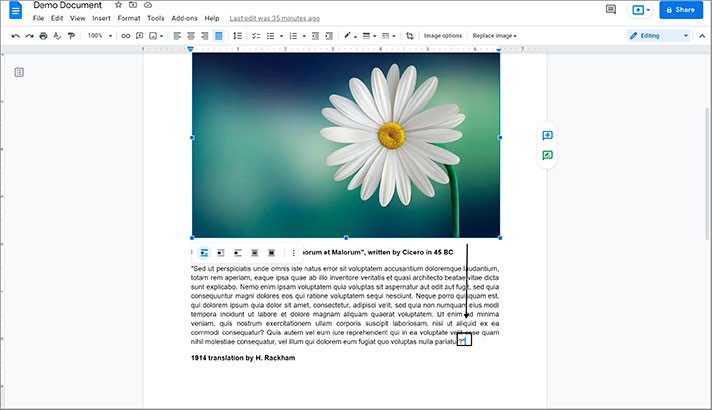
- And release the button
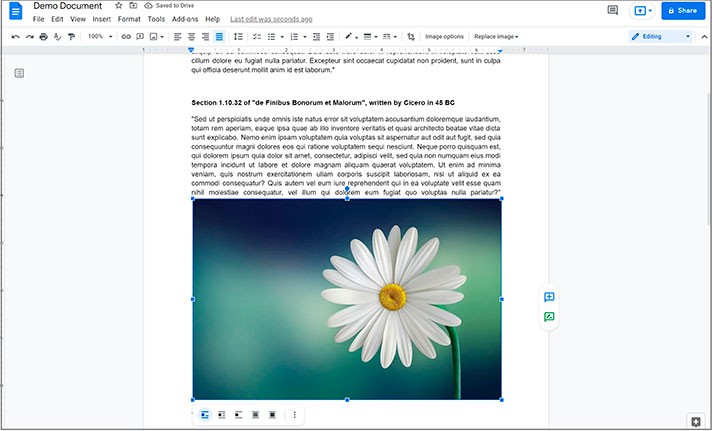
- Or you can move it to another page which means once again press-holding the image, but dragging it up or down to another page or doing that both with scrolling the mouse wheel up or down. And releasing
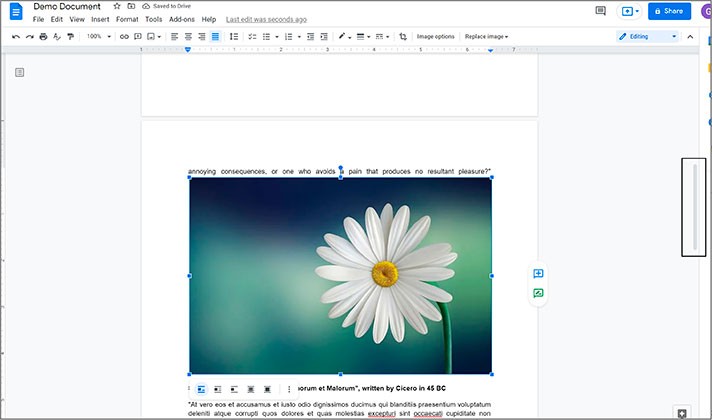
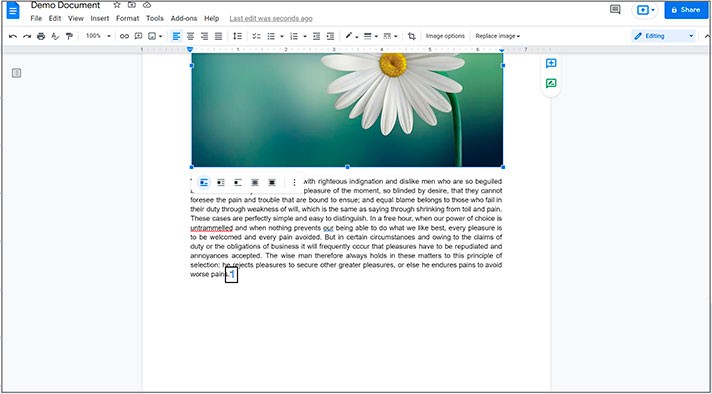
Different Image Placing Ways
Now let’s talk about how the image is placed on the page concerning the text. By default, the image is inserted in line with the text like it’s a part of it. For example, like this:
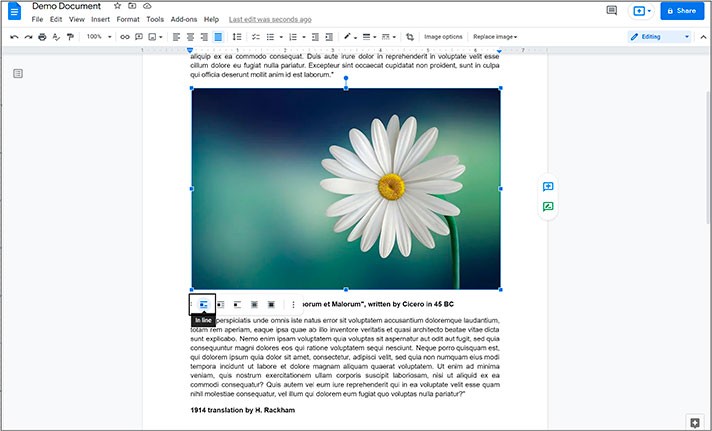
- And if we put it like this (you will see it on the screenshot below), it will break the sentence and the paragraph. That certainly does not look good. It does only when inserted properly — on an empty line like the previous sample
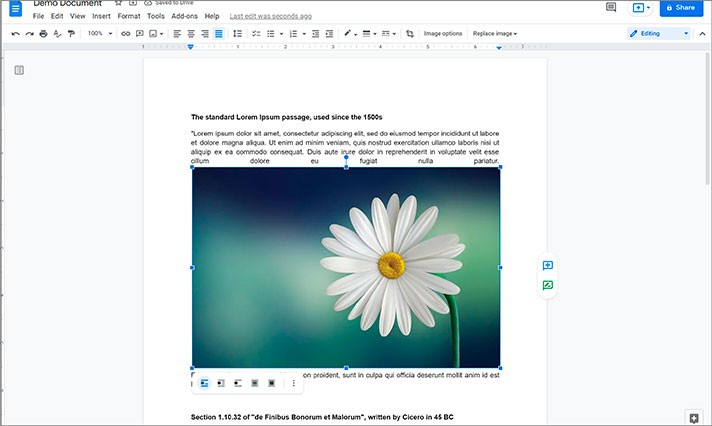
Although, there are other ways to make it look good, and the next one is when the text is wrapped around the image.
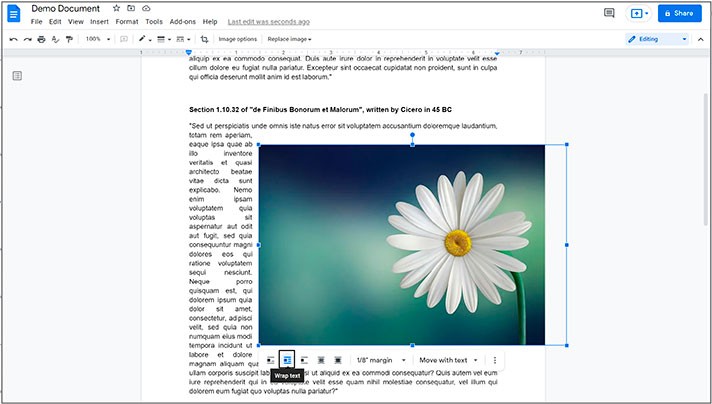
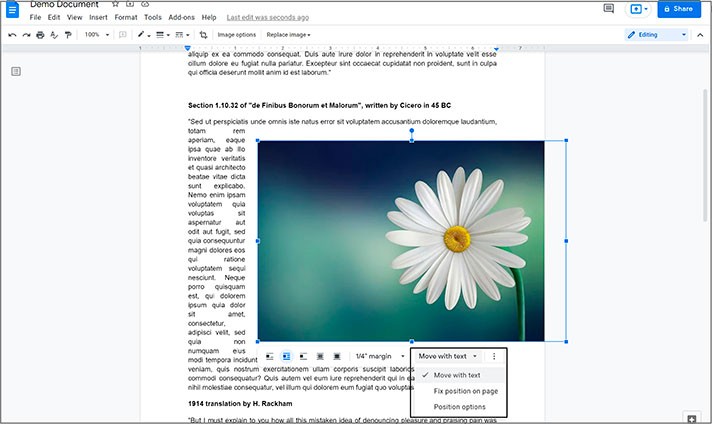
- And we’re allowed to adjust how far the text can be pushed away from the picture by adjusting the margin. So, press on the image, and on this menu, press the Image margin button
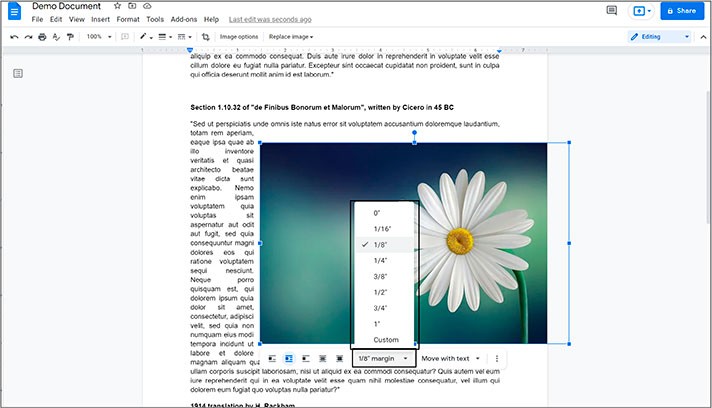
- Let us just press one option as a sample
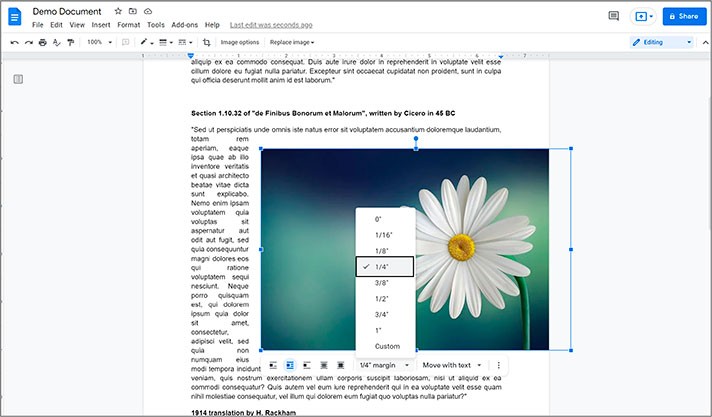
- As you can see, the distance of how far the picture is pushed away from the text is determined by the selected margin. And then, you can select the position of the image, which is “Move with text”, “Fix position on page”, and “Position options”
Breaking the Text & Putting behind and over the Text
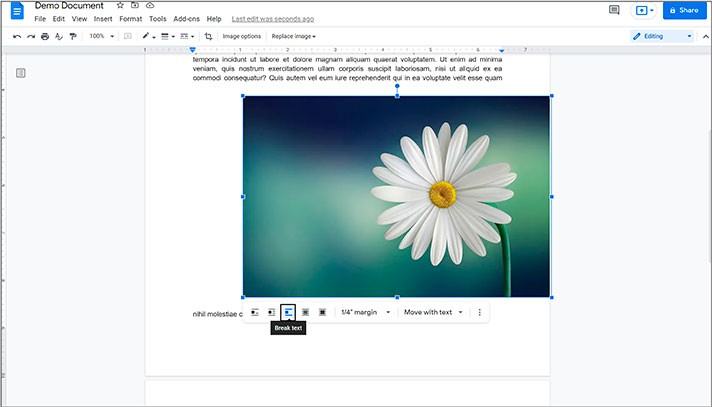
- The third button is “Break text”. Pressing it means that the image will take the entire line of its size on the page, not letting any text get left or right to it breaking the text with itself. Basically, this is what this option is. And you have margins settings and the position options, of course
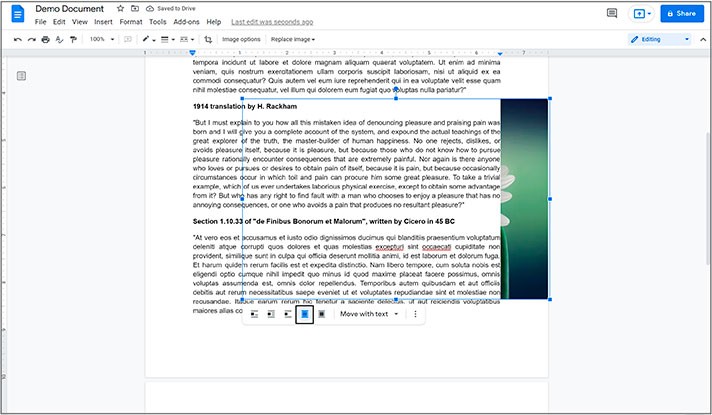
- The next one is “Behind text,” which obviously just puts the picture behind the text. And this option doesn’t anymore break the text in any way
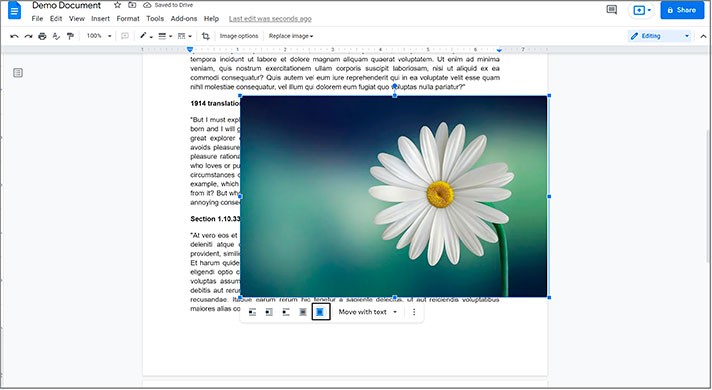
- And the last one is “In front of text,” which is just the opposite and doesn’t break the text either
Advanced Controls Customization
- And you can access all these options at once if you select the image, go to the rightmost icon with three dots, press it, and select “All image options”
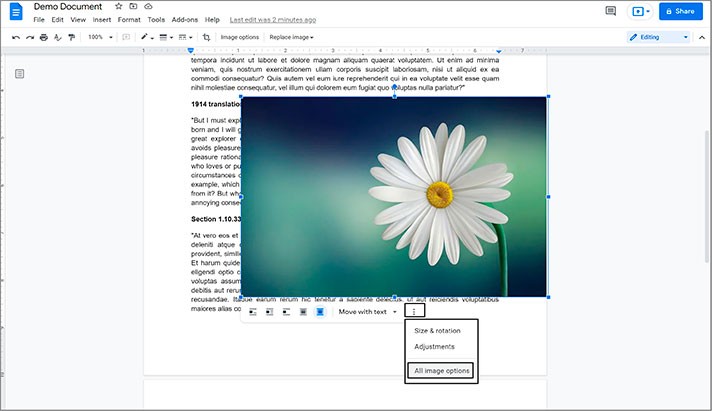
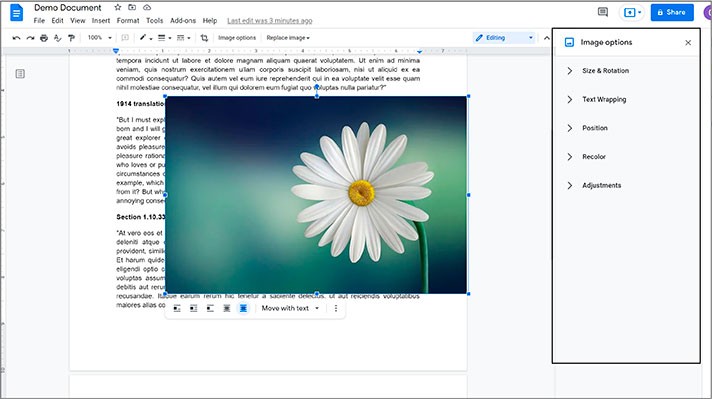
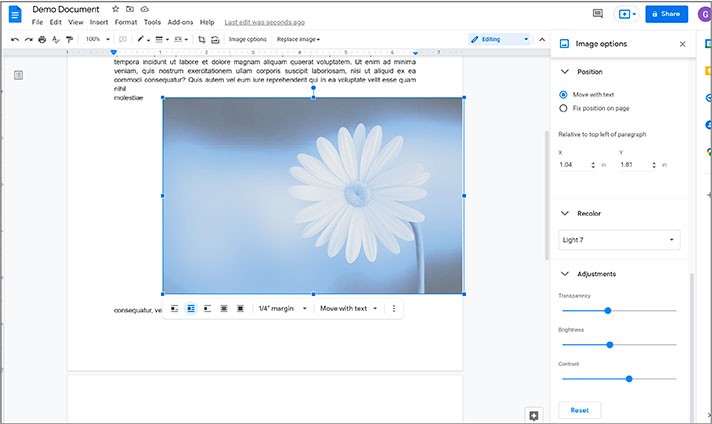
- That will open this image customization menu on the right. And here, with these unfolding items, you can select various image options and adjust the features you need. Let us unfold the options and apply some changes just as a sample
We hope this tutorial will help you learn how to move images in Google Docs. Good luck!

We are a team of creative people who dream of sharing knowledge and making your work and study easier. Our team of professional designers prepares unique free templates. We create handy template descriptions for you to help you choose the most suitable one. On our blog, you'll find step-by-step tutorials on how to use Google Products. And our YouTube channel will show you all the ins and outs of Google products with examples.


