How to Make a Border on Google Docs?

Today we’re creating and customizing borders in Google Docs. Surprisingly, there is no direct way to make a page border in Google Docs, but there are a few easy to do workarounds. In our tutorial, the first way is performed by means of creating a single-cell table, the second way is to literally draw the border, and then we get a ready-made page border from the web. We start from the simplest and the fastest method.
Watch the video from https://thegoodocs.com/ and find out how to make a border on Google Docs:
A Page Border from a Single Cell
The first way means creating a table consisting of a single cell and then working inside of it like it’s not even there. This way doesn`t offer much customization, but it is just perfect when you need to make a border fast and simply.
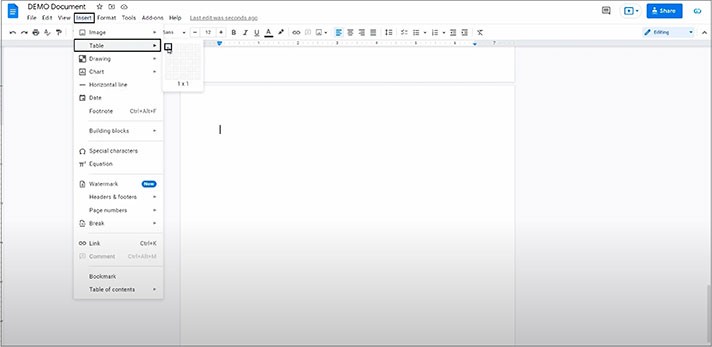
- Now we expand it to fit on the page by pulling the table bottom margin down to near the page end, maybe, in a few takes
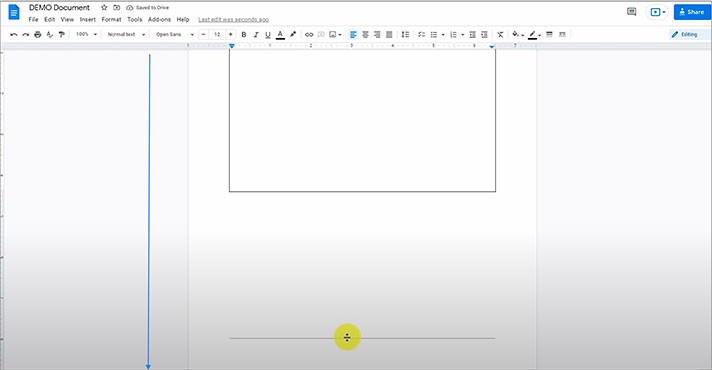
Setting Up a Cell Border
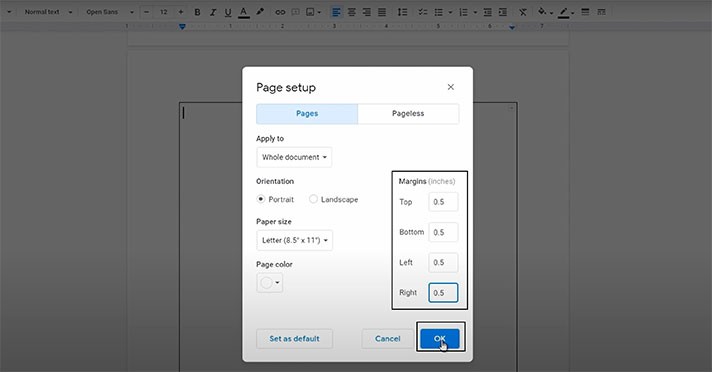
Except that, for example, we don’t like that there’s too much empty space left around it, so we’ll change that now.
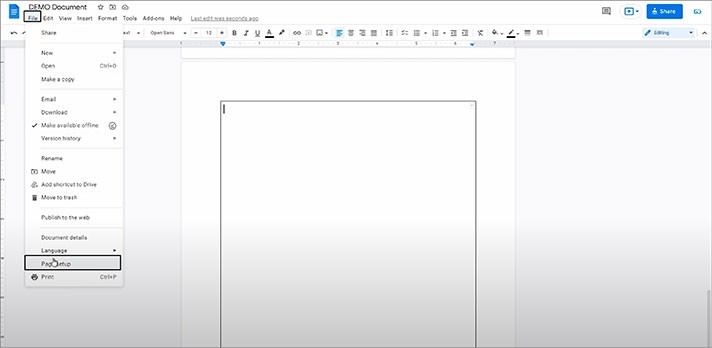
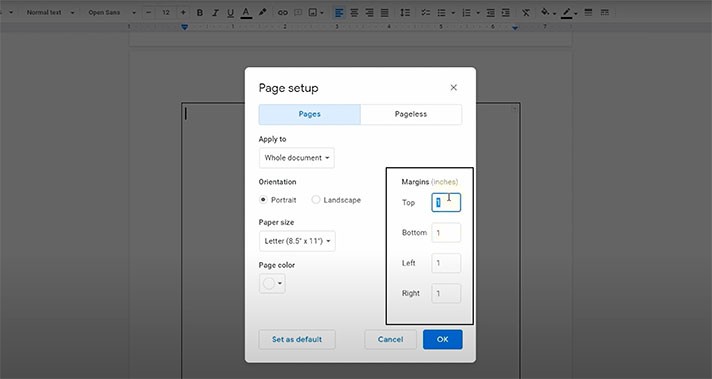
- Now we can see a new window. This column with fields is what we need, where we set the size of margins for all sides of the page. It’s a default 1 inch now, and we will do 0.5 for each margin. And now we press OK in the bottom right corner to apply. Here we go
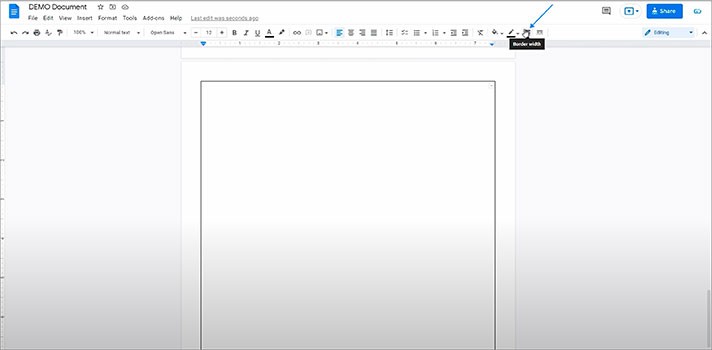
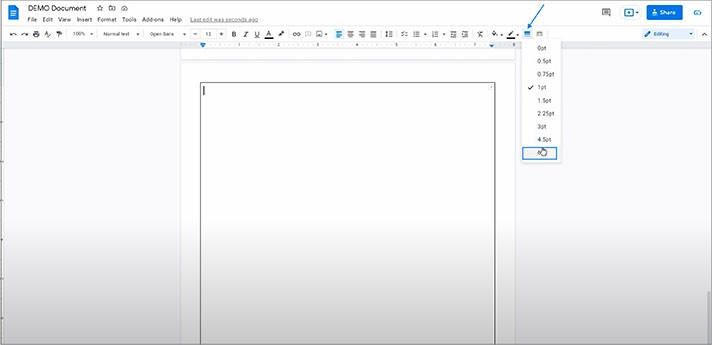
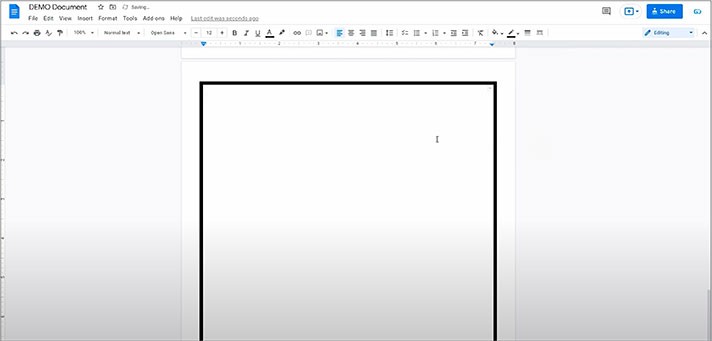
- But then we’ll make our border a bit thicker to make it look more like a border. Select your table and then go to this item on the toolbar on top; it’s “Border width”, and here, we select the last option, the thickest one. Much better. Of course, you may choose either option you like
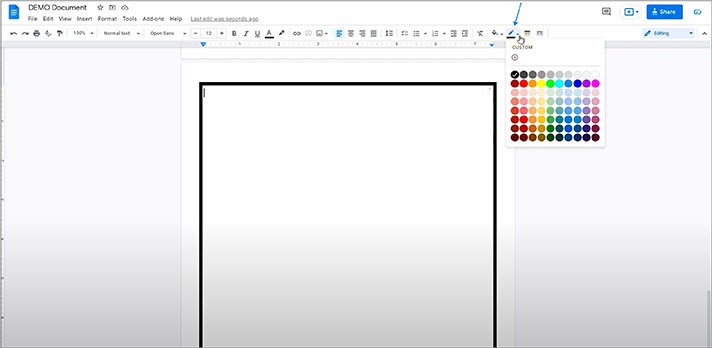
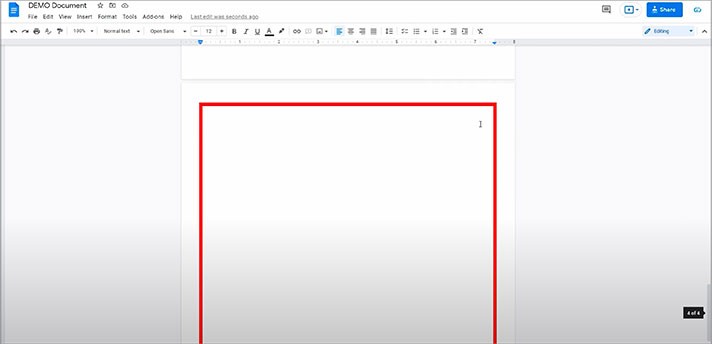
- Then you can also change its color; it’s the “Border color” icon. And select the color you’d like to use for your border. For example, we will select a random border color just to show you how it looks like
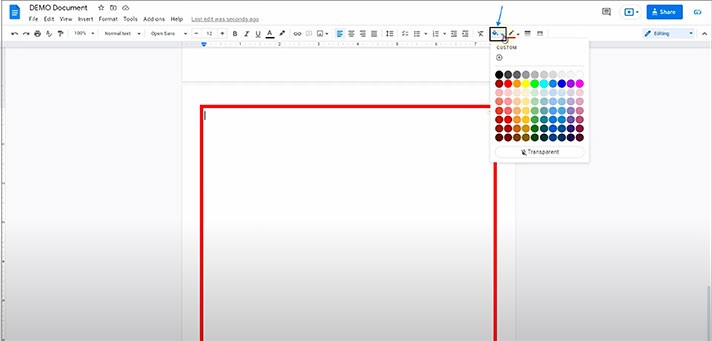
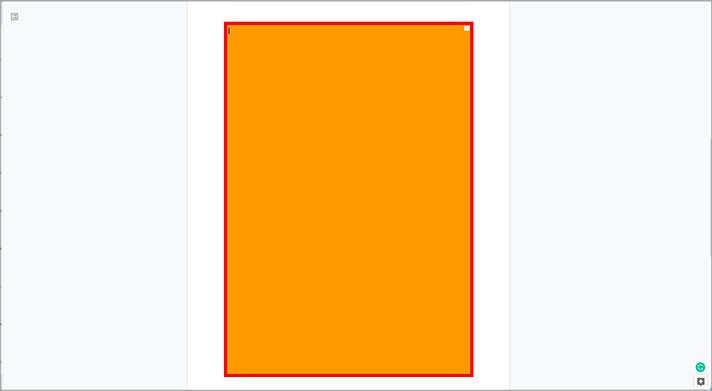
- If you’d like, here’s the “Background color” item. Just choose what you need. And we will select a random background color just to show you how it looks like
Creating a Page Border via the Drawing Workspace
The second way is performed via the drawing workspace in Google Docs since this option means creating a kind of an image of a border.
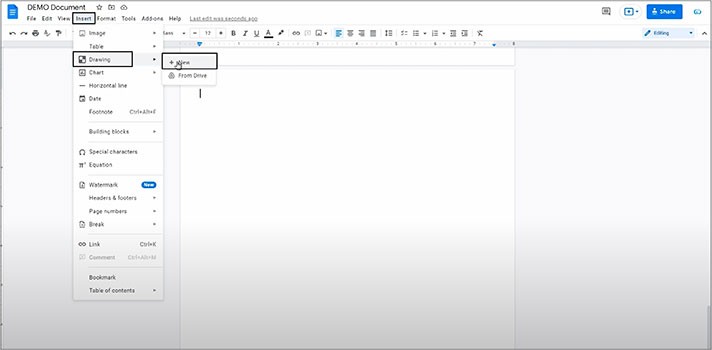
- That opens a drawing canvas over a document, and we start creating the frame. In our case, we click on this “Shape” icon, then “Shapes”, and here you select any form you like. For example, we will go with a basic rectangle
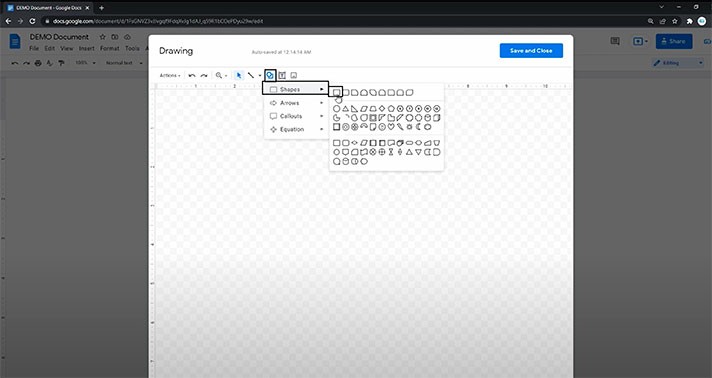
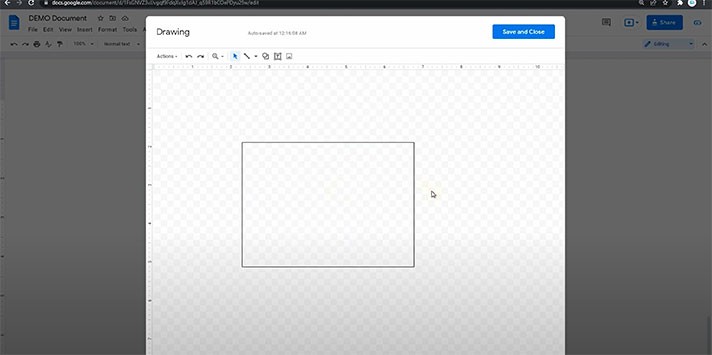
- And then we draw the figure. Press hold anywhere on the empty space and then drag the mouse until you find the right position and release it. Here it is
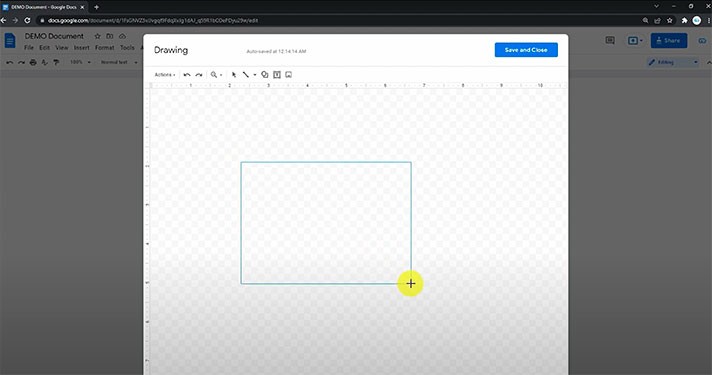
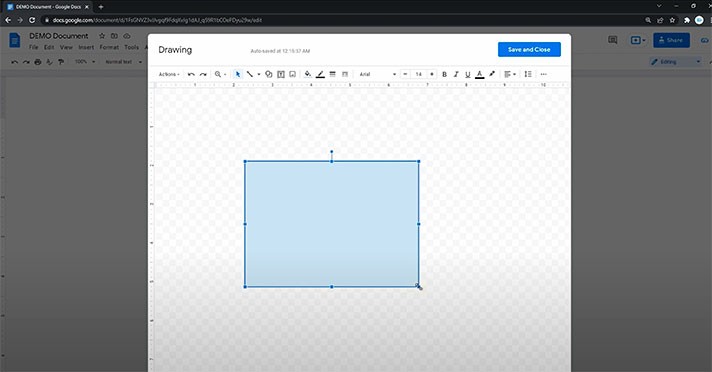
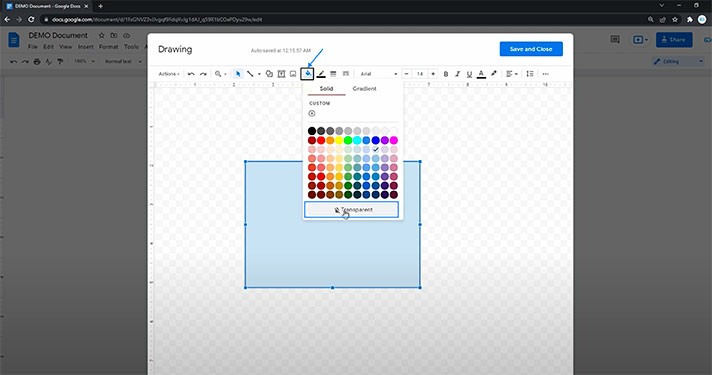
- First of all, we’ll do a transparent background. For that, we go here, to “Fill color”, and select the bottom item “Transparent”. Now it looks more like a border
Customizing a Page Border in the Drawing Workspace
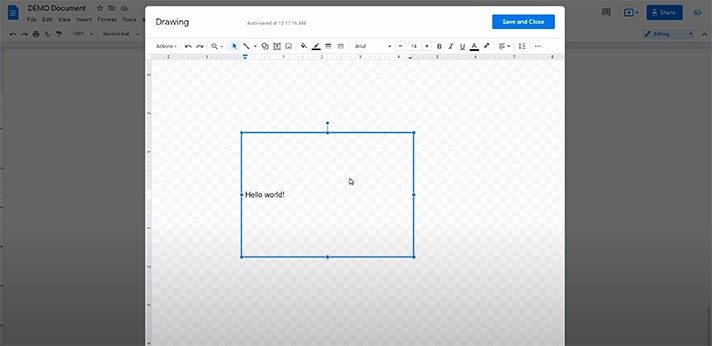
So, what’s different about this method is that you enter the data right here, in the drawing workspace, instead of when you do it on the page.
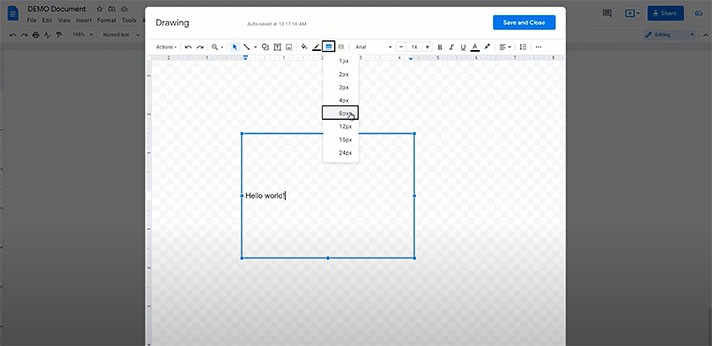
- And let’s finish with the border setup. We’ll make it thicker; it’s this item (“Border weight”) on the toolbar. We’ll do 8 px, for example. And you can select the border weight that you need
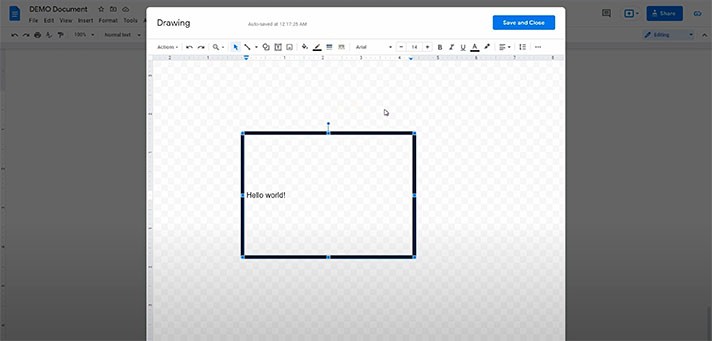
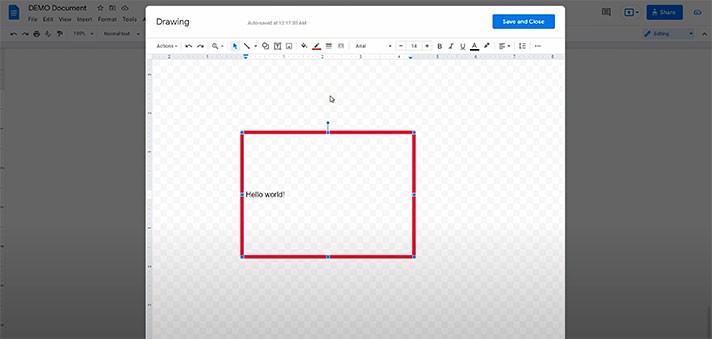
- Then, we change its color here, with this “Border color” icon. You can choose any color you need. And we will select a random one
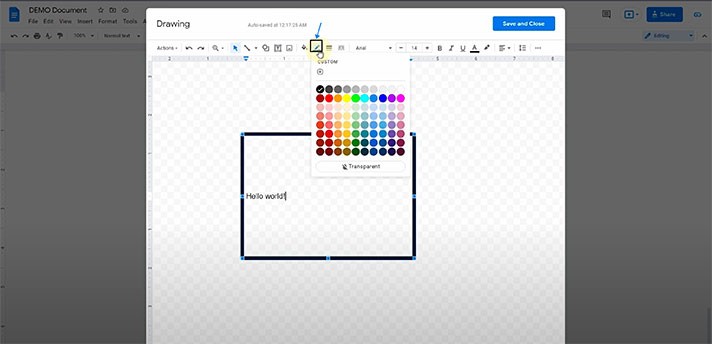
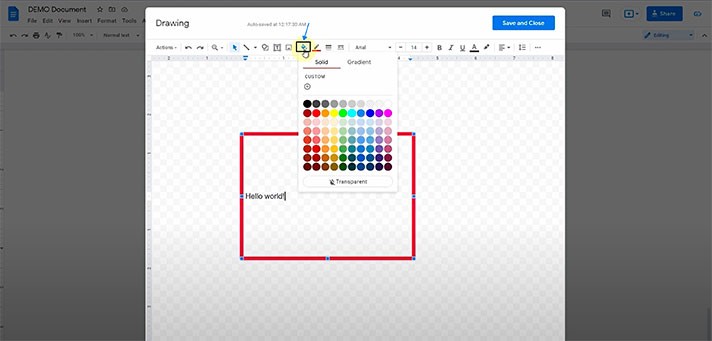
- And fill the shape with some color if you’d like. For that, select the item which you can see on the screenshot below
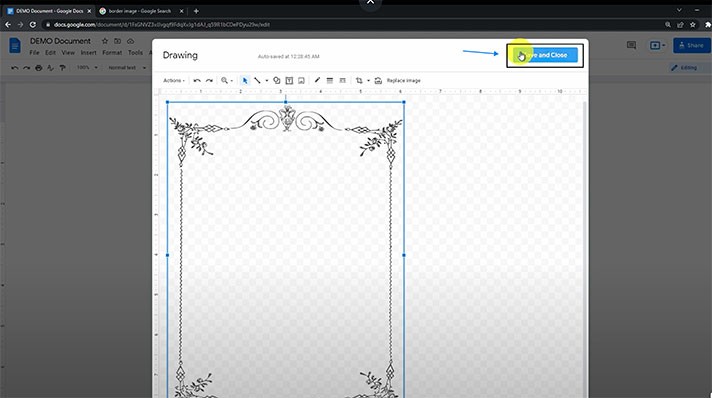
- Then press “Save and Close” in the top right corner
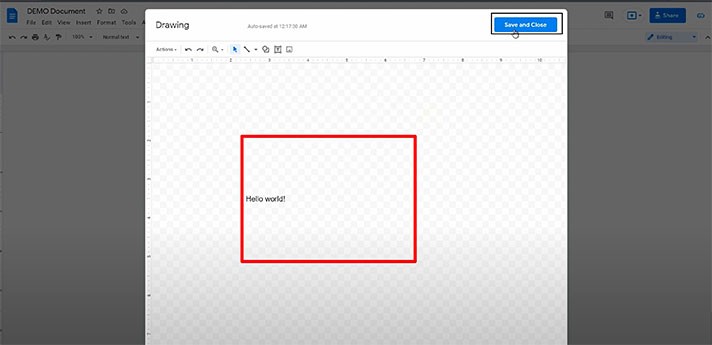
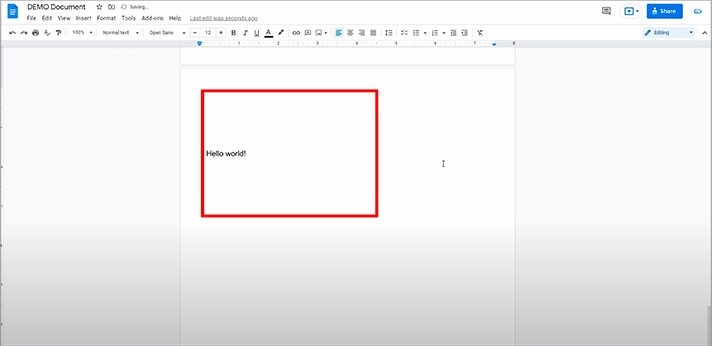
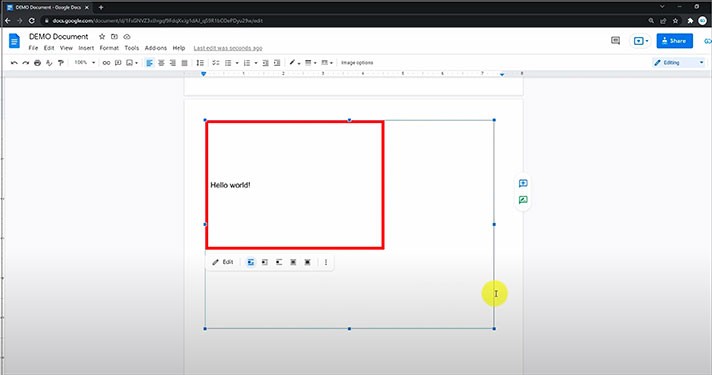
- And here it is in the document. You can move it or pull from its edges and the bottom margin to make it fit even a whole page
Getting a Page Border from the Web
Here we search the web for a border and then insert its image into the document. Let’s do it.
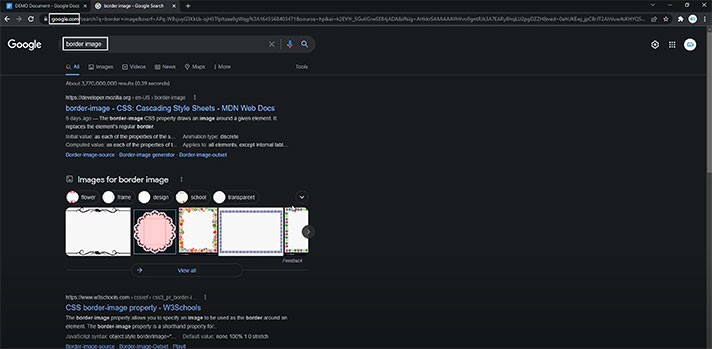
- Now we switch the search results to “Images” type here below the search bar
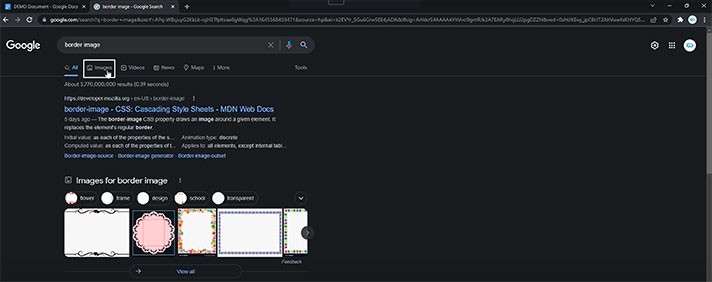
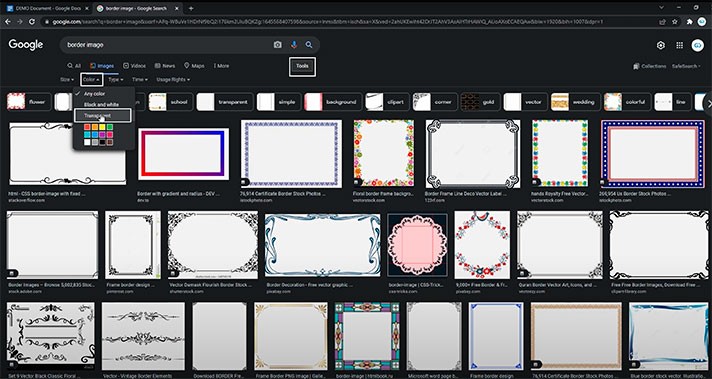
- And here, we have a lot of them. Although, one important thing we do before downloading either one of these images is that we press “Tools” here to the left on the toolbar. Then click on “Color” in this new bar below and select “Transparent” because we want to be able to customize the background of the frame
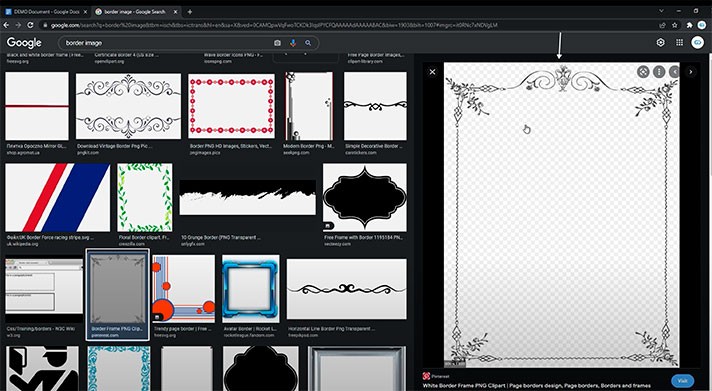
- Now, most of these are what you need, and it’s up to you to choose the style of your border. For example, we are choosing a really simple vertical one. Now when you have it open, you know it’s right if you see such a grid with squares inside of the border
Customizing the Web Border
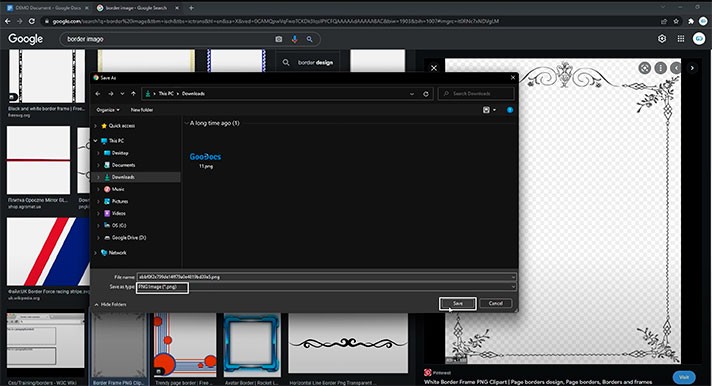
- Right mouse click on the image and select “Save image as”
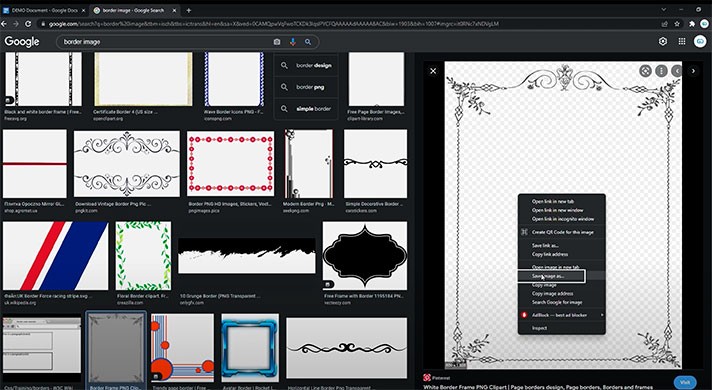
- Now here, in the second field, make sure that the format of the picture is “PNG”; either way, it won’t work the way we want. And save it
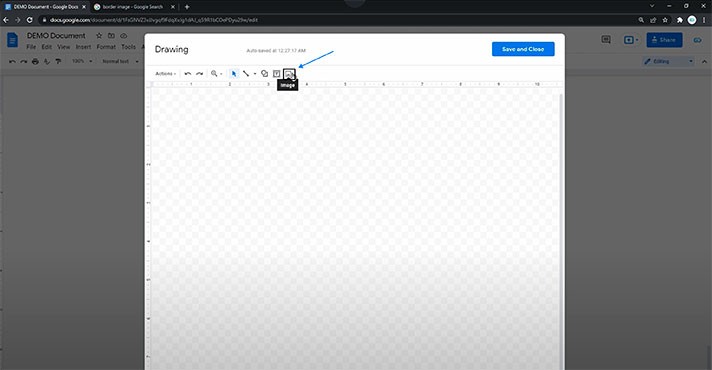
- Now we return to the drawing workspace clicking on the rightmost icon to upload it
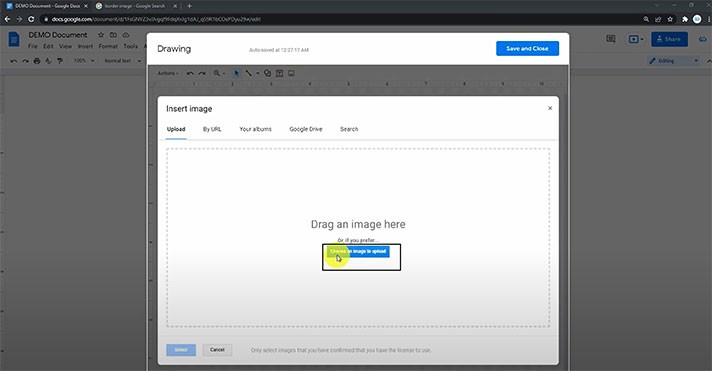
- Press “Choose an image to upload” to select an image from a computer
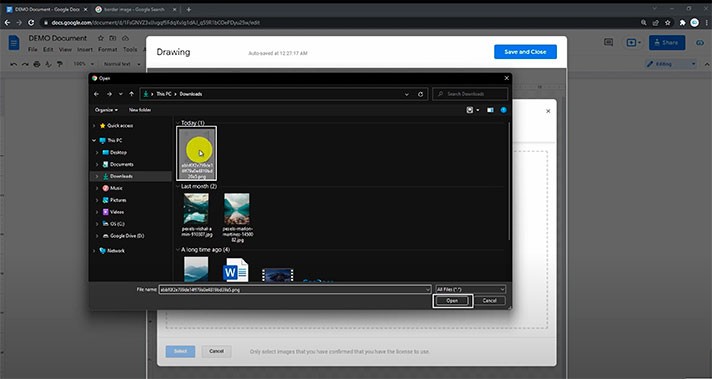
- Now locate and upload it (press “Open”)
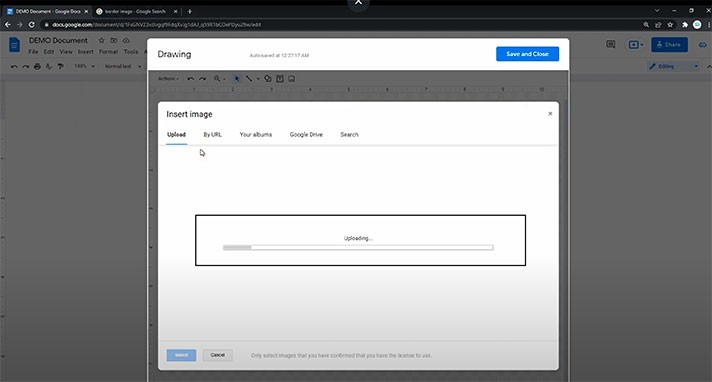
- When it’s here, you can see that it is transparent inside, which is just what we need
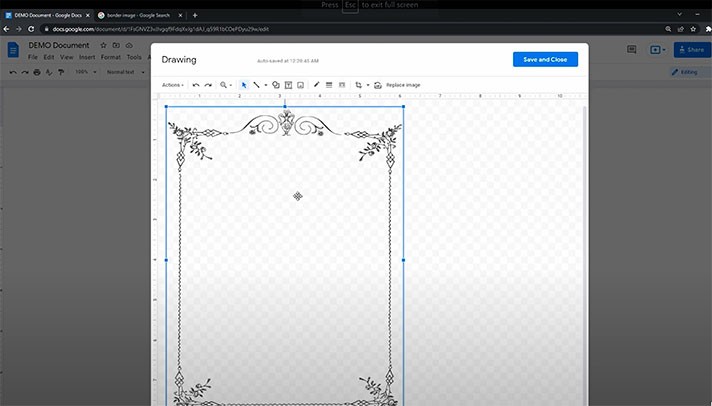
- Now, let’s press “Save and Close”
- And here it is on the page. You can expand it by pulling from its edges and the bottom margin to make it fit even a whole page
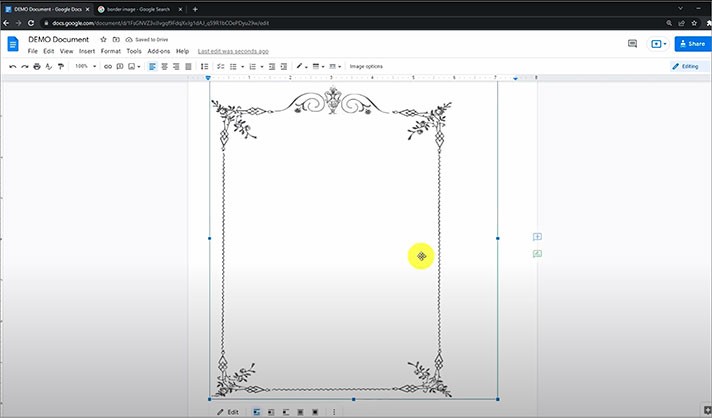
Although, the flaw of this method is that every time you want to change it and write something in it, you need to enter the drawing mode. Fortunately, it takes just a double click on the image, and here we are. For instance, you can create a text box and write something in it, and so on.
We really love this option. It allows us to get a really nice designed border from the web and insert it in our document. There are lots of variants with great designs.
We hope this tutorial will help you learn how to make a border on Google Docs. Good luck!

We are a team of creative people who dream of sharing knowledge and making your work and study easier. Our team of professional designers prepares unique free templates. We create handy template descriptions for you to help you choose the most suitable one. On our blog, you'll find step-by-step tutorials on how to use Google Products. And our YouTube channel will show you all the ins and outs of Google products with examples.


