How to Insert Shapes in Google Docs?
It’s nice to have a wide selection of tools to present data the way you want. Working with graphical elements like shapes, lines, and images in Google Docs is certainly plain and simplified. But it`s for your own convenience, and we think it’s rather a plus than a weakness since Google Docs is not some sort of graphical software. Let us show you how to insert shapes in Google Docs.
Watch the video from https://thegoodocs.com/ and find out how to insert shapes in Google Docs:
Entering the Drawing Canvas
- It all starts with you going to the Insert item on the toolbar on top and pressing it. Then in the menu, drag the mouse down to the third item. This is “Drawing”, and on the new menu on the right, click “New”
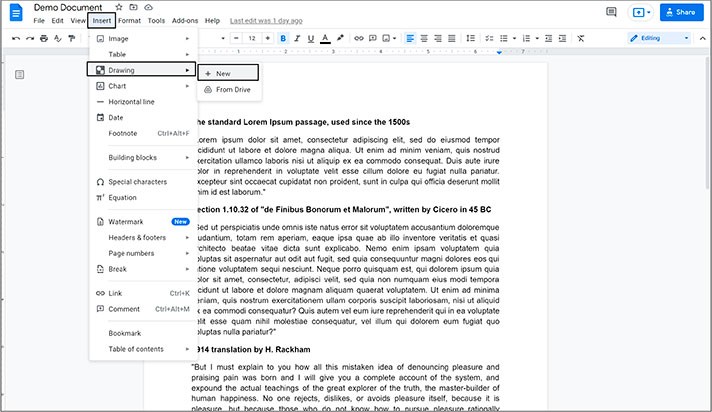
- That will open a drawing canvas that is really easy to work with. So, we need these three elements to the right on the top toolbar: the Line, Shape, and Image insertion buttons. And we do consider the line insertion as well since it’s also a kind of a graphical element
Drawing a Line
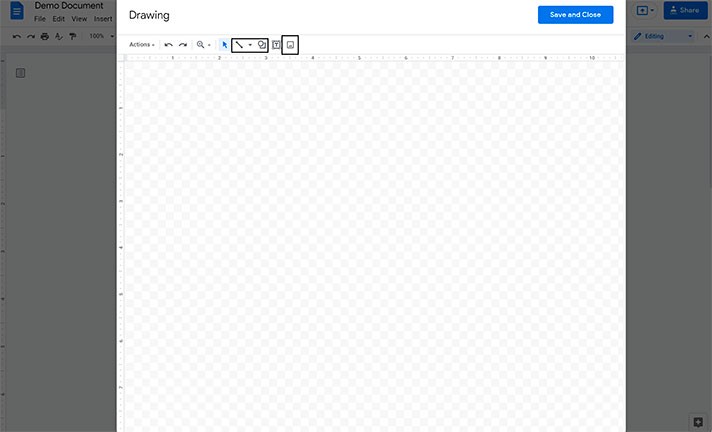
- First of all, you can select the type of line to insert. Press on the little arrow next to the Line icon, and here are your options. But this time, we’ll focus on the first basic one. And we’ll press just the Line icon
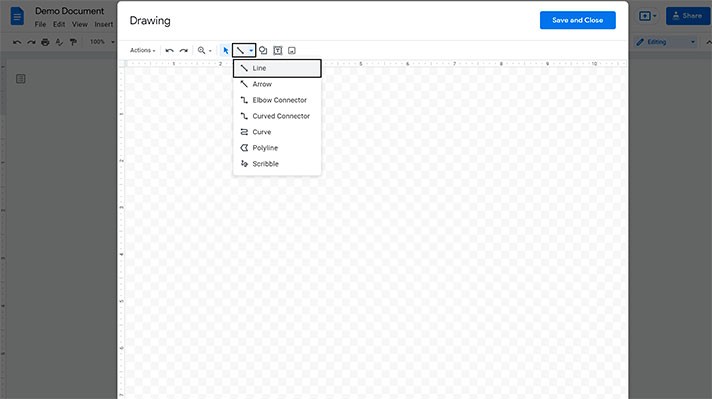
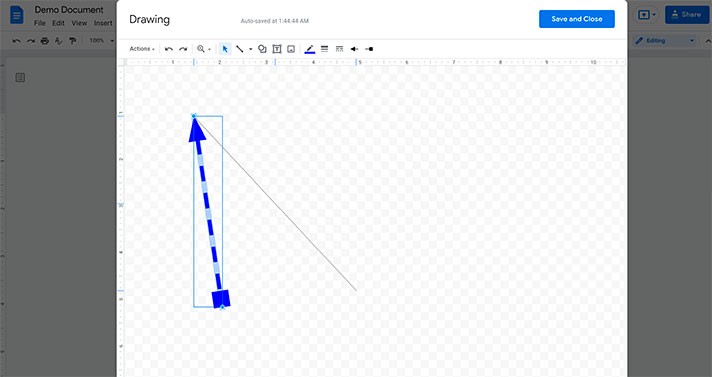
- Now put the cursor where you want the start point to be, press-hold and drag the cursor to where you want the line to end, and release the mouse. There you go
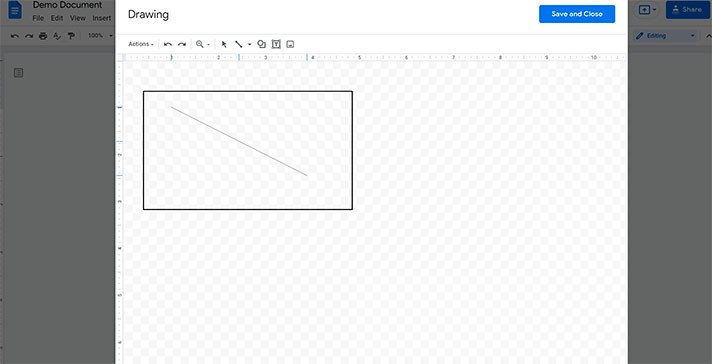
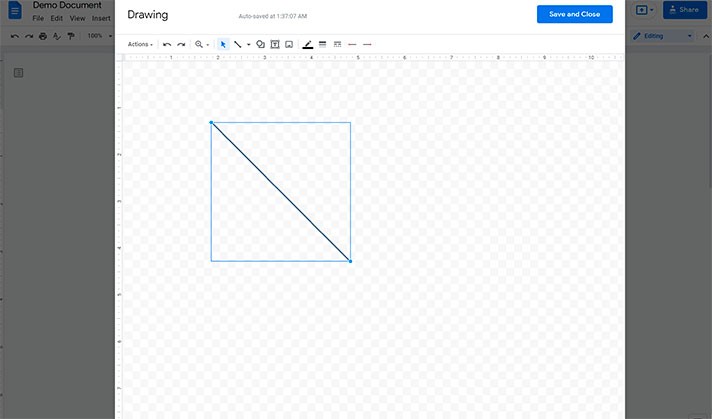
- And after that, you can customize your line with these new buttons on top. Line color, Line weight, Line dash, and changing the looks of Line start and endpoints (Line start and Line end). For example, we will customize our line a little
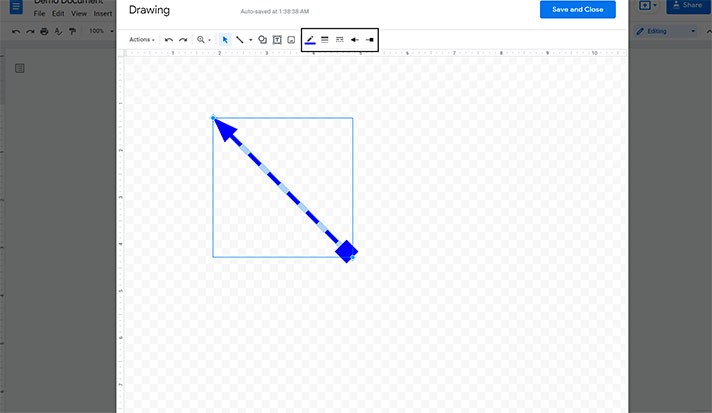
- Then press the mouse icon in the middle of the toolbar to return to a regular editing mode. And from here, you can select the figure by pressing on it and dragging it to put it in a perfect position
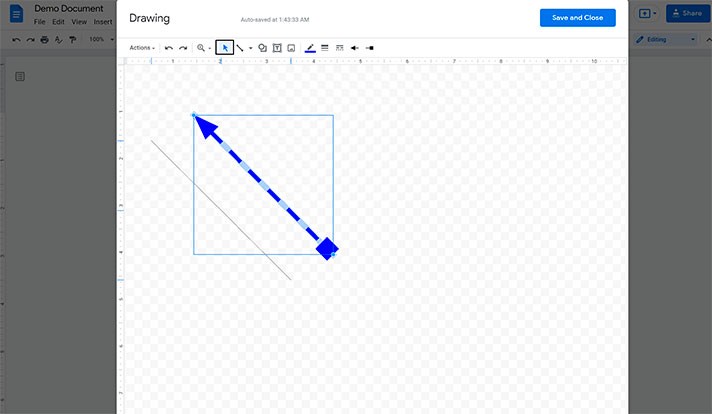
- Also then if you pull from either end of the line, where you see such circles, you will be able to rearrange line end and line start points
Inserting and Adjusting the Shapes
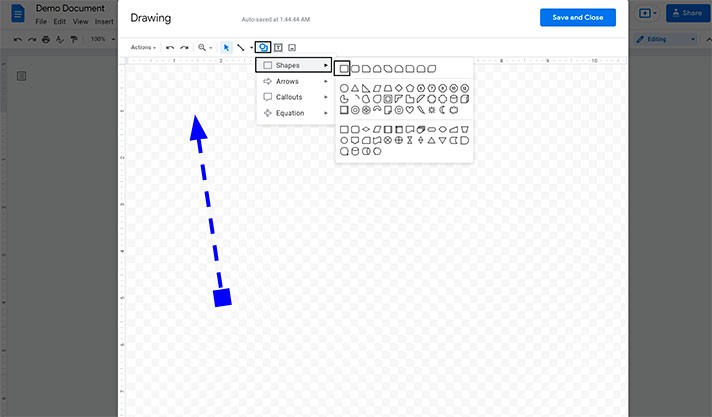
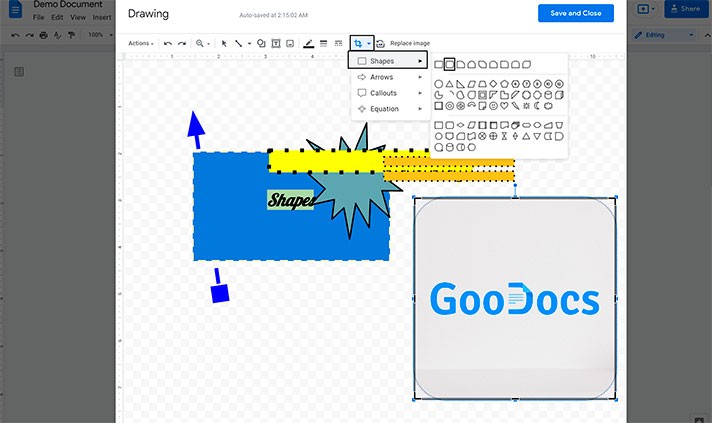
- Then we have Shape insertion. This is the button next to the Line insertion that we press on. This opens a selection of shapes to insert by type. And we’ll start from the most essential one for us now. So, we drag the mouse to “Shapes” and choose a rectangle, for example
- The principle of positioning the shape is similar to the line insertion. And we put the cursor on the start point, press-holding and dragging the pointer to the shape endpoint. And release the mouse. There we go
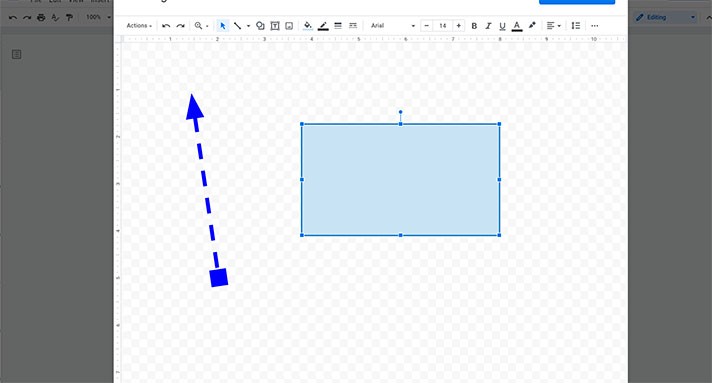
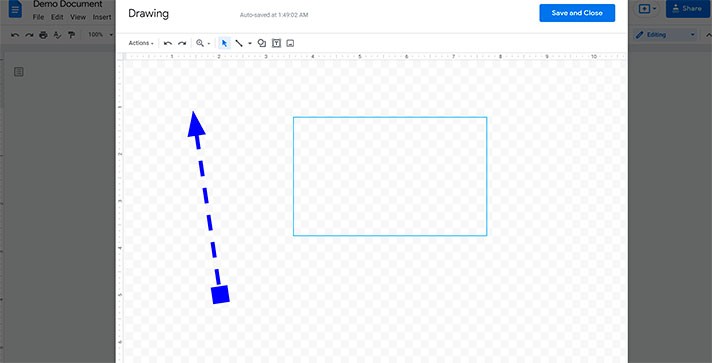
- Then here on top is your toolbar to customize the shape. Starting from the Fill color, then Border color, and Border weight, plus Border dash. Then the text formatting options. You can enter text straight into the shape without creating the text box. We will customize a little as a sample
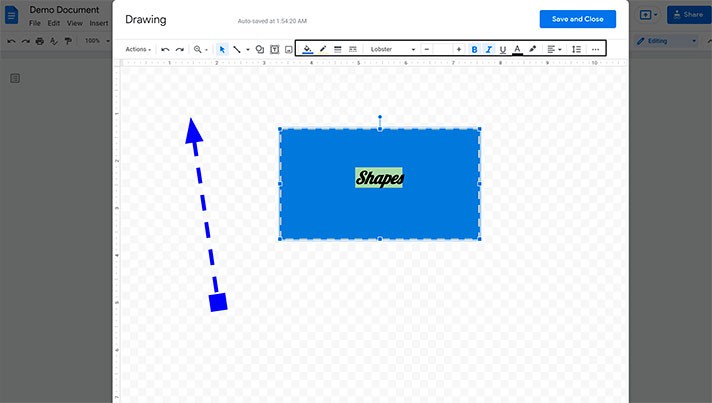
Shapes Customization & Shapes Order
There are a lot of shapes to choose from. You can combine, rotate, and put them in a different order on the page. Let’s add a few more.
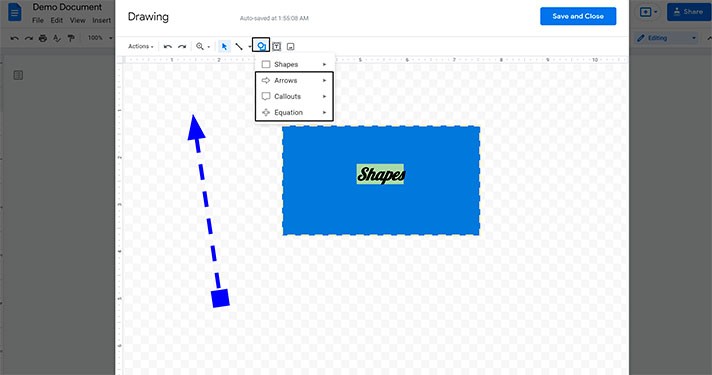
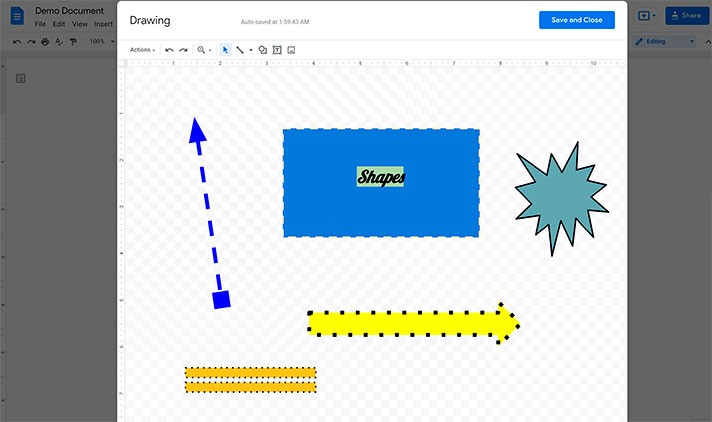
- Then you can rotate it by selecting the object and then turn this circle on top of the left or right. We will show on one sample shape
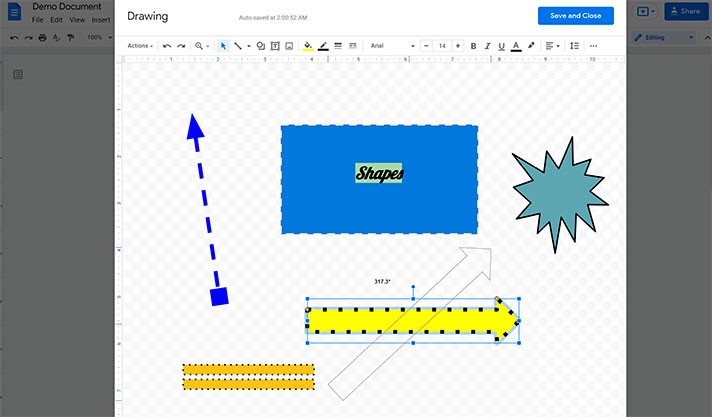
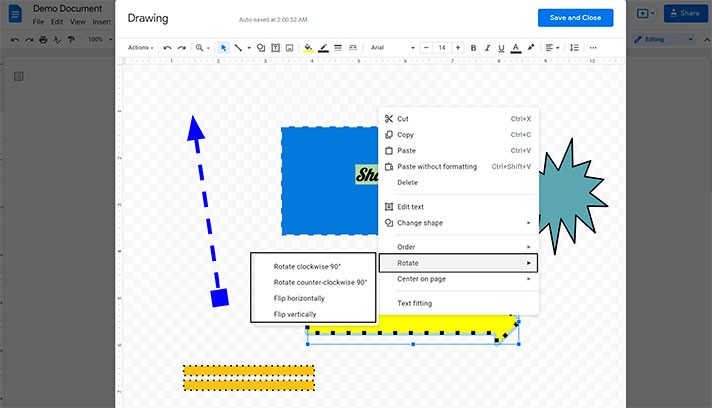
- Or click on it with a right mouse button and select how you’d like to rotate it, or even flip it
- And finally, the order of shapes regarding other elements on the drawing. So, every time you create a new figure, it is put over all other elements. Let us do that
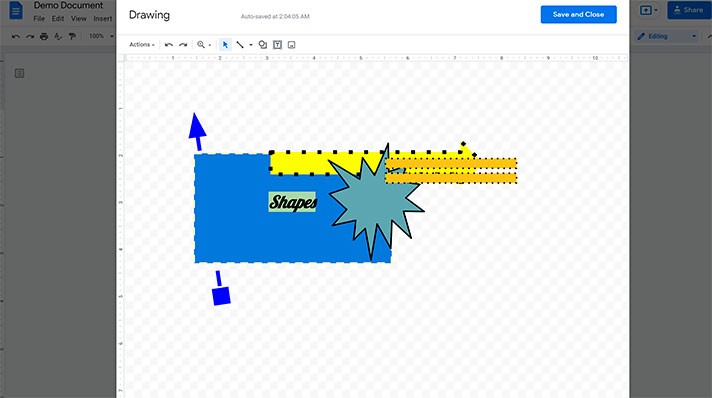
- And if you want to change that, let’s say, put it behind some shape, select the item, right mouse click on it, go to Order, and press either of these options (you will see on the screenshots)
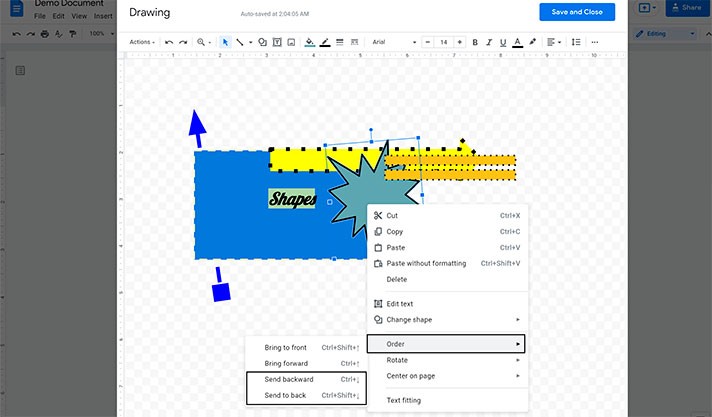
- Now we’ve put it behind the previous element but above earlier created shapes. And it works in the opposite directions and for all other elements as well, which is Order and Bring to front
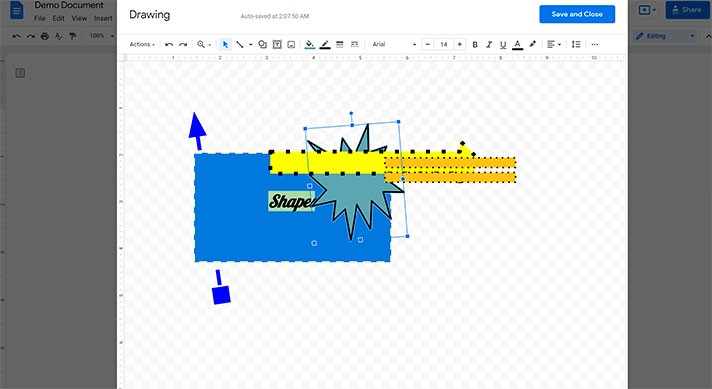
Image Insertion
And now we’ll close the subject with the last graphical element insertion, which is an Image option.
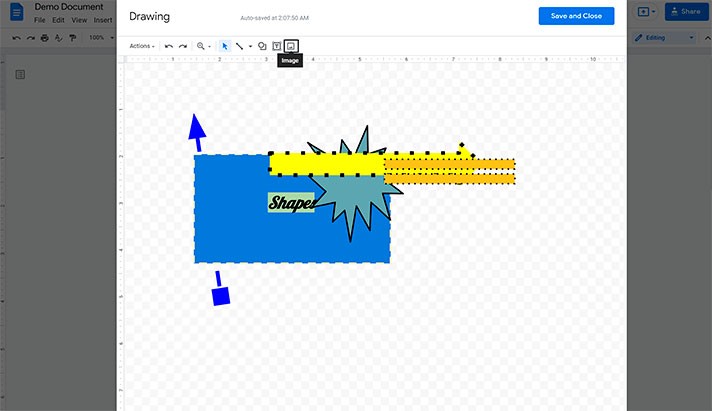
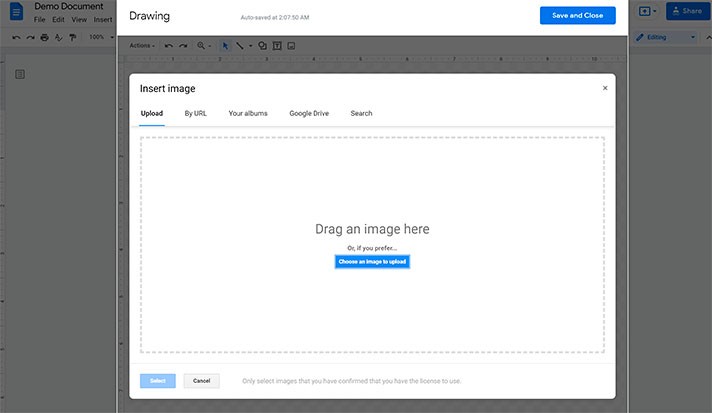
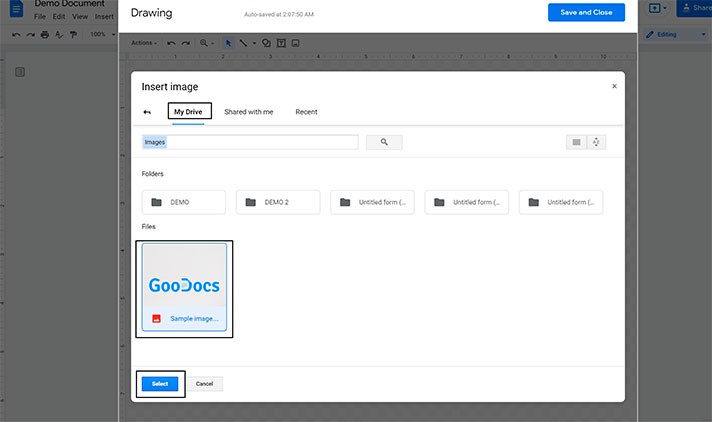
- Select the place from which you’d like to upload your image. We will insert the image from Google Drive. Press Select. And there we go
- The image appeared in the workspace
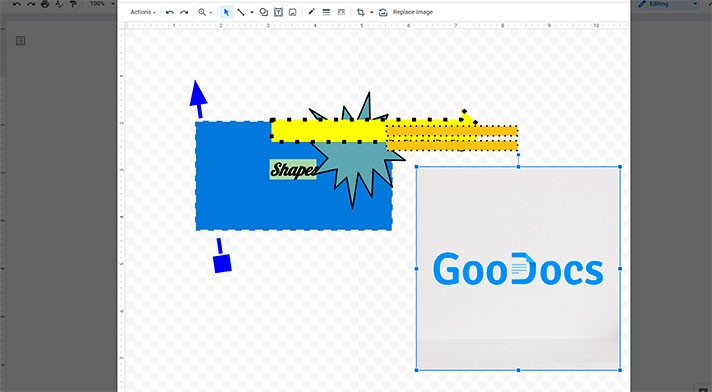
- Then, similar to the shapes, you can adjust its borders. And you also can crop it right here. To do that, select the image, go here to this icon on the toolbar, press it. And then press-hold and drag this black border to where you want to crop the image. There it is. We are going to apply some customization only as a sample. You can apply all the customization options you need
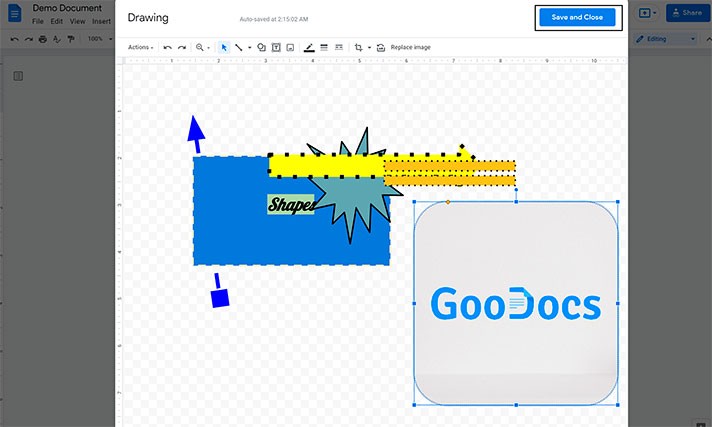
- Now to finish, press Save and Close up here, and the drawing is put where your mouse cursor was at the last time
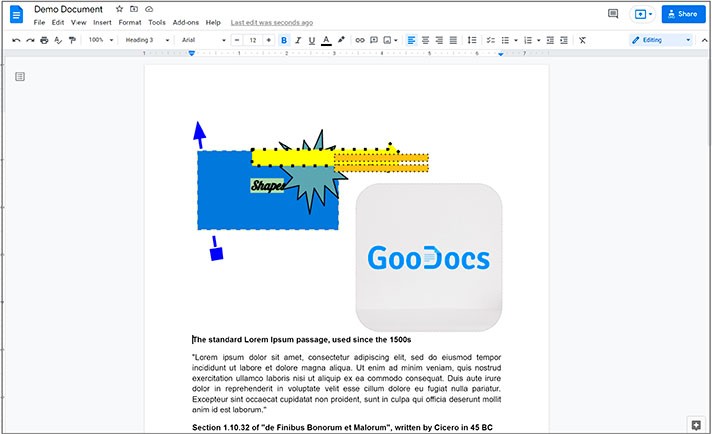
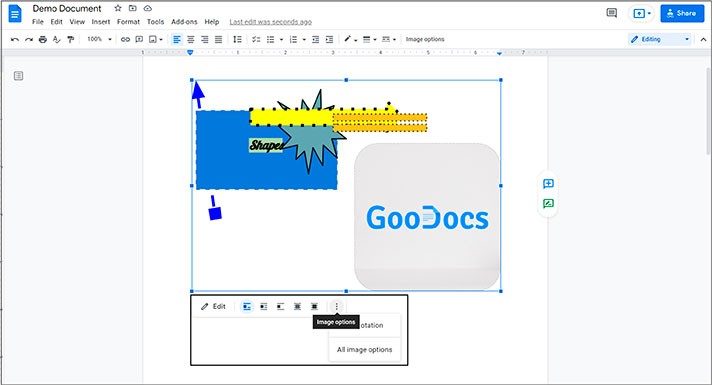
- Now it’s acting like an image. You can adjust its size, select text wrapping, change its location and get back to editing it by pressing Edit
We hope this tutorial will help you learn how to insert shapes in Google Docs. Good luck!

We are a team of creative people who dream of sharing knowledge and making your work and study easier. Our team of professional designers prepares unique free templates. We create handy template descriptions for you to help you choose the most suitable one. On our blog, you'll find step-by-step tutorials on how to use Google Products. And our YouTube channel will show you all the ins and outs of Google products with examples.


