How to Insert a Text Box on Google Docs

When you need to add a range of arrows, shapes, lines, text boxes, it is time to use the drawing tool. You can easily customize and highlight every single detail that should be emphasized. This time we use the drawing tool to create, format, and edit the text box.
Watch the video to learn how to insert a text box on Google Docs: How To Insert Text Box in Google Docs Tutorial - YouTube
Open the drawing tool by clicking Insert - Drawing - and then choose New.
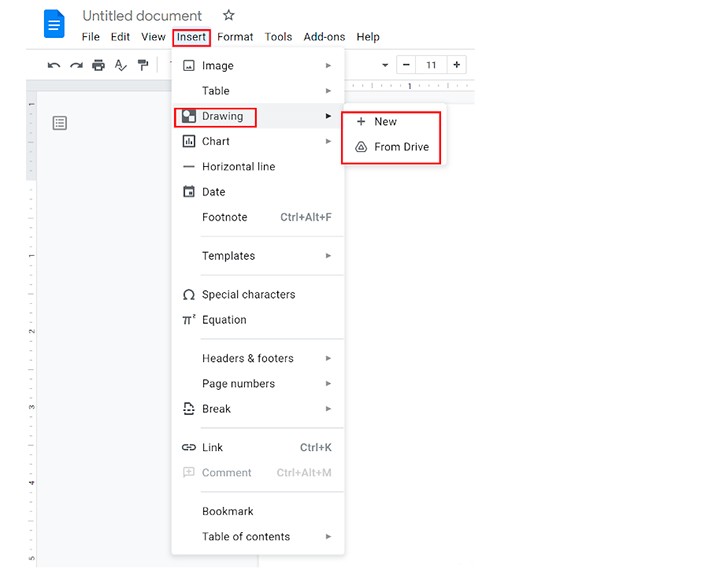
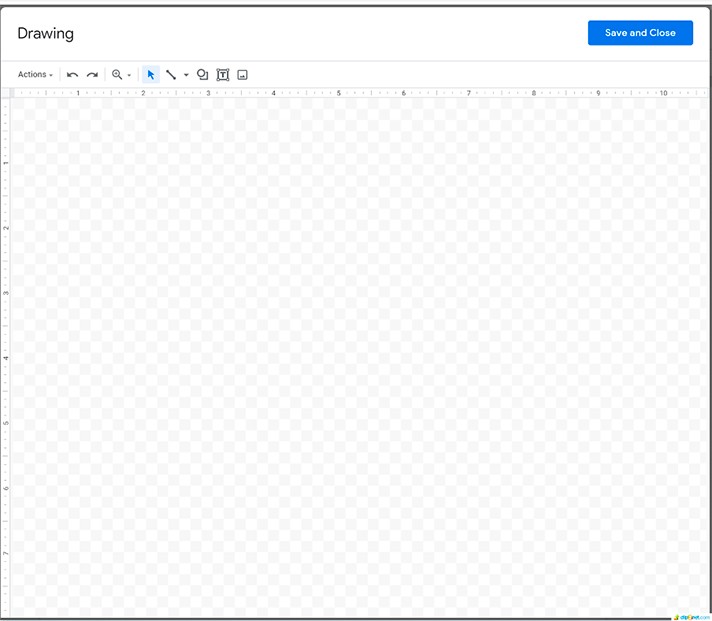
After you select Insert - Drawing - New, a new separate workspace will appear oner the document, allowing you to edit images, text boxes, and shapes.
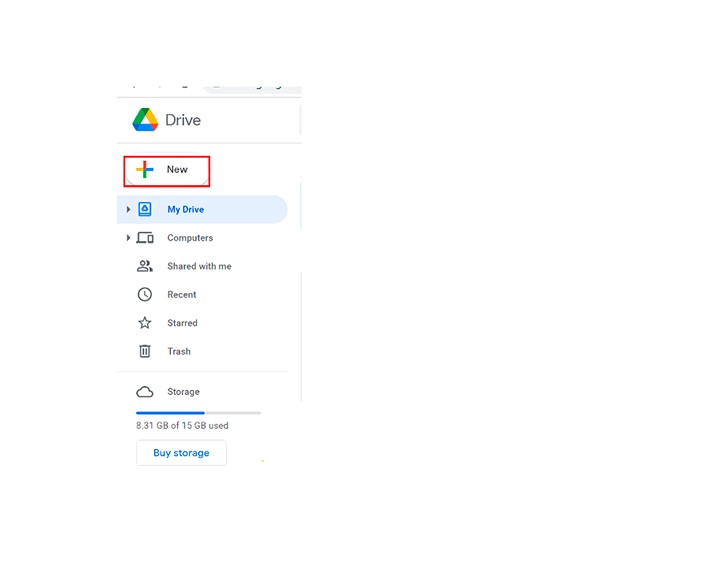
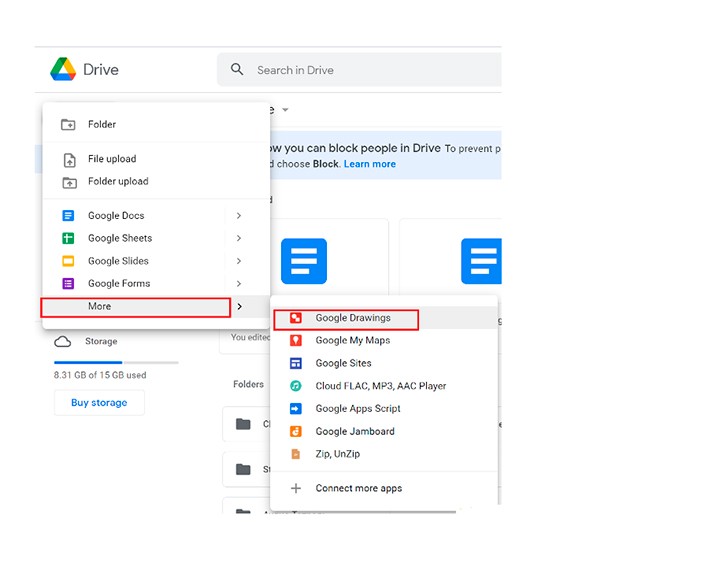
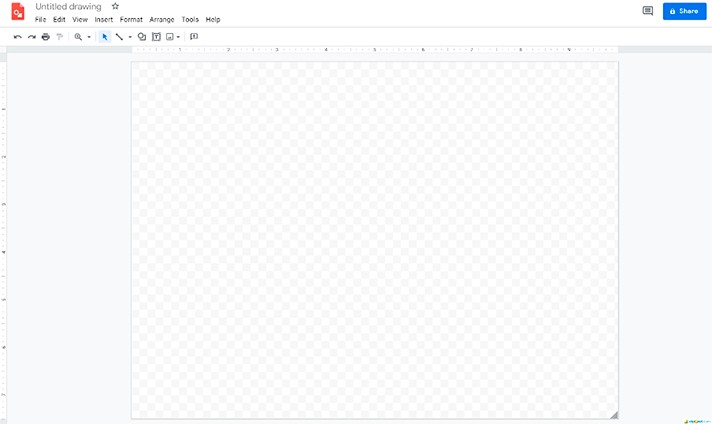
How to Add a Text Box in Google Docs?
- Click Insert and choose Drawing. Select New to open the drawing workspace
- Select the Text box command
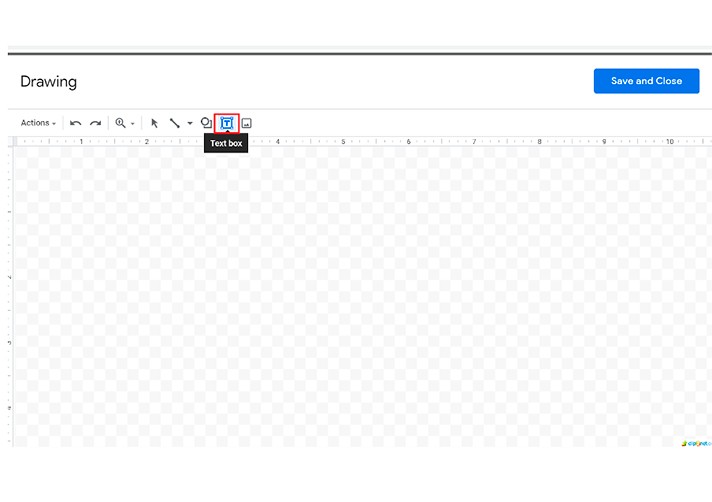
- Click-hold the mouse and draw a box of any size
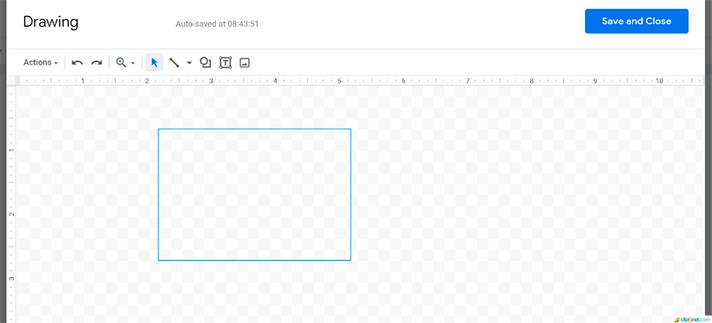
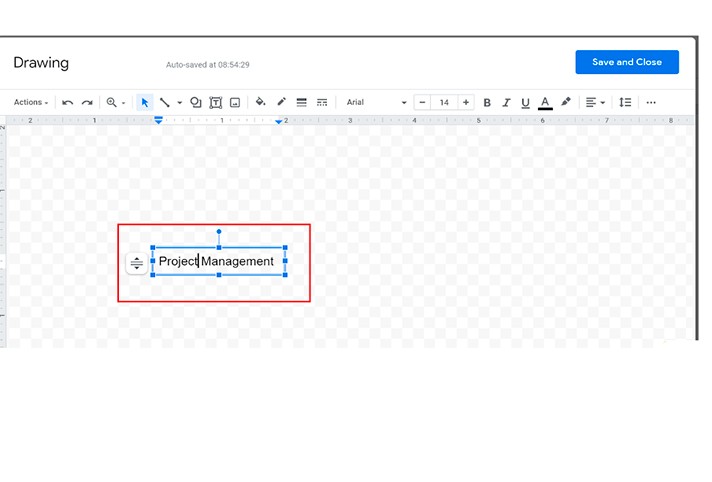
- When you think that your text box is ready, click Save and Close. Your text box will appear in your document as an image.

How to Customize the Text Box in Google Docs?
- Select the text box in the drawing workspace
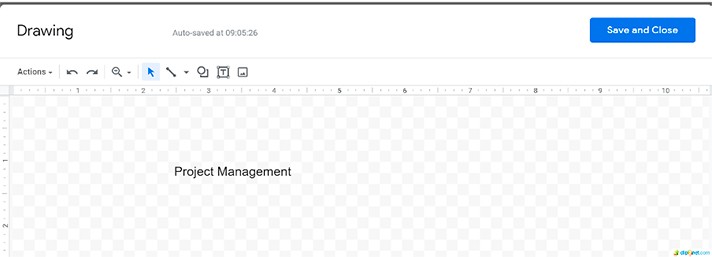
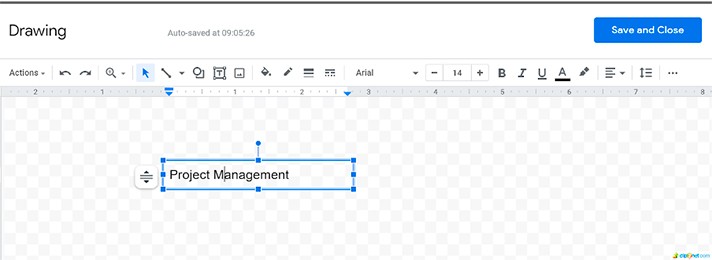
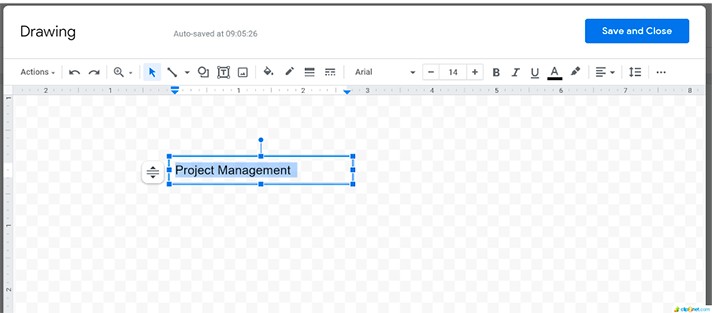
- Highlight the text in the box for a text editing toolbar to appear
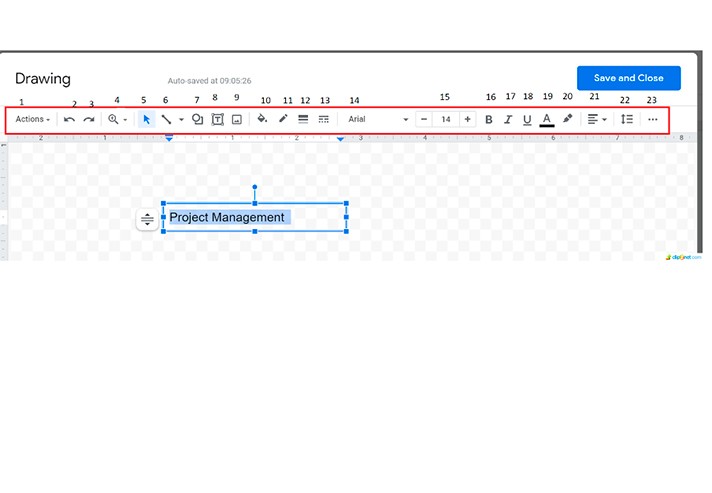
Here below, you can look at the text box commands to select from
So, we hope that this brief tutorial will help you in Google Docs learning. Now you know how to insert and customize a text box on Google Docs. Study further in detail and start practicing. Good luck!

We are a team of creative people who dream of sharing knowledge and making your work and study easier. Our team of professional designers prepares unique free templates. We create handy template descriptions for you to help you choose the most suitable one. On our blog, you'll find step-by-step tutorials on how to use Google Products. And our YouTube channel will show you all the ins and outs of Google products with examples.


