How to Add Header & Footer in Google Docs?

Headers and Footers in Google Docs are sections at the top and bottom of the page. They stay consistent across multiple pages or the whole document meaning that when you change something in one header or footer, the updated data gets duplicated over the entire document, unlike regular data in the document changed all the time.
Normally, we put section titles, page numbers, author information, dates, footnotes, and similar data that you want to stay there permanently. And that also makes the document look more professional and academic. Now let’s create both header and footer and overview our possibilities in working with them.
Watch the video from https://thegoodocs.com/ and find out How to add header & footer in Google Docs:
Creating Header
- First, let’s insert a header on top of the document. We are going to perform this by double-clicking on the top section of any page in the document
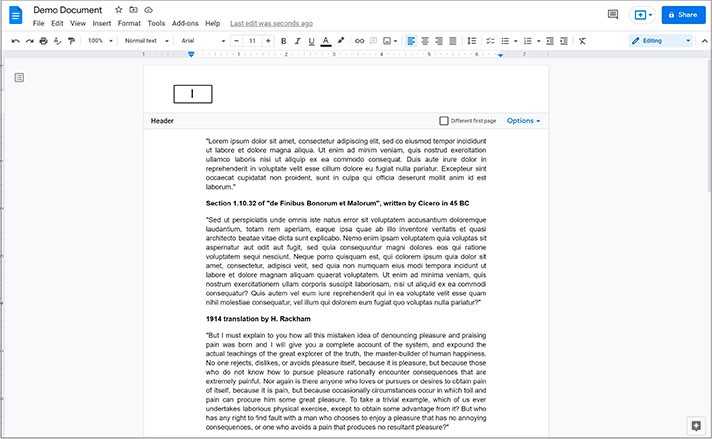
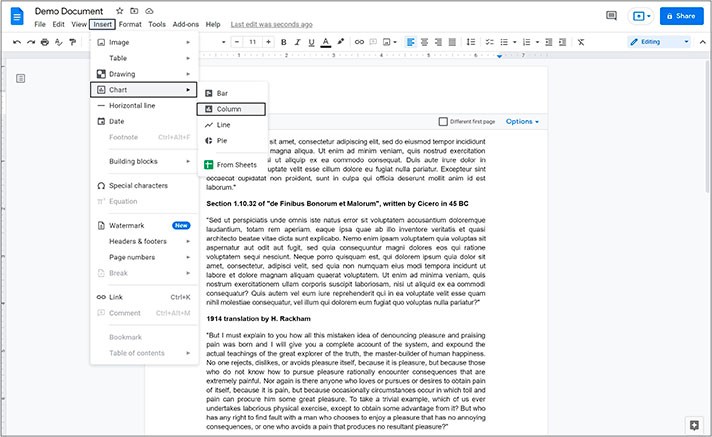
- Or you can do that via the Insert menu on the top toolbar. Open it, go down to the Headers & footers option, and select either one. Though, we think that the first way is faster and more comfortable
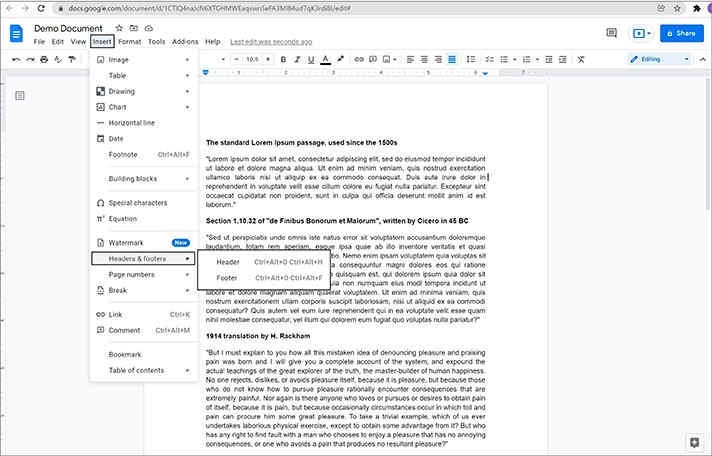
- Then you’ll see such a break line meaning that space above it is a header
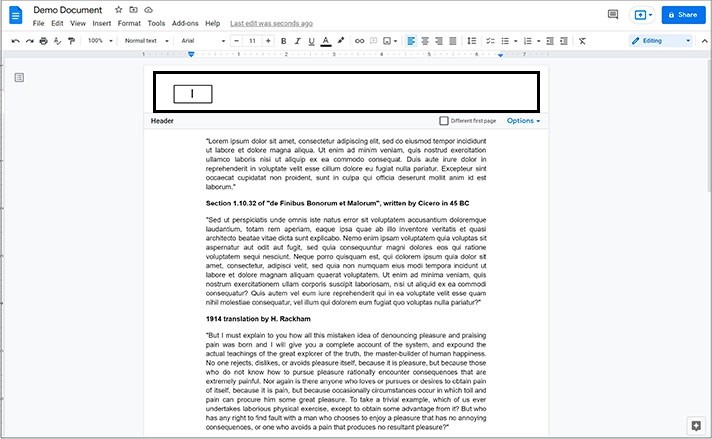
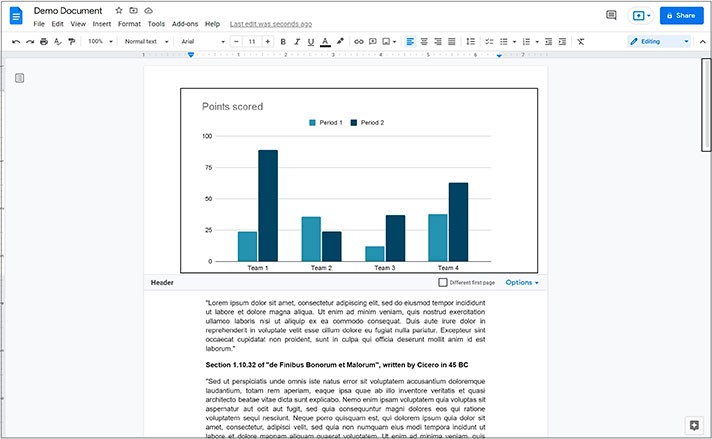
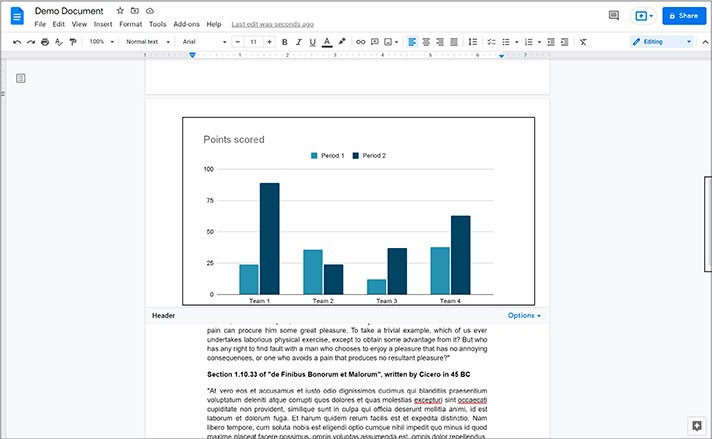
- And here, you basically have the same possibilities to work with data as in the document itself. But as mentioned earlier, this info will stand consistent on top of every page of the Google Doc. That means text and its different formatting, even images, tables, drawings, and surprisingly, even graphs. We will insert a chart here to demonstrate that it’s no different from your regular tools for the document
Text in Header
- To enter a simple text, double-click on the header and just type in anything you want. We`ll type “Hello!” as a sample text
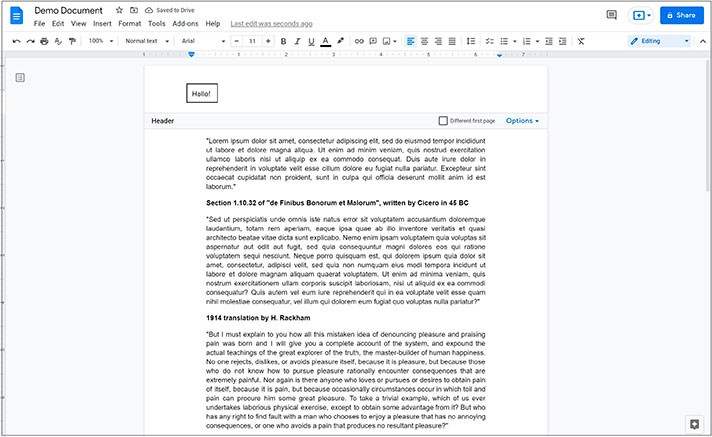
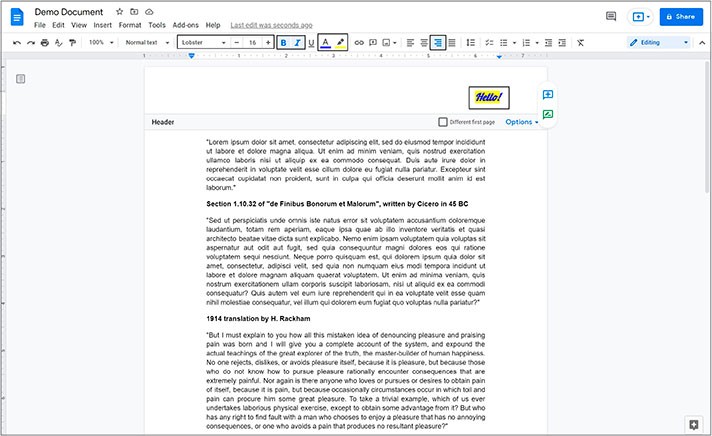
- Then we want to move it to the right, for instance. So, we highlight the text and align it to the right with this button on the toolbar. You can change its font, size, formatting, and everything you can normally do to the text. Let’s customize our sample text a bit
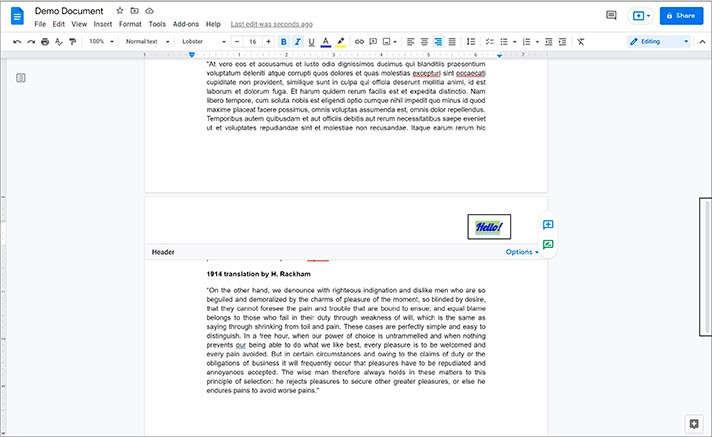
- We move down for you to see that what we have made on the page above is repeated on the next page. And we can return to editing the text. We don’t have to go back to the page where we started. For example, we can keep editing it from any page by double-clicking on it and just continuing
Setting Up & Features of Header & Footer
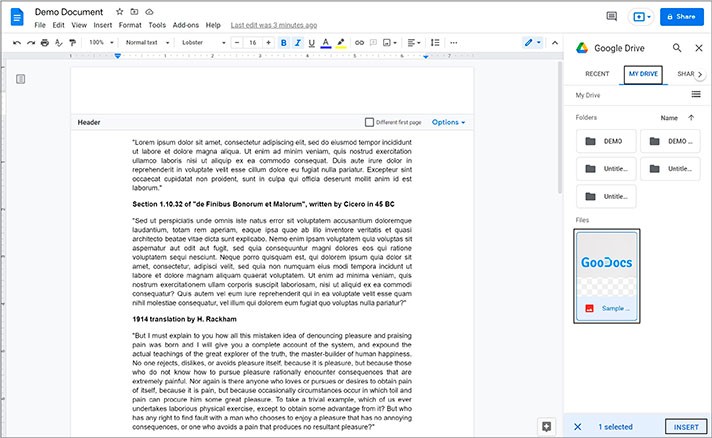
- Now we will delete the text and insert an image by going to the Insert item on the toolbar on top. Dragging cursors to the third line here, selecting the Drive option
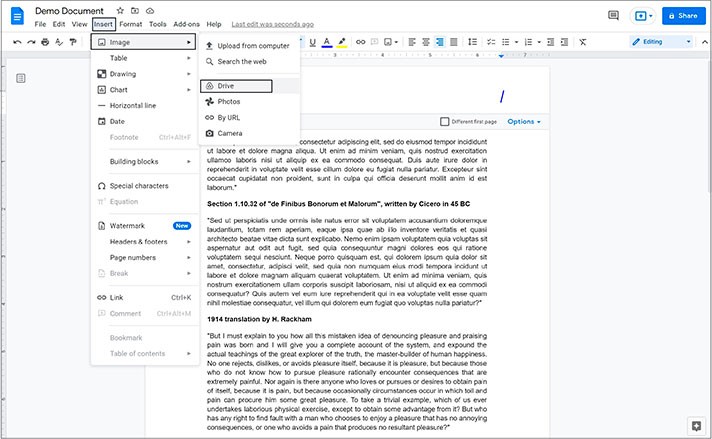
- As a sample, we choose the logo of our company
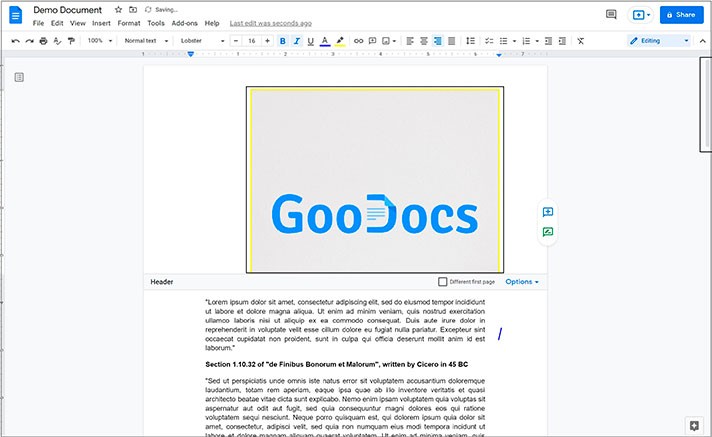
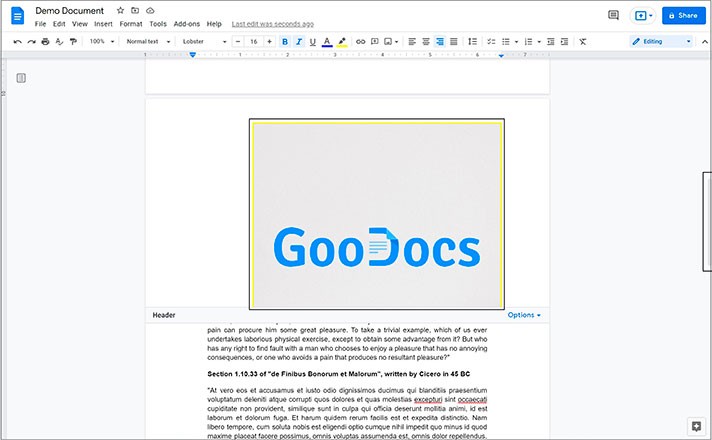
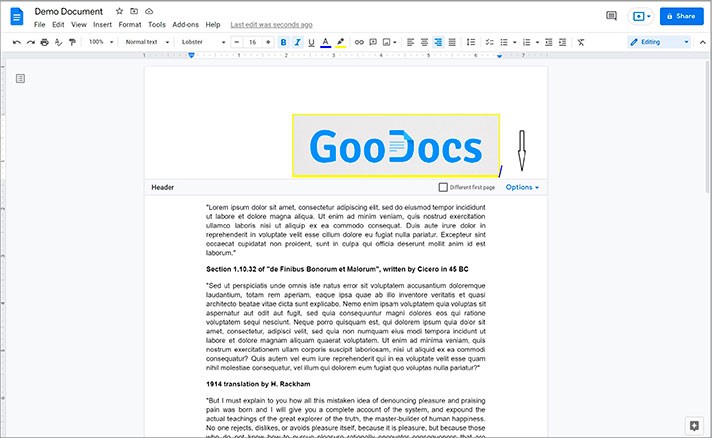
- Then if we scroll, you’ll see that it was duplicated on other pages as well
- Now we can make this image smaller. We’d like it to be farther from the top. So, we select the header and go to Options on the right of this separating line and select the Header format item where in the first field we increase the number to 1. And we press Apply down here
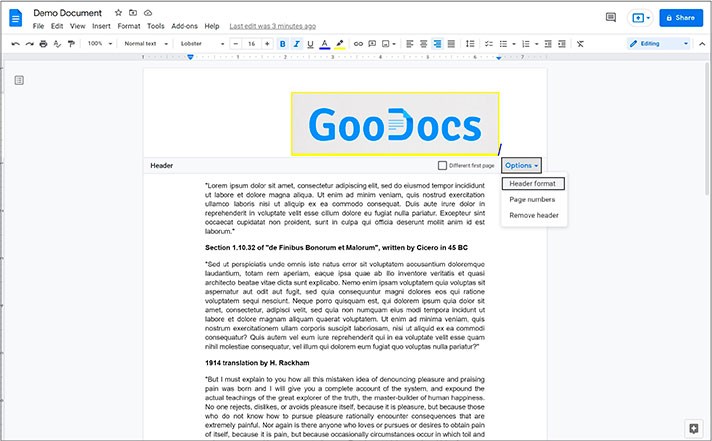
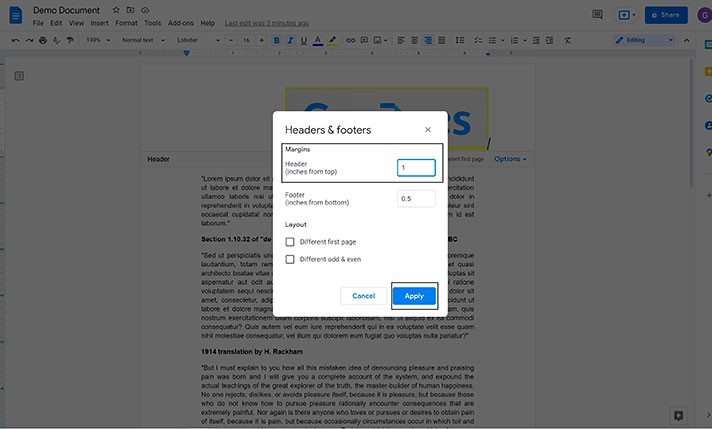
- As you can see, it just moved down with the content of the doc
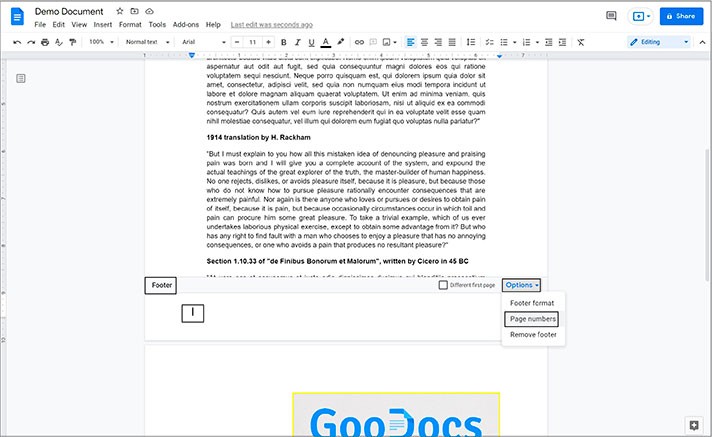
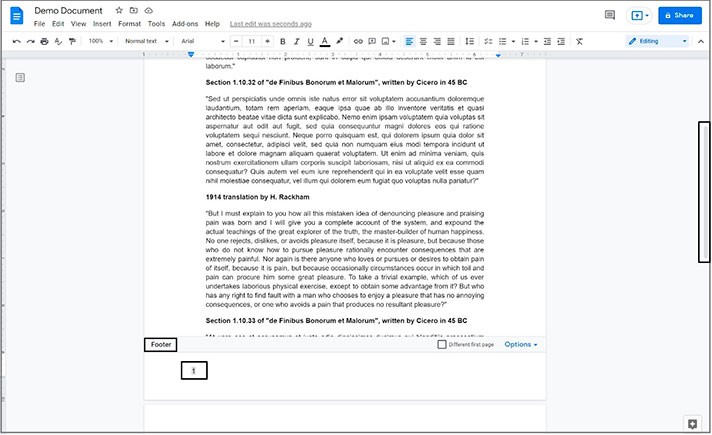
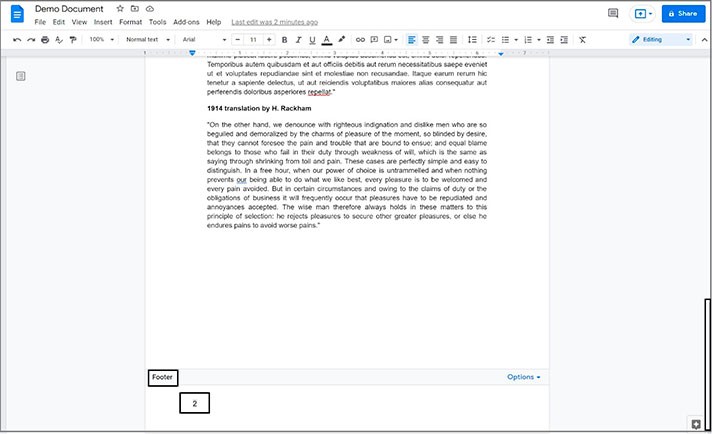
- Now the footer which is absolutely identical to the header concerning its contents. But to access it, we scroll down to the bottom of the page, double-clicking on an empty space on the bottom. And we`d want to insert page numbers that are commonly used in footers. So, we go to the Options item in the footer. And let’s press the Page numbers item and simply insert the numbering. For example, we will start at 1 in Numbering. Now we press Apply
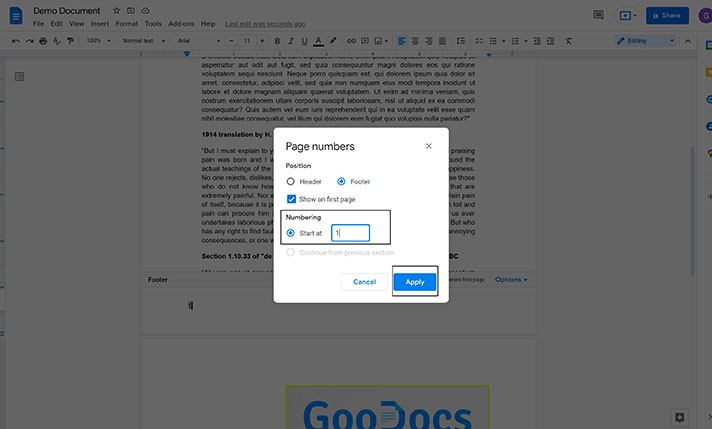
- And the page numbers are now put on every page of the document. This is it
We hope this tutorial will help you learn how to add a header and a footer in Google Docs. Good luck!

We are a team of creative people who dream of sharing knowledge and making your work and study easier. Our team of professional designers prepares unique free templates. We create handy template descriptions for you to help you choose the most suitable one. On our blog, you'll find step-by-step tutorials on how to use Google Products. And our YouTube channel will show you all the ins and outs of Google products with examples.


