Step-by-step guide on creating an invoice design in Google Documents
We highly recommend you to take a look at https://docs.google.com and use the full gallery of stylish invoice templates and other materials.
How to create an invoice yourself using a ready-made template?
Step 1
Choose a relevant template from this list thegoodocs/invoice-templates
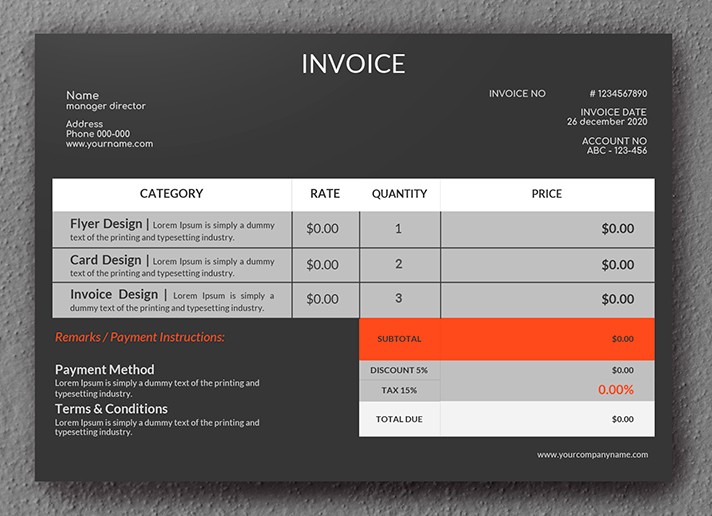
Let’s tale this one as an example Modern Invoice:
It is a stylish invoice template in A5 format made in dark colors.
Save the selected template to your Disk, give it a name by clicking the title field in the left upper corner of the document. Then press Enter, therefore renaming the document and saving it to Disk.
Keep in mind: every time you need a new invoice for your client, just open a blank invoice template and click File – Make a copy.
Step 2
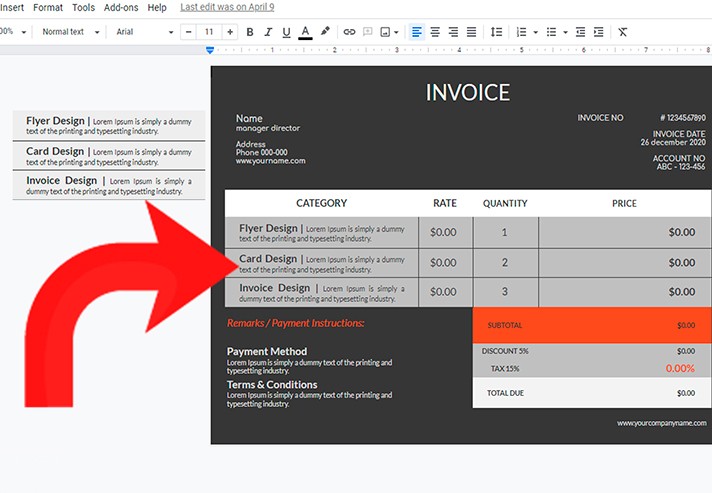
You can add any changes to the ready-made template:
- Logo
- Contact information of your company
- Contact information of your client’s company
- A unique number of an invoice
- Invoicing date and time
- A list of services provided
In drawing up an invoice, it is also important to add a brief description of each service provided and indicate the time spent on execution, payment.
Don't forget about specifying a subtotal for each service and payment terms. At the end of the invoice, companies usually place the total amount payable (including the percentage of taxes) and your payment terms (including cases in which there may be a delay in payments or any other unpleasant, but possible in theory moments).
Step 3
You should definitely highlight the main points of the account (it is possible to do that using color, font, or in any other desired way). In this template, for example, the SUBTOTAL field is highlighted, as well as (using the red color) notes and instructions for payment and the TAX percentage itself.
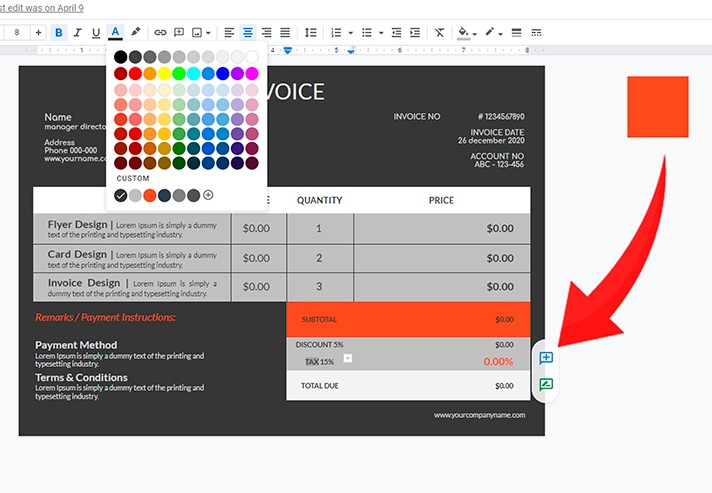
The main background of the template can also be changed if needed. To do this, simply select Page Settings and change the color using the ready-made gallery.
The color and size of the table can also be customized: add additional columns and rows if necessary using Insert-Table. You can also modify the table using the cursor manually.
Step 4
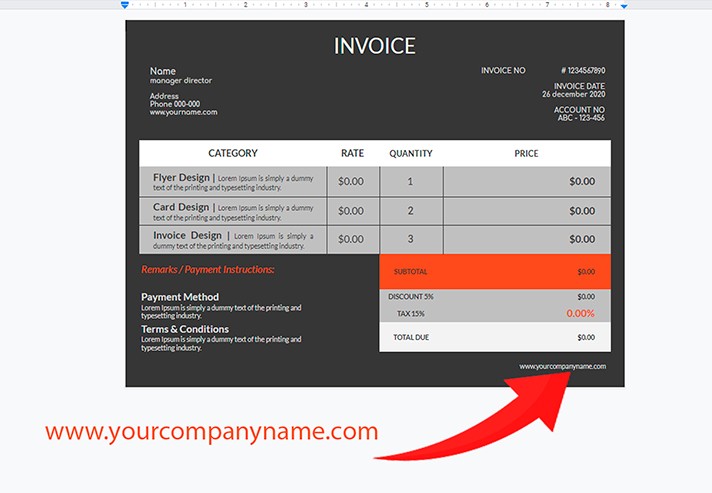
Details are important! For example, you better not neglect the indication of the site of your company. This might seem unnecessary, but the client might need to clarify any details or additional information, which is not customary to place on the invoice.
The best location for the website is at the bottom of the template - the place where the least attention is concentrated and at the same time, the client can easily find it at any time.
Step 5
When the invoice is ready, you can send it to the print office or share it with the client directly through Google Docs. To do this, simply click on the Share button in the right upper corner of the document, then enter the recipient's email and click Send.
But there is also another way: download the ready-made invoice to your computer, and then attach it in a separate file by email or any of the used messengers. You can do this by clicking File - Download as and selecting the desired format from the list. Let's say PDF. Therefore, the finished invoice will be saved on your computer and may be reused if necessary.
As you see, you will save a lot of time using the text editor Google Docs, as well as Internet resources with ready-made galleries of design templates. Spend this time on creativity and good rest.

We are a team of creative people who dream of sharing knowledge and making your work and study easier. Our team of professional designers prepares unique free templates. We create handy template descriptions for you to help you choose the most suitable one. On our blog, you'll find step-by-step tutorials on how to use Google Products. And our YouTube channel will show you all the ins and outs of Google products with examples.


